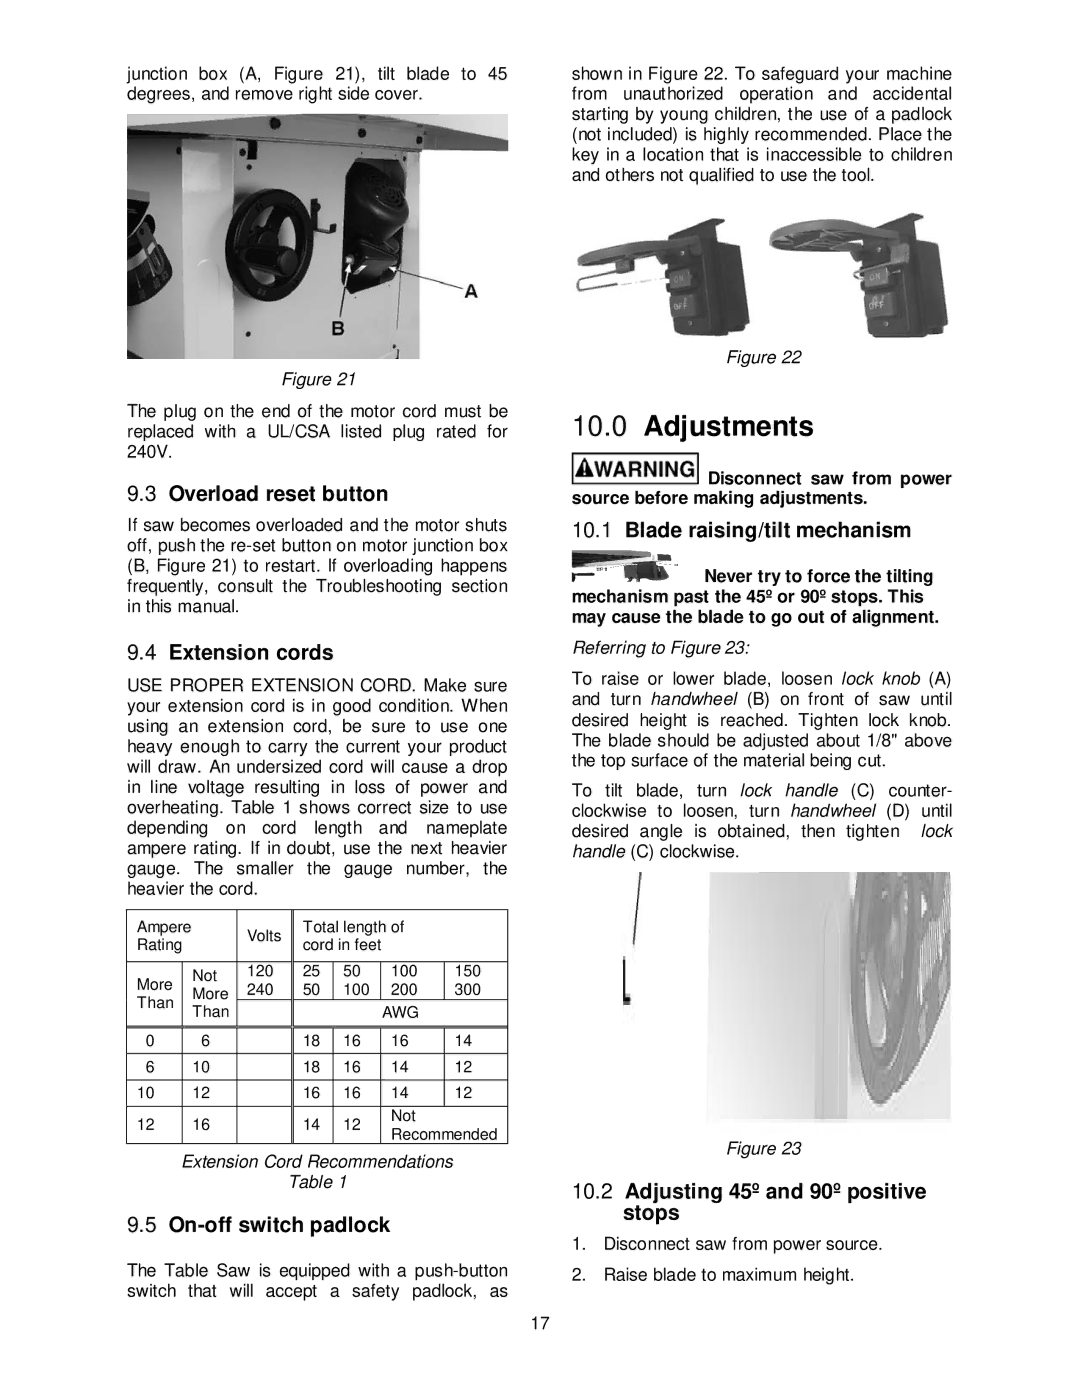
junction box (A, Figure 21), tilt blade to 45 degrees, and remove right side cover.
Figure 21
The plug on the end of the motor cord must be replaced with a UL/CSA listed plug rated for 240V.
9.3Overload reset button
If saw becomes overloaded and the motor shuts off, push the
9.4Extension cords
USE PROPER EXTENSION CORD. Make sure your extension cord is in good condition. When using an extension cord, be sure to use one heavy enough to carry the current your product will draw. An undersized cord will cause a drop in line voltage resulting in loss of power and overheating. Table 1 shows correct size to use depending on cord length and nameplate ampere rating. If in doubt, use the next heavier gauge. The smaller the gauge number, the heavier the cord.
Ampere |
| Volts | Total length of |
| |||
Rating |
| cord in feet |
|
| |||
|
|
|
| ||||
|
|
|
|
|
|
|
|
More |
| Not | 120 | 25 | 50 | 100 | 150 |
| More | 240 | 50 | 100 | 200 | 300 | |
Than |
| ||||||
| Than |
|
|
| AWG |
| |
|
|
|
|
|
| ||
|
|
|
|
|
|
|
|
|
|
|
|
|
|
|
|
0 |
| 6 |
| 18 | 16 | 16 | 14 |
6 |
| 10 |
| 18 | 16 | 14 | 12 |
10 |
| 12 |
| 16 | 16 | 14 | 12 |
|
|
|
|
|
|
|
|
12 |
| 16 |
| 14 | 12 | Not |
|
|
| Recommended | |||||
|
|
|
|
|
| ||
Extension Cord Recommendations
Table 1
9.5On-off switch padlock
The Table Saw is equipped with a
shown in Figure 22. To safeguard your machine from unauthorized operation and accidental starting by young children, the use of a padlock (not included) is highly recommended. Place the key in a location that is inaccessible to children and others not qualified to use the tool.
Figure 22
10.0Adjustments
![]() Disconnect saw from power source before making adjustments.
Disconnect saw from power source before making adjustments.
10.1Blade raising/tilt mechanism
![]() Never try to force the tilting mechanism past the 45º or 90º stops. This may cause the blade to go out of alignment.
Never try to force the tilting mechanism past the 45º or 90º stops. This may cause the blade to go out of alignment.
Referring to Figure 23:
To raise or lower blade, loosen lock knob (A) and turn handwheel (B) on front of saw until desired height is reached. Tighten lock knob. The blade should be adjusted about 1/8" above the top surface of the material being cut.
To tilt blade, turn lock handle (C) counter- clockwise to loosen, turn handwheel (D) until desired angle is obtained, then tighten lock handle (C) clockwise.
Figure 23
10.2Adjusting 45º and 90º positive stops
1.Disconnect saw from power source.
2.Raise blade to maximum height.
17