1. Using the handwheels, raise the blade arbor fully and lock saw at zero degrees by tightening lock knob at center of handwheel.
Referring to Figure 16:
2. Press arbor lock button (E) and rotate arbor until you feel arbor lock engage. Continue pressing arbor lock button.
3. Using the provided wrench, remove arbor nut (F) and outer flange (G). If replacing blade, remove old blade.
4. Place blade (H) on arbor shaft (I) making sure that the teeth point down at the front of the saw. Replace flange (G) and arbor nut
(F).
5. Tighten arbor nut (F).
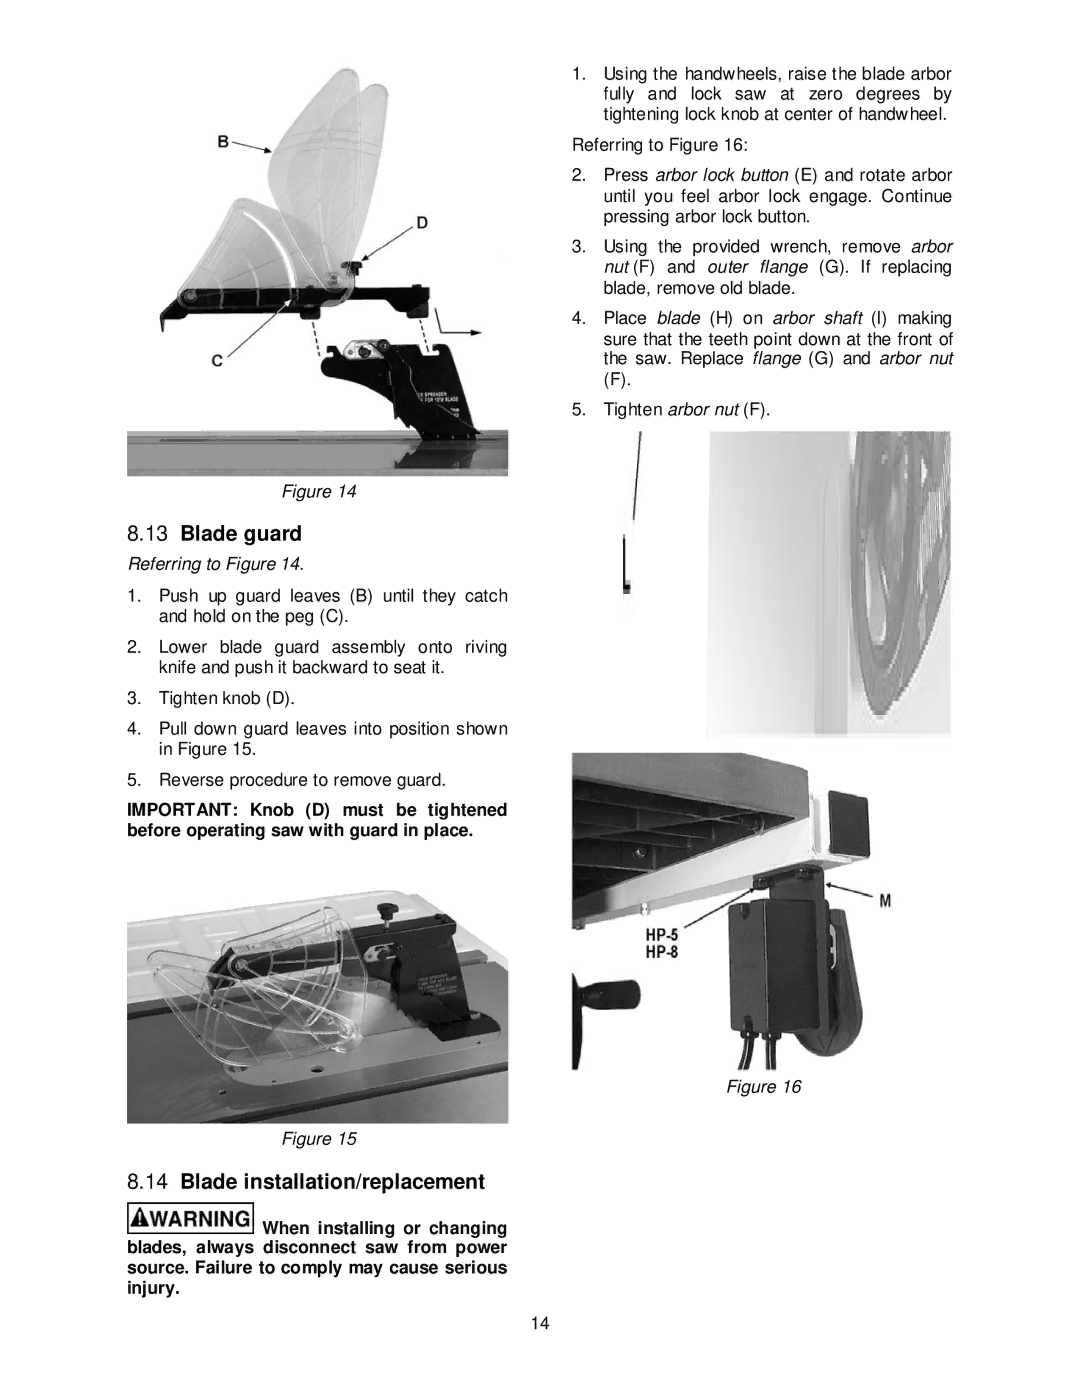
Figure 14
8.13Blade guard
Referring to Figure 14.
1.Push up guard leaves (B) until they catch and hold on the peg (C).
2.Lower blade guard assembly onto riving knife and push it backward to seat it.
3.Tighten knob (D).
4.Pull down guard leaves into position shown in Figure 15.
5.Reverse procedure to remove guard.
IMPORTANT: Knob (D) must be tightened before operating saw with guard in place.
Figure 16
Figure 15
8.14Blade installation/replacement
![]() When installing or changing blades, always disconnect saw from power source. Failure to comply may cause serious injury.
When installing or changing blades, always disconnect saw from power source. Failure to comply may cause serious injury.
14