Never reach behind the blade with either hand to hold down or remove the cutoff piece with the saw blade rotating.
Always use blade guard, splitter/riving knife and
Figure 32
The rip fence (A, Fig. 32) should be set for the width of the cut (C, Fig. 32) by using the scale on the front rail, or by measuring the distance between blade (B) and fence (A). Stand out of line with saw blade and workpiece to avoid sawdust and splinters coming off the blade or a kickback, if one should occur.
If the work piece does not have a straight edge, nail an auxiliary straight edged board on it to provide one against the fence. To cut properly, the board must make good contact with the table. If it is warped, turn the hollow side down. Do not attempt to cut boards with significant warp.
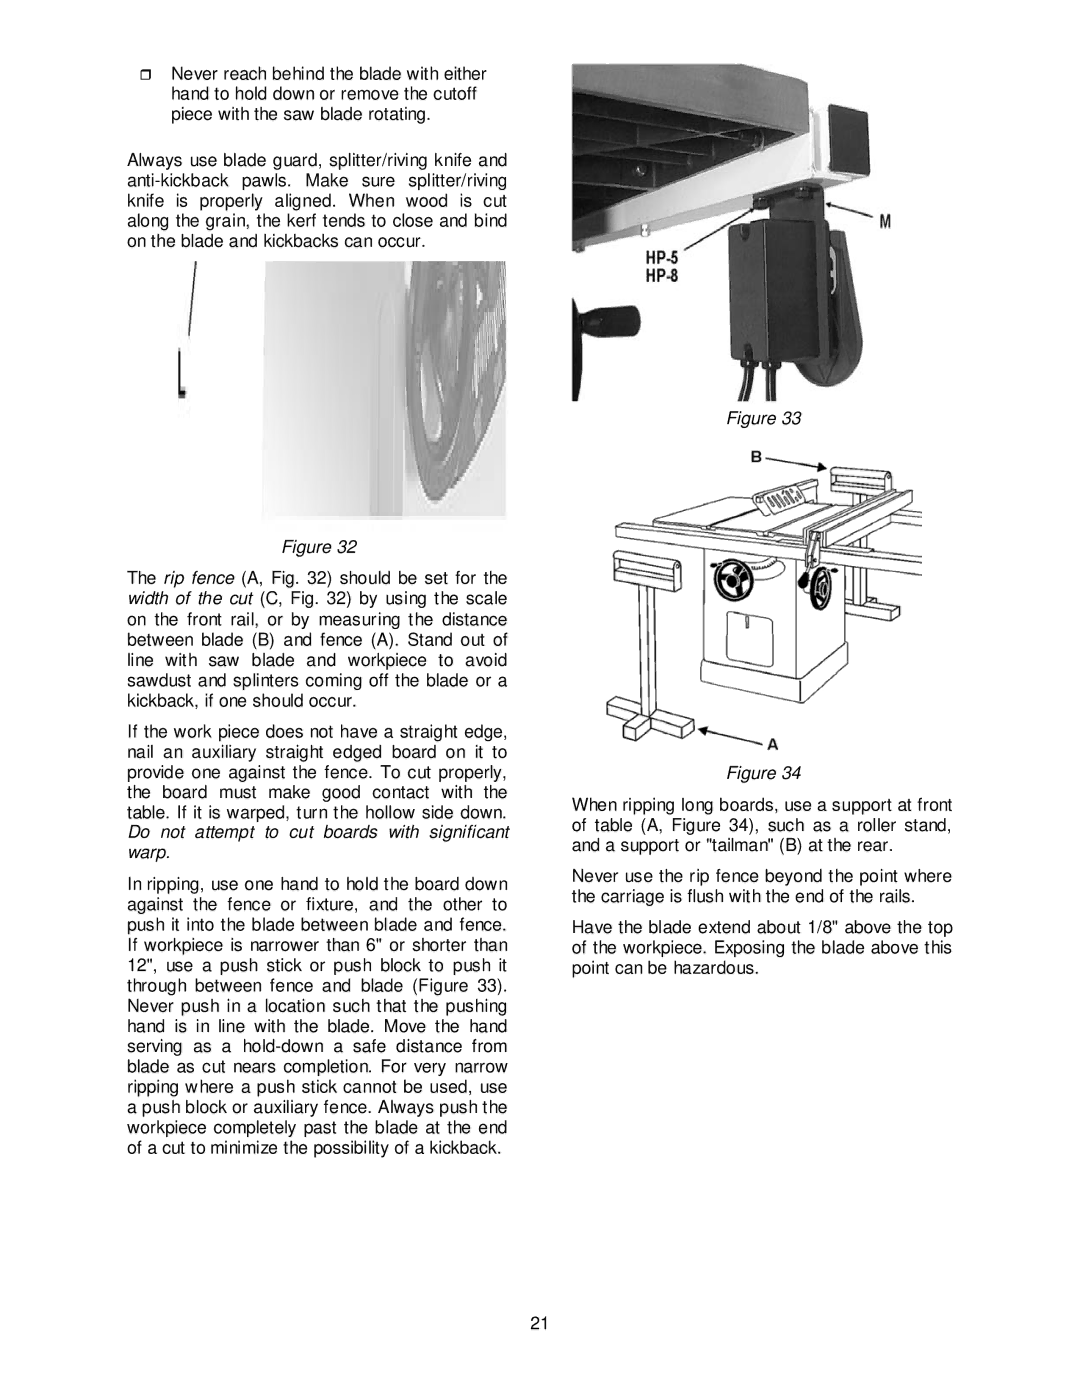
In ripping, use one hand to hold the board down against the fence or fixture, and the other to push it into the blade between blade and fence. If workpiece is narrower than 6" or shorter than 12", use a push stick or push block to push it through between fence and blade (Figure 33). Never push in a location such that the pushing hand is in line with the blade. Move the hand serving as a
Figure 33
Figure 34
When ripping long boards, use a support at front of table (A, Figure 34), such as a roller stand, and a support or "tailman" (B) at the rear.
Never use the rip fence beyond the point where the carriage is flush with the end of the rails.
Have the blade extend about 1/8" above the top of the workpiece. Exposing the blade above this point can be hazardous.
21