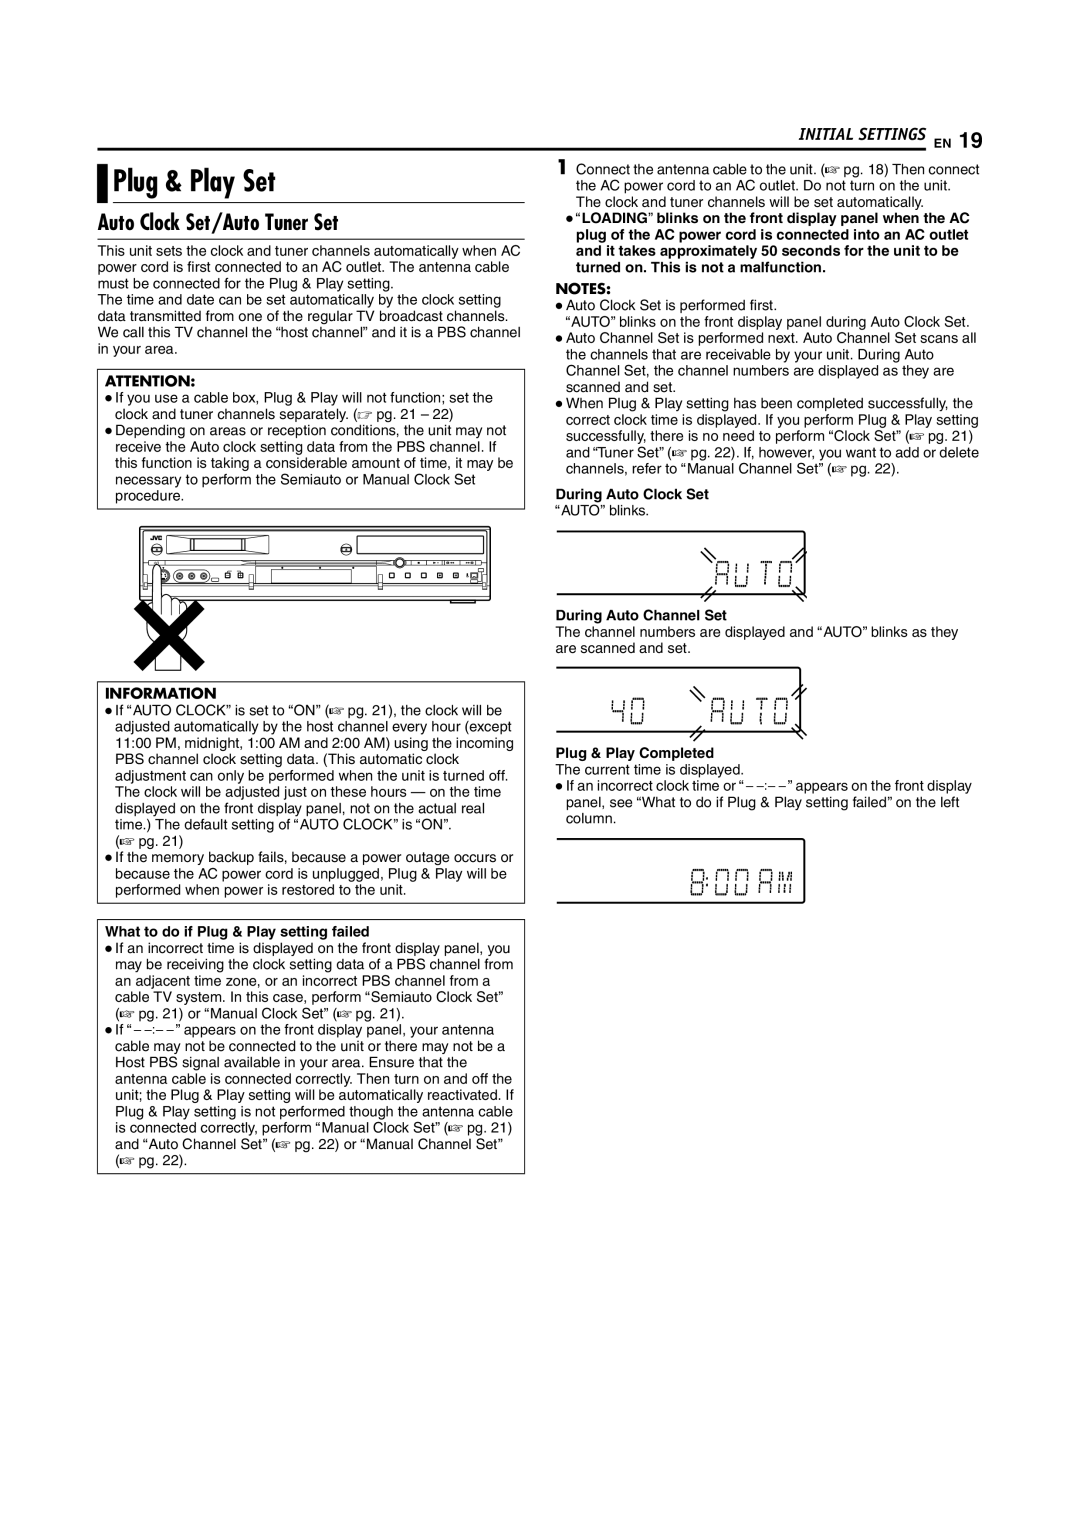
JVC DR-DX5SU manual Plug & Play Set, Auto Clock Set/Auto Tuner Set

Models: DR-DX5SU

1 88
Download 88 pages 56.63 Kb
Page 19
Image 19


INITIAL SETTINGS EN 19


Plug & Play Set

1 Connect the antenna cable to the unit. (A pg. 18) Then connect


the AC power cord to an AC outlet. Do not turn on the unit.


The clock and tuner channels will be set automatically.

Auto Clock Set/Auto Tuner Set

ALOADINGB blinks on the front display panel when the AC


plug of the AC power cord is connected into an AC outlet

This unit sets the clock and tuner channels automatically when AC

and it takes approximately 50 seconds for the unit to be

power cord is first connected to an AC outlet. The antenna cable

turned on. This is not a malfunction.

must be connected for the Plug & Play setting.

NOTES:

The time and date can be set automatically by the clock setting

Auto Clock Set is performed first.

data transmitted from one of the regular TV broadcast channels.

AAUTOB blinks on the front display panel during Auto Clock Set.

We call this TV channel the “host channel” and it is a PBS channel

Auto Channel Set is performed next. Auto Channel Set scans all

in your area.

the channels that are receivable by your unit. During Auto


Channel Set, the channel numbers are displayed as they are

ATTENTION:

scanned and set.

If you use a cable box, Plug & Play will not function; set the

When Plug & Play setting has been completed successfully, the


clock and tuner channels separately. ( pg. 21 – 22)


correct clock time is displayed. If you perform Plug & Play setting

Depending on areas or reception conditions, the unit may not

successfully, there is no need to perform AClock SetB (A pg. 21)


receive the Auto clock setting data from the PBS channel. If


and ATuner SetB (A pg. 22). If, however, you want to add or delete


this function is taking a considerable amount of time, it may be


channels, refer to AManual Channel SetB (A pg. 22).


necessary to perform the Semiauto or Manual Clock Set


During Auto Clock Set


procedure.


AAUTOB blinks.


During Auto Channel Set


The channel numbers are displayed and AAUTOB blinks as they


are scanned and set.


INFORMATION


If AAUTO CLOCKB is set to AONB (A pg. 21), the clock will be


adjusted automatically by the host channel every hour (except


11:00 PM, midnight, 1:00 AM and 2:00 AM) using the incoming

Plug & Play Completed

PBS channel clock setting data. (This automatic clock

The current time is displayed.

adjustment can only be performed when the unit is turned off.

If an incorrect clock time or AcB appears on the front display

The clock will be adjusted just on these hours — on the time

panel, see AWhat to do if Plug & Play setting failedB on the left

displayed on the front display panel, not on the actual real

column.

time.) The default setting of AAUTO CLOCKB is AONB.


(A pg. 21)


If the memory backup fails, because a power outage occurs or

because the AC power cord is unplugged, Plug & Play will be performed when power is restored to the unit.

What to do if Plug & Play setting failed

If an incorrect time is displayed on the front display panel, you may be receiving the clock setting data of a PBS channel from an adjacent time zone, or an incorrect PBS channel from a cable TV system. In this case, perform ASemiauto Clock SetB (A pg. 21) or AManual Clock SetB (A pg. 21).

If AcB appears on the front display panel, your antenna cable may not be connected to the unit or there may not be a Host PBS signal available in your area. Ensure that the antenna cable is connected correctly. Then turn on and off the unit; the Plug & Play setting will be automatically reactivated. If Plug & Play setting is not performed though the antenna cable is connected correctly, perform AManual Clock SetB (A pg. 21) and AAuto Channel SetB (A pg. 22) or AManual Channel SetB (A pg. 22).

Page 19
Image 19
JVC DR-DX5SU manual Plug & Play Set, Auto Clock Set/Auto Tuner Set

DR-DX5SU specifications

The JVC DR-DX5SU is a versatile and compact DVD recorder that has gained recognition for its impressive features and user-friendly design. This device serves as a perfect solution for individuals looking to digitize their favorite media while enjoying high-quality playback and recording capabilities.

One of the standout features of the DR-DX5SU is its ability to record in various formats, including DVD-R, DVD-RW, and DVD+RW. This flexibility allows users to choose the type of media that best suits their needs, whether they require a one-time recording or rewritable discs. The recorder supports a range of video resolutions, ensuring that users can capture their content in exceptional quality. With its progressive scan output, the device provides sharp and detailed images, enhancing the overall viewing experience.

The JVC DR-DX5SU is also equipped with a built-in hard drive that offers ample storage space for recorded content. This feature makes it easy for users to store their favorite shows and movies without worrying about running out of disk space. The hard drive can be used for time-shifting, allowing users to pause and resume live TV, making it a practical choice for busy households.

In terms of connectivity, the DR-DX5SU comes with a variety of ports, including HDMI, composite video, and S-Video outputs. This wide range of connectivity options ensures compatibility with various devices, allowing seamless integration with existing home entertainment systems. Moreover, the HDMI output is particularly beneficial as it supports the transfer of high-definition video and audio through a single cable, reducing clutter and improving convenience.

Another noteworthy aspect of the JVC DR-DX5SU is its intuitive interface, which simplifies navigation and programming. Users can easily set up recordings using the on-screen menu, and the device's scheduling functions enable hassle-free recording of multiple shows over an extended period.

The JVC DR-DX5SU's range of features positions it as a top choice for consumers looking for a reliable DVD recorder that balances performance and usability. Its recording versatility, ample storage, and multiple connectivity options make it an excellent addition to any home entertainment system, while the user-friendly design ensures that everyone from tech-savvy users to novices can take full advantage of its capabilities. Overall, the DR-DX5SU stands out as a powerful and practical solution for those looking to preserve their favorite media.