JVC DR-DX5SU Dubbing From HDD To DV, Original Dubbing From DVD To HDD, Dubbing From DVD To DV

Models: DR-DX5SU

1 88
Download 88 pages 56.63 Kb
Page 58
Image 58

58 EN EDITING

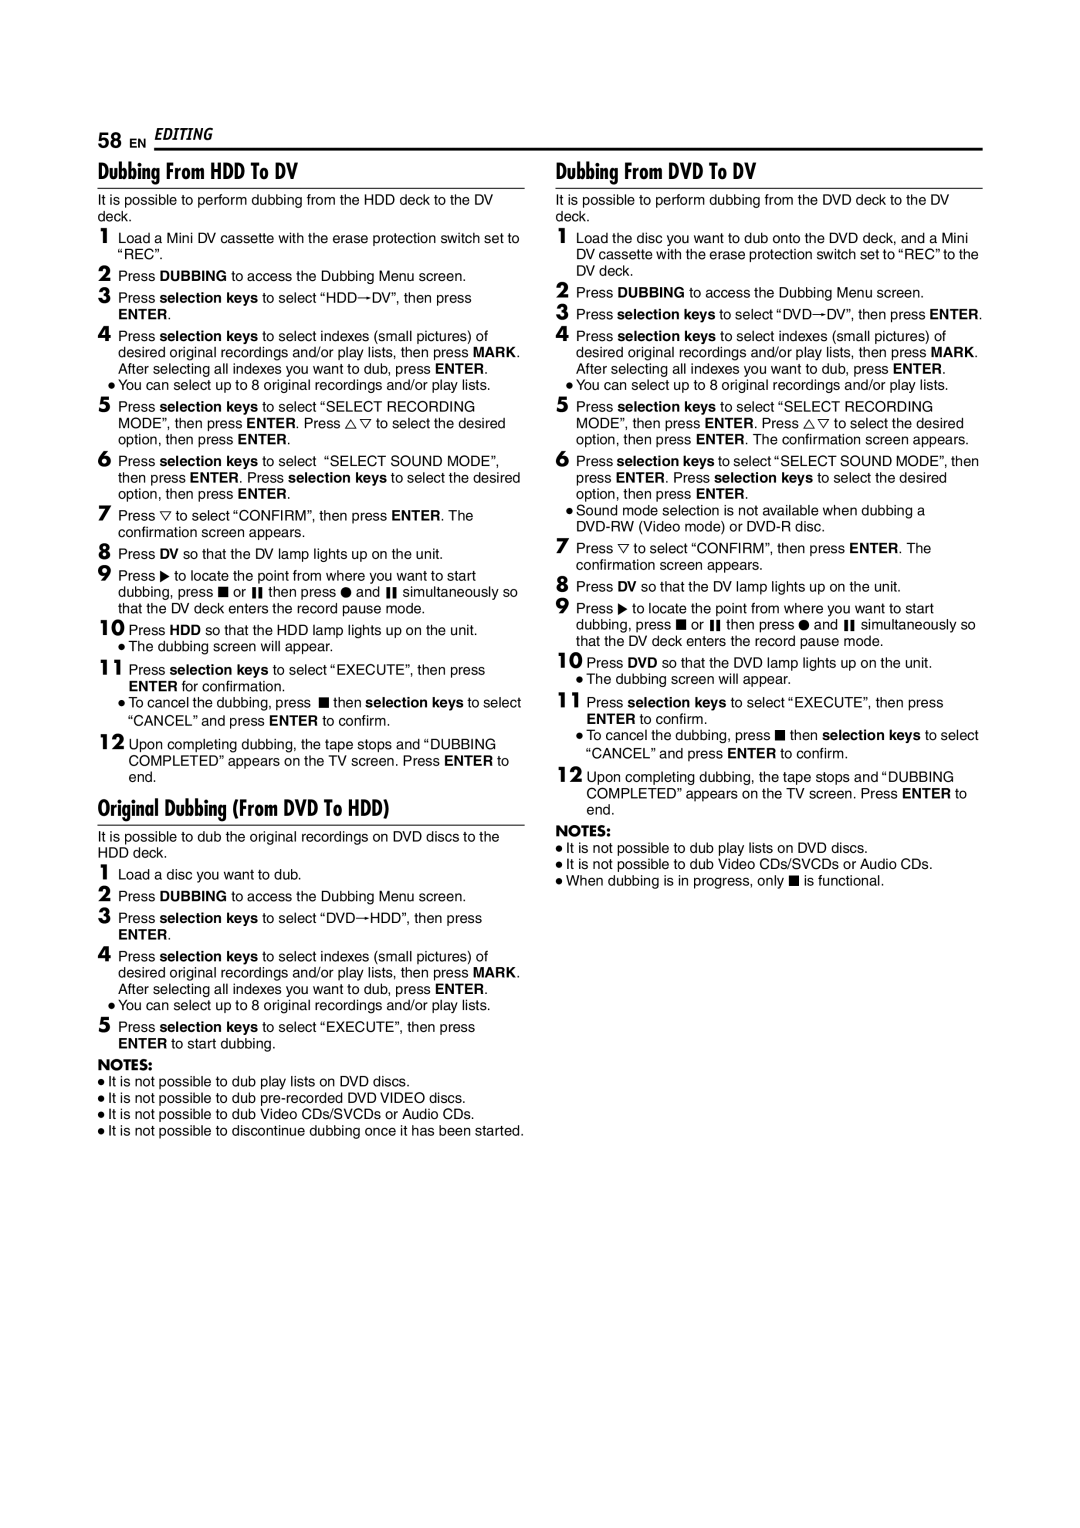
Dubbing From HDD To DV

It is possible to perform dubbing from the HDD deck to the DV deck.

1Load a Mini DV cassette with the erase protection switch set to

ARECB.

2Press DUBBING to access the Dubbing Menu screen.

3Press selection keys to select AHDDNDVB, then press

ENTER.

4Press selection keys to select indexes (small pictures) of desired original recordings and/or play lists, then press MARK. After selecting all indexes you want to dub, press ENTER.

You can select up to 8 original recordings and/or play lists.

5Press selection keys to select ASELECT RECORDING MODEB, then press ENTER. Press FG to select the desired option, then press ENTER.

6Press selection keys to select ASELECT SOUND MODEB, then press ENTER. Press selection keys to select the desired option, then press ENTER.

7Press G to select ACONFIRMB, then press ENTER. The confirmation screen appears.

8Press DV so that the DV lamp lights up on the unit.

9Press I to locate the point from where you want to start dubbing, press o or W then press R and W simultaneously so that the DV deck enters the record pause mode.

10Press HDD so that the HDD lamp lights up on the unit.

The dubbing screen will appear.

11Press selection keys to select AEXECUTEB, then press ENTER for confirmation.

To cancel the dubbing, press o then selection keys to select ACANCELB and press ENTER to confirm.

12Upon completing dubbing, the tape stops and ADUBBING COMPLETEDB appears on the TV screen. Press ENTER to end.

Original Dubbing (From DVD To HDD)

It is possible to dub the original recordings on DVD discs to the HDD deck.

1Load a disc you want to dub.

2Press DUBBING to access the Dubbing Menu screen.

3Press selection keys to select ADVDNHDDB, then press

ENTER.

Dubbing From DVD To DV

It is possible to perform dubbing from the DVD deck to the DV deck.

1Load the disc you want to dub onto the DVD deck, and a Mini DV cassette with the erase protection switch set to ARECB to the DV deck.

2Press DUBBING to access the Dubbing Menu screen.

3Press selection keys to select ADVDNDVB, then press ENTER.

4Press selection keys to select indexes (small pictures) of desired original recordings and/or play lists, then press MARK. After selecting all indexes you want to dub, press ENTER.

You can select up to 8 original recordings and/or play lists.

5Press selection keys to select ASELECT RECORDING MODEB, then press ENTER. Press FG to select the desired option, then press ENTER. The confirmation screen appears.

6Press selection keys to select ASELECT SOUND MODEB, then press ENTER. Press selection keys to select the desired option, then press ENTER.

Sound mode selection is not available when dubbing a DVD-RW (Video mode) or DVD-Rdisc.

7Press G to select ACONFIRMB, then press ENTER. The confirmation screen appears.

8Press DV so that the DV lamp lights up on the unit.

9Press I to locate the point from where you want to start dubbing, press o or W then press R and W simultaneously so that the DV deck enters the record pause mode.

10Press DVD so that the DVD lamp lights up on the unit.

The dubbing screen will appear.

11Press selection keys to select AEXECUTEB, then press ENTER to confirm.

To cancel the dubbing, press o then selection keys to select ACANCELB and press ENTER to confirm.

12Upon completing dubbing, the tape stops and ADUBBING COMPLETEDB appears on the TV screen. Press ENTER to end.

NOTES:

It is not possible to dub play lists on DVD discs.

It is not possible to dub Video CDs/SVCDs or Audio CDs.

When dubbing is in progress, only o is functional.

4Press selection keys to select indexes (small pictures) of desired original recordings and/or play lists, then press MARK. After selecting all indexes you want to dub, press ENTER.

You can select up to 8 original recordings and/or play lists.

5Press selection keys to select AEXECUTEB, then press ENTER to start dubbing.

NOTES:

It is not possible to dub play lists on DVD discs.

It is not possible to dub pre-recorded DVD VIDEO discs.

It is not possible to dub Video CDs/SVCDs or Audio CDs.

It is not possible to discontinue dubbing once it has been started.

Page 58
Image 58
JVC DR-DX5SU manual Dubbing From HDD To DV, Original Dubbing From DVD To HDD, Dubbing From DVD To DV

DR-DX5SU specifications

The JVC DR-DX5SU is a versatile and compact DVD recorder that has gained recognition for its impressive features and user-friendly design. This device serves as a perfect solution for individuals looking to digitize their favorite media while enjoying high-quality playback and recording capabilities.

One of the standout features of the DR-DX5SU is its ability to record in various formats, including DVD-R, DVD-RW, and DVD+RW. This flexibility allows users to choose the type of media that best suits their needs, whether they require a one-time recording or rewritable discs. The recorder supports a range of video resolutions, ensuring that users can capture their content in exceptional quality. With its progressive scan output, the device provides sharp and detailed images, enhancing the overall viewing experience.

The JVC DR-DX5SU is also equipped with a built-in hard drive that offers ample storage space for recorded content. This feature makes it easy for users to store their favorite shows and movies without worrying about running out of disk space. The hard drive can be used for time-shifting, allowing users to pause and resume live TV, making it a practical choice for busy households.

In terms of connectivity, the DR-DX5SU comes with a variety of ports, including HDMI, composite video, and S-Video outputs. This wide range of connectivity options ensures compatibility with various devices, allowing seamless integration with existing home entertainment systems. Moreover, the HDMI output is particularly beneficial as it supports the transfer of high-definition video and audio through a single cable, reducing clutter and improving convenience.

Another noteworthy aspect of the JVC DR-DX5SU is its intuitive interface, which simplifies navigation and programming. Users can easily set up recordings using the on-screen menu, and the device's scheduling functions enable hassle-free recording of multiple shows over an extended period.

The JVC DR-DX5SU's range of features positions it as a top choice for consumers looking for a reliable DVD recorder that balances performance and usability. Its recording versatility, ample storage, and multiple connectivity options make it an excellent addition to any home entertainment system, while the user-friendly design ensures that everyone from tech-savvy users to novices can take full advantage of its capabilities. Overall, the DR-DX5SU stands out as a powerful and practical solution for those looking to preserve their favorite media.