DR-DX5SU specifications
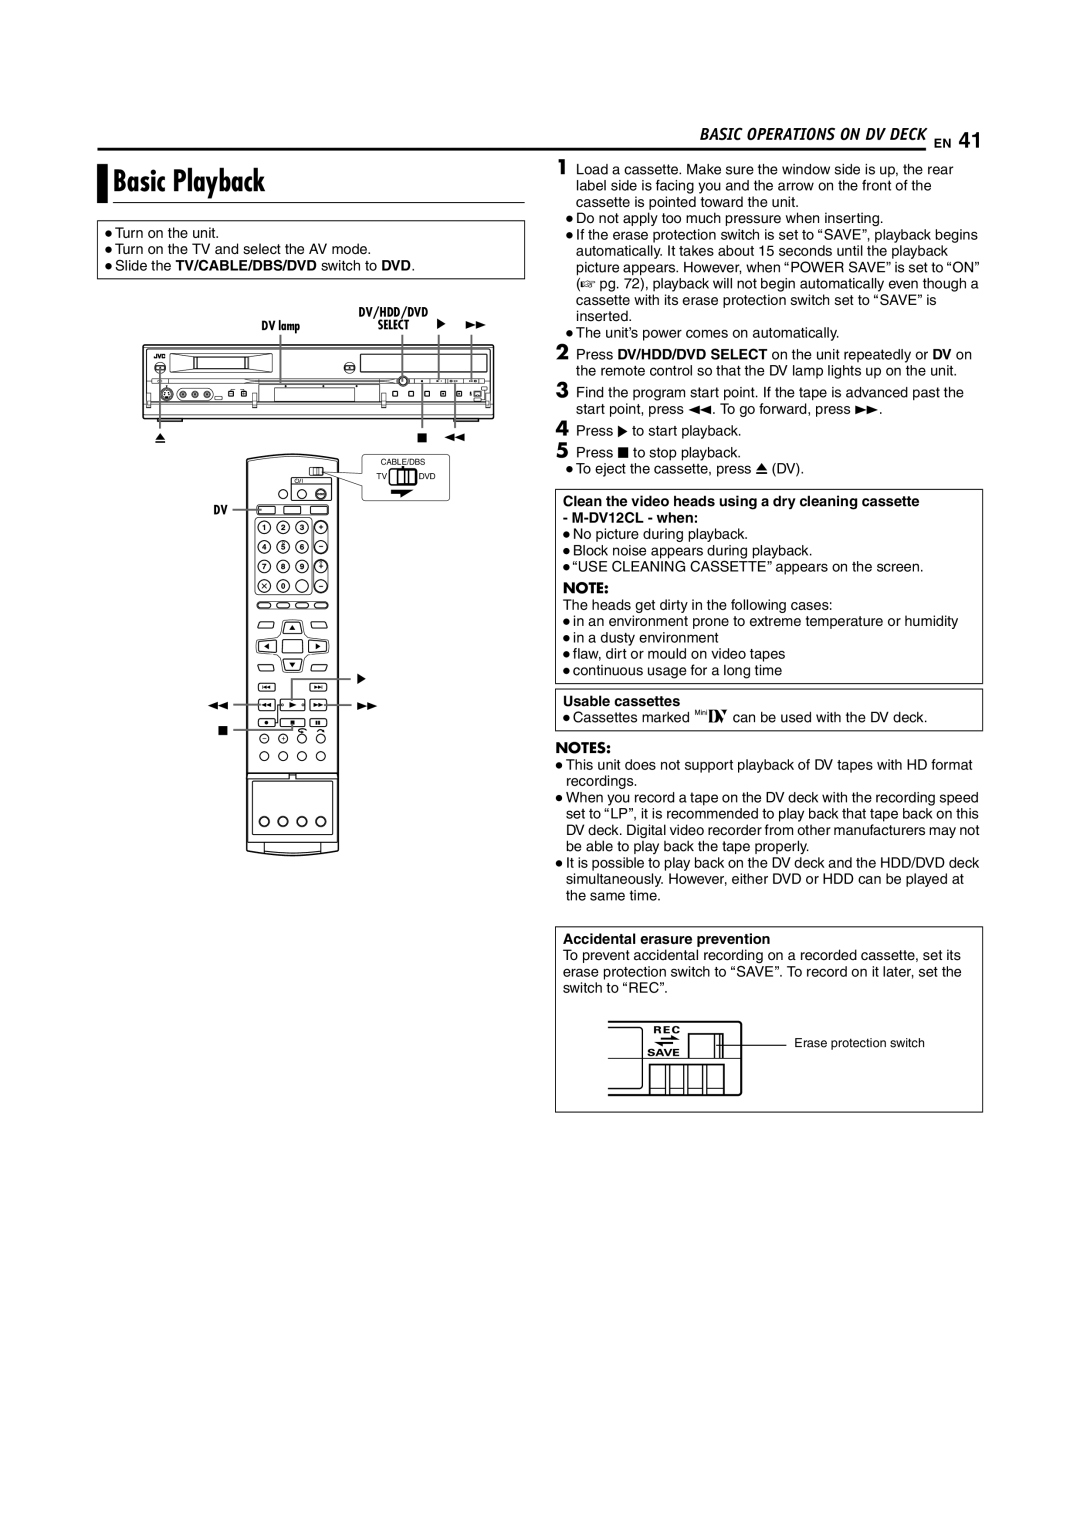
The JVC DR-DX5SU is a versatile and compact DVD recorder that has gained recognition for its impressive features and user-friendly design. This device serves as a perfect solution for individuals looking to digitize their favorite media while enjoying high-quality playback and recording capabilities.One of the standout features of the DR-DX5SU is its ability to record in various formats, including DVD-R, DVD-RW, and DVD+RW. This flexibility allows users to choose the type of media that best suits their needs, whether they require a one-time recording or rewritable discs. The recorder supports a range of video resolutions, ensuring that users can capture their content in exceptional quality. With its progressive scan output, the device provides sharp and detailed images, enhancing the overall viewing experience.
The JVC DR-DX5SU is also equipped with a built-in hard drive that offers ample storage space for recorded content. This feature makes it easy for users to store their favorite shows and movies without worrying about running out of disk space. The hard drive can be used for time-shifting, allowing users to pause and resume live TV, making it a practical choice for busy households.
In terms of connectivity, the DR-DX5SU comes with a variety of ports, including HDMI, composite video, and S-Video outputs. This wide range of connectivity options ensures compatibility with various devices, allowing seamless integration with existing home entertainment systems. Moreover, the HDMI output is particularly beneficial as it supports the transfer of high-definition video and audio through a single cable, reducing clutter and improving convenience.
Another noteworthy aspect of the JVC DR-DX5SU is its intuitive interface, which simplifies navigation and programming. Users can easily set up recordings using the on-screen menu, and the device's scheduling functions enable hassle-free recording of multiple shows over an extended period.
The JVC DR-DX5SU's range of features positions it as a top choice for consumers looking for a reliable DVD recorder that balances performance and usability. Its recording versatility, ample storage, and multiple connectivity options make it an excellent addition to any home entertainment system, while the user-friendly design ensures that everyone from tech-savvy users to novices can take full advantage of its capabilities. Overall, the DR-DX5SU stands out as a powerful and practical solution for those looking to preserve their favorite media.

