For example: DVD VIDEO
When 3 audio languages are contained.

28 EN BASIC OPERATIONS ON DVD DECK

Subtitle Selection

Audio Language/Sound Selection


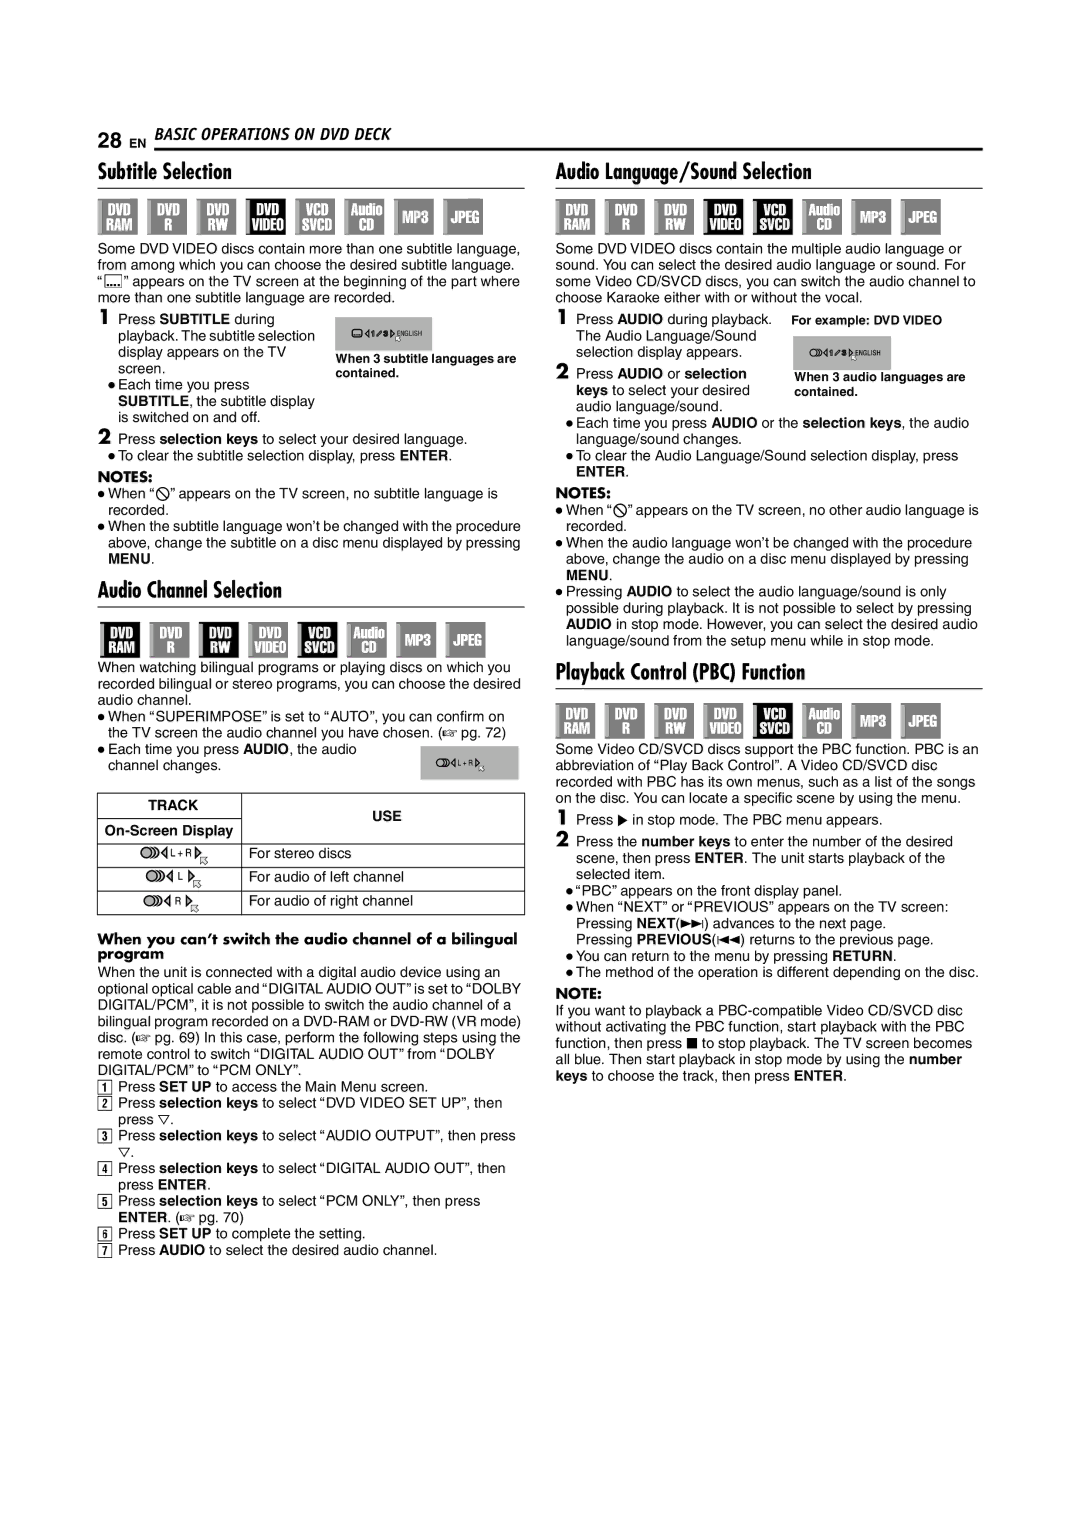
Some DVD VIDEO discs contain more than one subtitle language, from among which you can choose the desired subtitle language. AhB appears on the TV screen at the beginning of the part where more than one subtitle language are recorded.

Some DVD VIDEO discs contain the multiple audio language or sound. You can select the desired audio language or sound. For some Video CD/SVCD discs, you can switch the audio channel to choose Karaoke either with or without the vocal.

1Press SUBTITLE during playback. The subtitle selection display appears on the TV screen.

Each time you press SUBTITLE, the subtitle display is switched on and off.

ENGLISH

When 3 subtitle languages are contained.

1 Press AUDIO during playback. The Audio Language/Sound selection display appears.

2 Press AUDIO or selection keys to select your desired audio language/sound.

Each time you press AUDIO or the selection keys, the audio

2Press selection keys to select your desired language.

To clear the subtitle selection display, press ENTER.

NOTES:

When A7B appears on the TV screen, no subtitle language is recorded.

When the subtitle language won’t be changed with the procedure above, change the subtitle on a disc menu displayed by pressing MENU.

Audio Channel Selection

When watching bilingual programs or playing discs on which you recorded bilingual or stereo programs, you can choose the desired audio channel.

When ASUPERIMPOSEB is set to AAUTOB, you can confirm on the TV screen the audio channel you have chosen. (A pg. 72)

Each time you press AUDIO, the audio

channel changes.

TRACK

USE

On-Screen Display

For stereo discs

For audio of left channel

For audio of right channel

When you can’t switch the audio channel of a bilingual program

When the unit is connected with a digital audio device using an optional optical cable and ADIGITAL AUDIO OUTB is set to ADOLBY DIGITAL/PCMB, it is not possible to switch the audio channel of a bilingual program recorded on a DVD-RAM or DVD-RW (VR mode) disc. (A pg. 69) In this case, perform the following steps using the remote control to switch ADIGITAL AUDIO OUTB from ADOLBY DIGITAL/PCMB to APCM ONLYB.

APress SET UP to access the Main Menu screen.

BPress selection keys to select ADVD VIDEO SET UPB, then press G.

CPress selection keys to select AAUDIO OUTPUTB, then press

G.

DPress selection keys to select ADIGITAL AUDIO OUTB, then press ENTER.

EPress selection keys to select APCM ONLYB, then press ENTER. (A pg. 70)

FPress SET UP to complete the setting.

GPress AUDIO to select the desired audio channel.

language/sound changes.

To clear the Audio Language/Sound selection display, press

ENTER.

NOTES:

When A7B appears on the TV screen, no other audio language is recorded.

When the audio language won’t be changed with the procedure above, change the audio on a disc menu displayed by pressing MENU.

Pressing AUDIO to select the audio language/sound is only possible during playback. It is not possible to select by pressing AUDIO in stop mode. However, you can select the desired audio language/sound from the setup menu while in stop mode.

Playback Control (PBC) Function

Some Video CD/SVCD discs support the PBC function. PBC is an abbreviation of APlay Back ControlB. A Video CD/SVCD disc recorded with PBC has its own menus, such as a list of the songs on the disc. You can locate a specific scene by using the menu.

1Press I in stop mode. The PBC menu appears.

2Press the number keys to enter the number of the desired scene, then press ENTER. The unit starts playback of the selected item.

APBCB appears on the front display panel.

When ANEXTB or APREVIOUSB appears on the TV screen: Pressing NEXT(T) advances to the next page. Pressing PREVIOUS(S) returns to the previous page.

You can return to the menu by pressing RETURN.

The method of the operation is different depending on the disc.

NOTE:

If you want to playback a PBC-compatible Video CD/SVCD disc without activating the PBC function, start playback with the PBC function, then press o to stop playback. The TV screen becomes all blue. Then start playback in stop mode by using the number keys to choose the track, then press ENTER.

Page 28
Image 28
JVC DR-DX5SU Subtitle Selection Audio Language/Sound Selection, Audio Channel Selection, Playback Control PBC Function

DR-DX5SU specifications

The JVC DR-DX5SU is a versatile and compact DVD recorder that has gained recognition for its impressive features and user-friendly design. This device serves as a perfect solution for individuals looking to digitize their favorite media while enjoying high-quality playback and recording capabilities.

One of the standout features of the DR-DX5SU is its ability to record in various formats, including DVD-R, DVD-RW, and DVD+RW. This flexibility allows users to choose the type of media that best suits their needs, whether they require a one-time recording or rewritable discs. The recorder supports a range of video resolutions, ensuring that users can capture their content in exceptional quality. With its progressive scan output, the device provides sharp and detailed images, enhancing the overall viewing experience.

The JVC DR-DX5SU is also equipped with a built-in hard drive that offers ample storage space for recorded content. This feature makes it easy for users to store their favorite shows and movies without worrying about running out of disk space. The hard drive can be used for time-shifting, allowing users to pause and resume live TV, making it a practical choice for busy households.

In terms of connectivity, the DR-DX5SU comes with a variety of ports, including HDMI, composite video, and S-Video outputs. This wide range of connectivity options ensures compatibility with various devices, allowing seamless integration with existing home entertainment systems. Moreover, the HDMI output is particularly beneficial as it supports the transfer of high-definition video and audio through a single cable, reducing clutter and improving convenience.

Another noteworthy aspect of the JVC DR-DX5SU is its intuitive interface, which simplifies navigation and programming. Users can easily set up recordings using the on-screen menu, and the device's scheduling functions enable hassle-free recording of multiple shows over an extended period.

The JVC DR-DX5SU's range of features positions it as a top choice for consumers looking for a reliable DVD recorder that balances performance and usability. Its recording versatility, ample storage, and multiple connectivity options make it an excellent addition to any home entertainment system, while the user-friendly design ensures that everyone from tech-savvy users to novices can take full advantage of its capabilities. Overall, the DR-DX5SU stands out as a powerful and practical solution for those looking to preserve their favorite media.