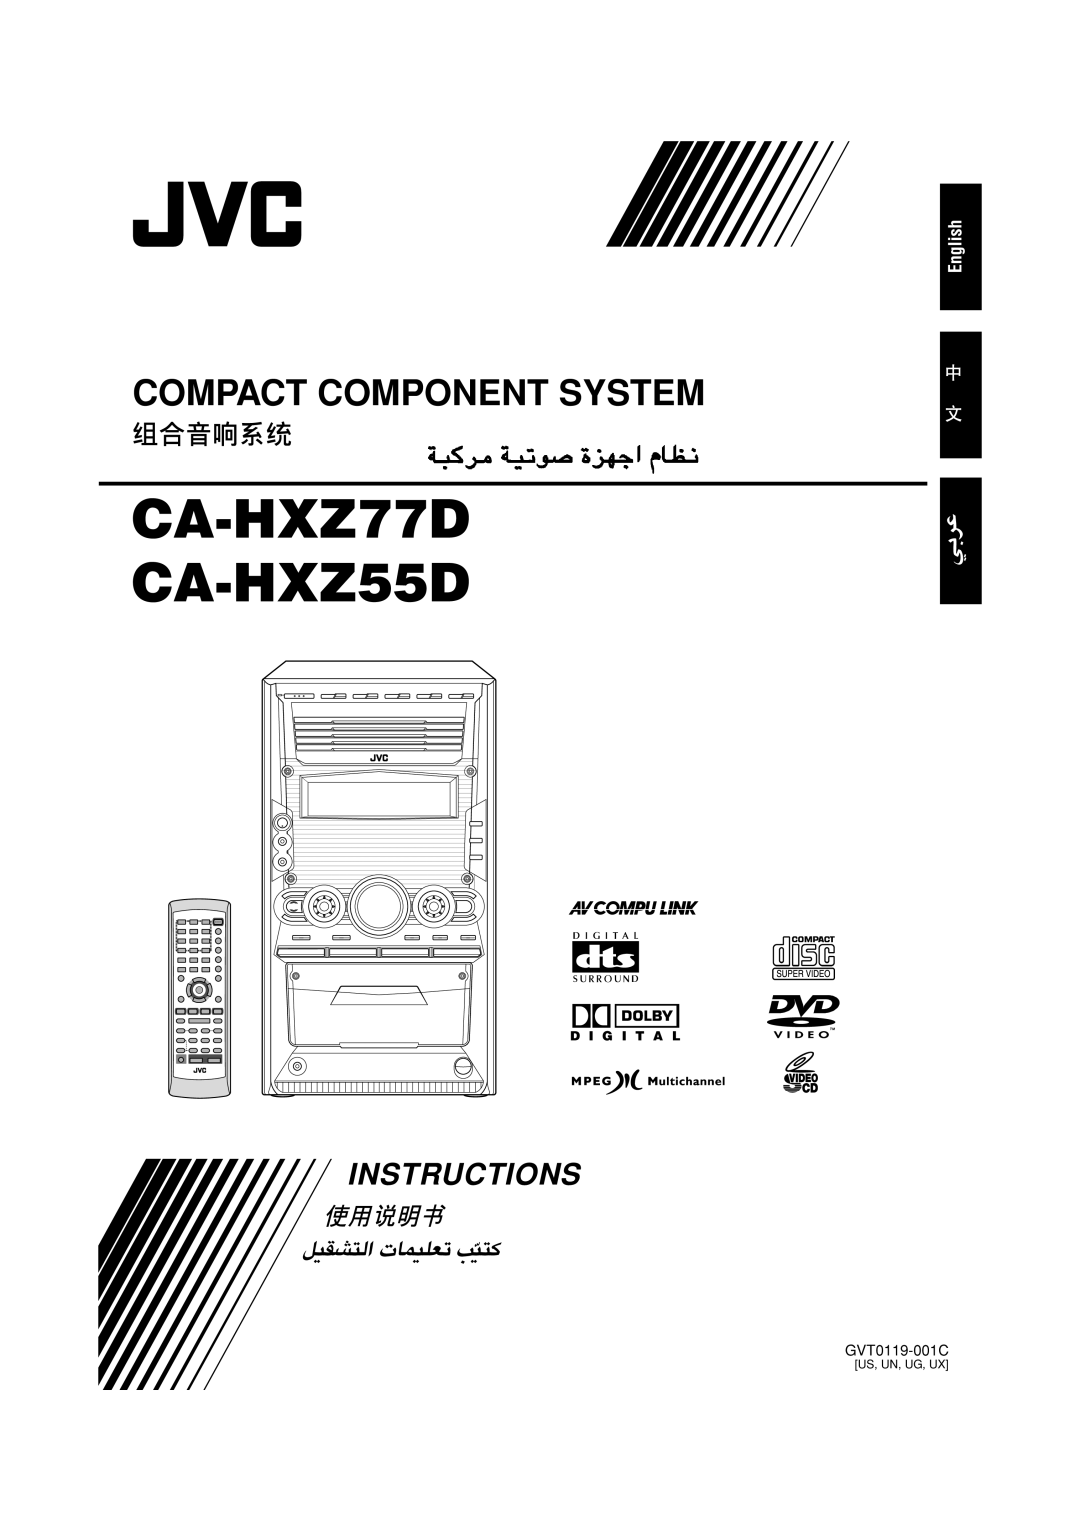
CA-HXZ77D CA-HXZ55D
Page
Page
CA-HXZ77D
Important for Laser Products
Introduction
Precautions
About This Manual
Contents
Main Unit
Location of the Buttons and Controls
Front Panel
Become familiar with the buttons and controls on your unit
Display Window
Display Window
REPEAT, 1 DISC, ALL
DTS, MPEG, PL, Digital Surround
Remote Control
Remote Control
FM Mode button* 22 w AUX button
REV. Mode button* 24, 47 Disc 3 play button
Putting the Batteries into the Remote Control
Supplied Accessories Connecting Antennas
Getting Started
FM antenna
AM antenna
Connecting Speakers
To connect an outdoor AM antenna
Close the speaker terminals
Ideal speaker layout
Connecting a TV
If you play back a PAL disc with this setting set to Ntsc
If you play back an Ntsc disc with this setting set to PAL
To select the color system
To connect analog audio equipment
Setting the DVD Player
Adjusting the Voltage Selector
Select the output signal type Setting is finished
Go to the next page to start the initial setup
To select the monitor type-Step
Step
Press cursor 3 / 2 repeatedly to display SPK. Setting
To adjust the speaker distance-Step
Press cursor ∞ / 5 repeatedly to
Distance
To adjust the clock again
Setting the Clock
To check the clock time while playing a source
Basic Operations
To turn down the volume level temporarily
Adjusting the Volume
Press STANDBY/ON or on the front panel
Press Fade Muting
Changing the Display Brightness
Adjusting the Front Speaker Output Balance
Turning Off the Key-touch Tone
Reinforcing the Bass Sound
Changing the Scanning Mode
Creating Your Own Sound Mode-User Mode
To use your own sound mode
Prohibiting Disc Ejection-Tray Lock
Using Surround Mode
Mode control on the front panel
Activating Surround Mode
When multi-channel digital disc is played back
Playable Surround mode
Press Level + or to adjust the effect level
When 2-channel source is played back
Input signal indicators on the display
To cancel the Surround mode
Listening to FM and AM Broadcasts
Remote Control
Presetting Stations
Setting the AM Tuner Interval Spacing
Tuning in to a Station
Tuning in to a Preset Station
Playing Back Tapes
Playing Back a Tape
To play both sides repeatedly-Reverse mode
Locating the Beginning of a Song-Music Scan
To find the beginning of the current song
Playing Back Discs
Playable disc types
Disc Information
About copy protection
Region
Disc structure
While operating a Svcd or VCD using the menu
SVCD, VCD, and CD consist of tracks
Playback Control function PBC-SVCD and VCD only
Press the same 0 you have pressed in step
Loading Discs
About the Disc Ready lamps
About the Disc playback indications
Load discs
Continuous Playback
Disc playback sequence
Press the corresponding disc number button DISC1 DISC5
Basic Disc Operations
Changing the Disc to Play Back
To select a disc to play back
To go to another chapter
To show the on-screen Indication
To search for a particular Point
Automatically
During Forward/Reverse Search
When playing a DVD
Playing Back by Using the Disc Menu
When playing a Svcd or VCD
Repeating Playback Repeat Play
Order-Program Play
Programming the Playing
For DVD, MP3 disc
For SVCD, VCD, or CD
Random Play
Playing at Random
CD shows the types of discs the operation is available for
Advanced Disc Operations
Press on Screen
About the On-screen Bar
On-screen guide icons
Changing the Time Indication
Operation through the On-screen Bar
Press on Screen twice
Use the number buttons 0 9 to enter the time
Locating a desired Position-Time Search
To correct a misentry
For DVD/VCD
Repeating Playback
Press cursor ∞ / 5 repeatedly to select Repeat Play mode
To repeat a desired portion
Press cursor ∞ / 5 repeatedly to select A-B
Selecting the Subtitle Language
Selecting a View Angle
Press Angle
Press Angle repeatedly to select the desired view angle
Selecting the Audio Channel
Selecting the Audio Language
Press Audio
Press Audio repeatedly to select the desired audio language
Still picture and frame-by-frame playback
Special Picture Playback
Playing back in slow motion-Slow-motion playback
Zooming
To adjust the appearance of the picture
Changing the VFP Setting
MP3/JPEG Disc Playback
For MP3
Operations through the MP3/JPEG Control Screens
For Jpeg
Repeating Playback-Repeat Play
Recording
Recording on a Tape
To record on both sides-Reverse mode
To protect your recording
Load a disc Select a disc
Synchronized Recording
Press Disc REC Start
To record without creating a 4-second blank
Enjoying Karaoke
Singing Along Karaoke
To adjust the Key
Vocal Masking
To apply an echo to your voice
Microphone Mixing
Turn MIC Level and Volume as you speak into the microphones
To use microphone only
For DVD/SVCD/VCD/CD
To stop Karaoke Program Play
To check and modify the reserved songs
To exit from Karaoke Program Play
Using the Timers
Press CLOCK/TIMER again
Using Daily Timer
How Daily Timer actually works
Set the on-time you want the unit to turn on at
When selecting Disc
When selecting Tuner FM or Tuner AM
To turn on or off Daily Timer
Turn ¢ / 4 to set the volume level
How Recording Timer actually works
Using Recording Timer
Select a preset station
Press to turn off the unit standby if necessary
Timer Priority
Using Sleep Timer
To turn on or off Recording Timer
How Sleep Timer actually works
Choice Menu Operations
Introducing the Choice Menus
Configuration of the choice menus
Operation buttons
About menu icons
Press Enter to finish the setting
Operating Procedure
Press cursor 3 / 2 repeatedly to display Picture menu
Press cursor ∞ / 5 repeatedly to select highlight MP3/JPEG
MP3
Picture setting menu-PICTURE
PCM only
Audio selection menu-AUDIO
Dolby DIGITAL/PCM
STREAM/PCM
Surround Speaker
Speaker setting menu-SPK. Setting
Return
Setting Parental Lock
Restricting the Access Level-Parental Lock
Remember your password or make a note of it
When you enter wrong passwords three times
Changing the Parental Lock setting
Releasing Parental Lock temporarily
Country/Area codes list for Parental Lock
Connection diagram
Using AV Compu Link Control System
Additional Information
AV Compu Link connection
Language Code List
Output Signals through the Optical Digital Output Terminal
Output Signals
44.1 kHz, 16 bit Linear PCM
Glossary
Cleaning the unit
Maintenance
Handling discs
Handling cassette tapes
Symptom
Troubleshooting
Cause
Action
Specifications
Voltage Selector