Setting Blue Back
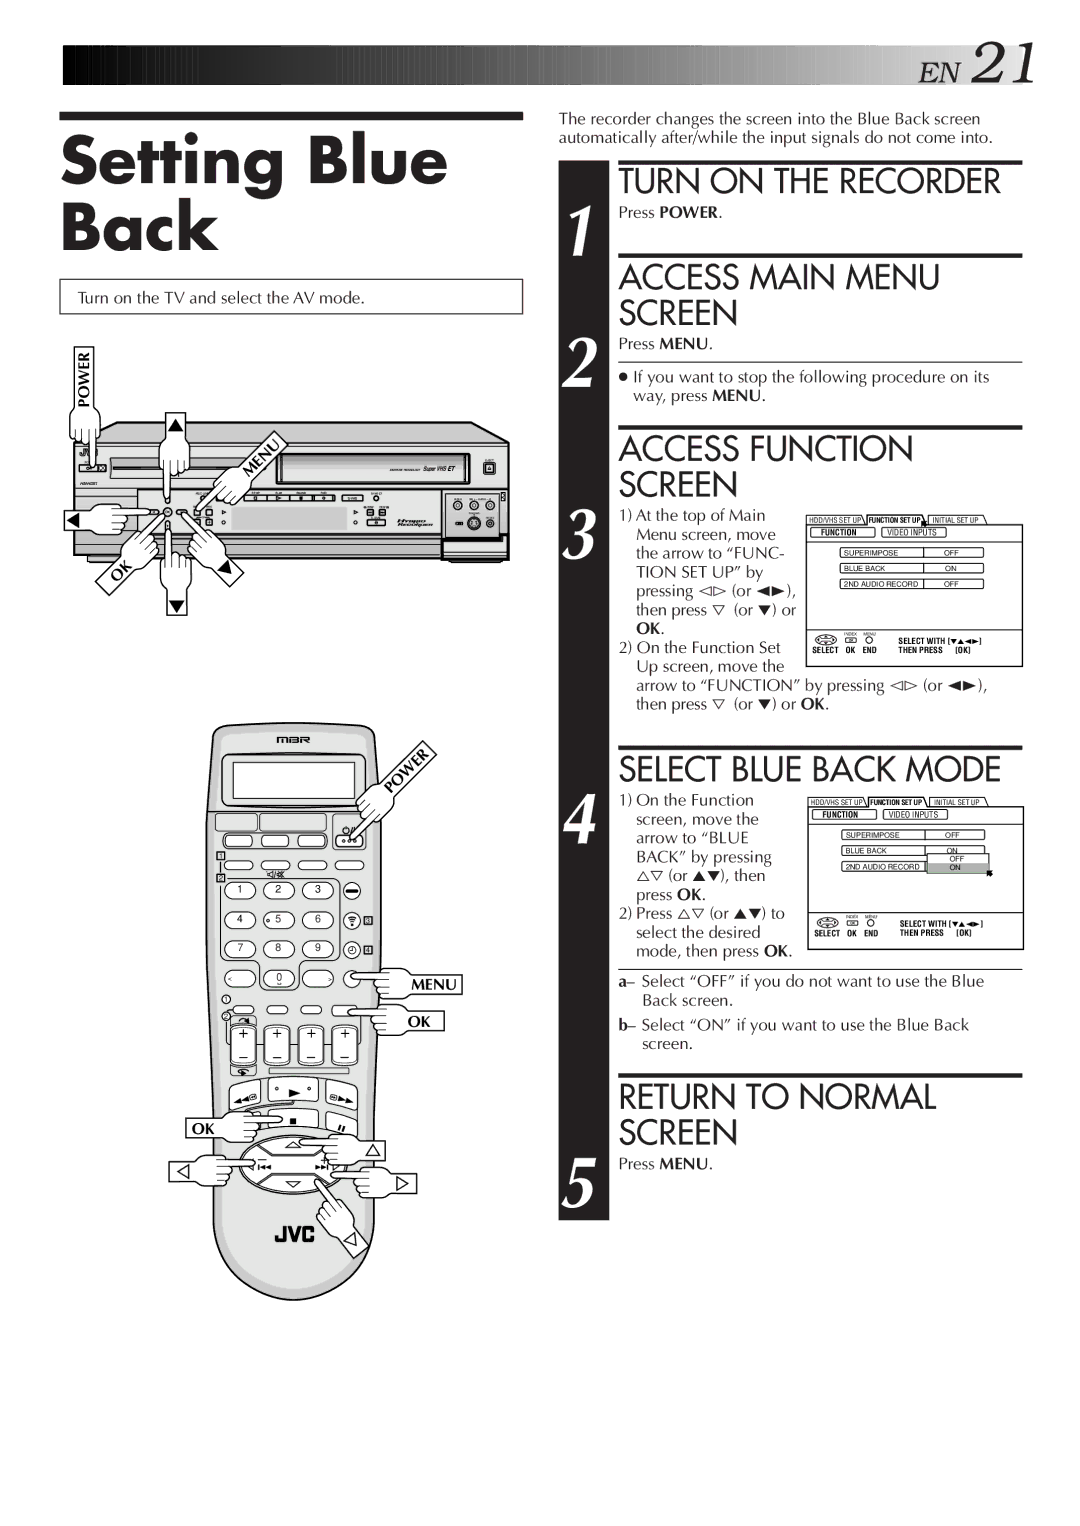
Turn on the TV and select the AV mode.
POWER
![]()
![]()
![]()
![]()
![]()
![]()
![]()
![]()
![]()
![]()
![]()
![]()
![]()
![]()
![]()
![]()
![]()
![]()
![]()
![]()
![]()
![]()
![]()
![]()
![]()
![]()
![]()
![]()
![]()
![]()
![]()
![]()
![]()
![]()
![]()
![]()
![]()
![]()
![]()
![]()
![]()
![]()
![]()
![]()
![]()
![]()
![]()
![]()
![]()
![]() E
E![]() N
N![]()
![]() 21
21![]()
The recorder changes the screen into the Blue Back screen automatically after/while the input signals do not come into.
TURN ON THE RECORDER
1 Press POWER.
ACCESS MAIN MENU
SCREEN
2 Press MENU.
●If you want to stop the following procedure on its way, press MENU.
POWER
HM-HDS1
| MENU |
|
|
|
| EJECT | |
|
|
|
|
|
| DIGITPURE TECHNOLOGY |
|
REC LINK | STOP | PLAY | PAUSE | REC |
|
| |
| HDD |
|
|
| VIDEO | (M) L – AUDIO – R | |
MENU | NAVI | REW | FEW |
|
OK |
|
|
| |
| CH | A. DUB | PAUSE | |
|
|
|
| F - 1 |
OK
| ACCESS FUNCTION |
| ||
3 | SCREEN |
|
|
|
1) At the top of Main | HDD/VHS SET UP FUNCTION SET UP INITIAL SET UP | |||
Menu screen, move | FUNCTION | VIDEO INPUTS |
| |
|
|
| ||
the arrow to “FUNC- | SUPERIMPOSE | OFF | ||
BLUE BACK | ON | |||
| TION SET UP” by |
|
|
|
| pressing @# (or 23), | 2ND AUDIO RECORD | OFF | |
|
|
|
| |
| then press Þ (or °) or |
|
|
|
| OK. | INDEX | MENU |
|
| 2) On the Function Set |
| SELECT WITH [°523] | |
| SELECT OK | END THEN PRESS | [OK] | |
| Up screen, move the |
|
|
|
| arrow to “FUNCTION” by pressing @# (or 23), | |||
| then press Þ (or °) or OK. |
|
| |
1
2
1 2 3
4 5 6
7 8 9
< | 0 | > |
1
2
POWER
3
4
MENU
OK
SELECT BLUE BACK MODE
4 | 1) On the Function | HDD/VHS SET UP | FUNCTION SET UP INITIAL SET UP | ||
screen, move the | FUNCTION |
| VIDEO INPUTS |
| |
|
|
|
| ||
arrow to “BLUE | SUPERIMPOSE | OFF | |||
BACK” by pressing | BLUE BACK |
| ON | ||
| OFF | ||||
| %Þ (or 5°), then | 2ND AUDIO RECORD | ON | ||
|
|
|
|
| |
| press OK. |
|
|
|
|
| 2) Press %Þ (or 5°) to | INDEX | MENU | SELECT WITH [°523] | |
| select the desired |
|
| ||
| SELECT OK | END | THEN PRESS | [OK] | |
| mode, then press OK. |
|
|
|
|
a– Select “OFF” if you do not want to use the Blue Back screen.
b– Select “ON” if you want to use the Blue Back screen.
OK
– +