3. Setting and Adjustment During Shooting
External Monitor Adjustment
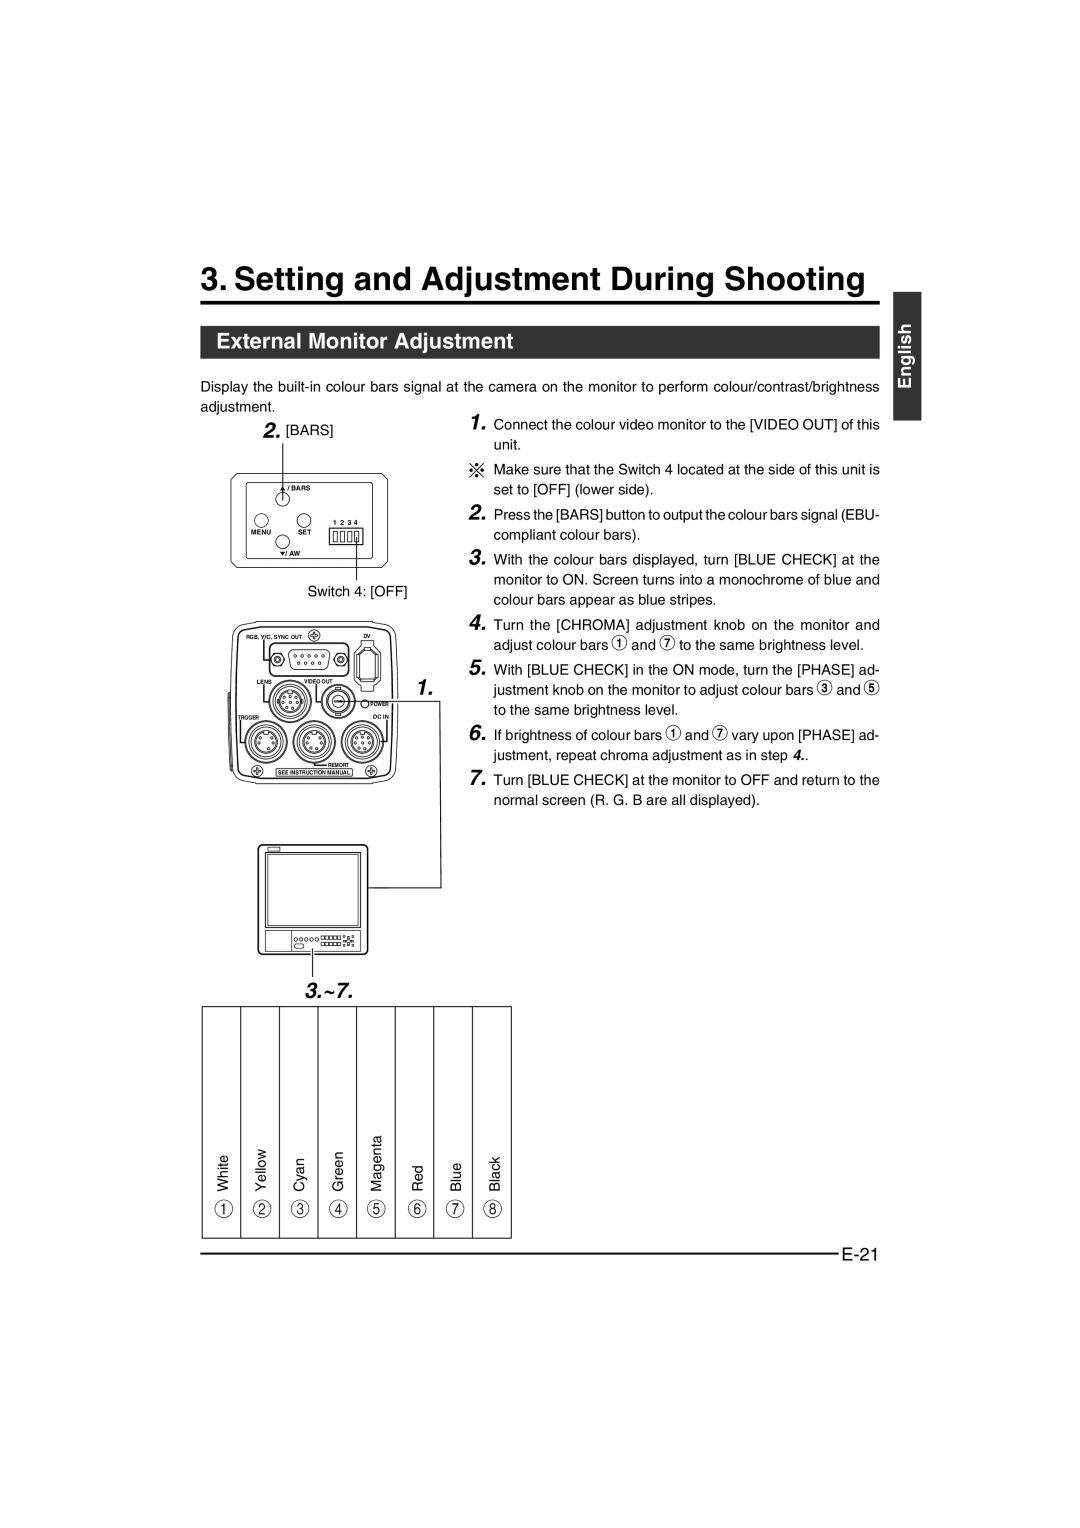
Display the
English
adjustment.
2. [BARS]
5/ BARS
|
| 1 2 3 4 |
MENU | SET | |
| ∞/ AW |
|
|
| Switch 4: [OFF] |
RGB, Y/C, SYNC OUT | DV | |
LENS | VIDEO OUT | 1. |
| ||
|
| POWER |
TRGGER |
| DC IN |
| REMORT |
|
| SEE INSTRUCTION MANUAL |
|
1. Connect the colour video monitor to the [VIDEO OUT] of this unit.
Make sure that the Switch 4 located at the side of this unit is set to [OFF] (lower side).
2. Press the [BARS] button to output the colour bars signal (EBU- compliant colour bars).
3. With the colour bars displayed, turn [BLUE CHECK] at the monitor to ON. Screen turns into a monochrome of blue and colour bars appear as blue stripes.
4. Turn the [CHROMA] adjustment knob on the monitor and adjust colour bars 1 and 7 to the same brightness level.
5. With [BLUE CHECK] in the ON mode, turn the [PHASE] ad- justment knob on the monitor to adjust colour bars 3 and 5 to the same brightness level.
6. If brightness of colour bars 1 and 7 vary upon [PHASE] ad- justment, repeat chroma adjustment as in step 4..
7. Turn [BLUE CHECK] at the monitor to OFF and return to the normal screen (R. G. B are all displayed).
3.~7.
White | Yellow | Cyan | Green | Magenta | Red | Blue | Black |
1 | 2 | 3 | 4 | 5 | 6 | 7 | 8 |
|
|
|
|
|
|
|
|