
 Mode Set
SUBSIDIARY SETTINGS EN 71
* The boldface settings below indicate the settings at your purchase.
AUDIO OUTPUT
●Turn on the unit.
●Turn on the TV and select the AV mode.
●Slide the TV/CABLE/SAT/DVD switch to DVD.
8DIGITAL AUDIO OUT ^ DOLBY DIGITAL/PCM / STREAM/
PCM / PCM ONLY
Set to the appropriate mode according to the type of the device connected to [DIGITAL AUDIO OUT] connector.
HDD
ENTER
CABLE/SAT
TV![]() DVD
DVD
DVD
Selection Keys
DOLBY DIGITAL/PCM:
Select this when you connect the digital input connector of a Dolby Digital Decoder or an amplifier with a
STREAM/PCM:
Select this when you connect the digital input connector of an amplifier with a
PCM ONLY:
Select this when you connect the linear PCM digital input of other audio equipment (amplifier, MD or DAT deck, etc.).
FGDE
NOTES:
●This setting also functions when HDD is active.
●If you watch or play back a title which contains multiple audio languages, select APCM ONLYB in advance and choose main or sub audio with AUDIO.
![]() SET UP
SET UP
AUDIO
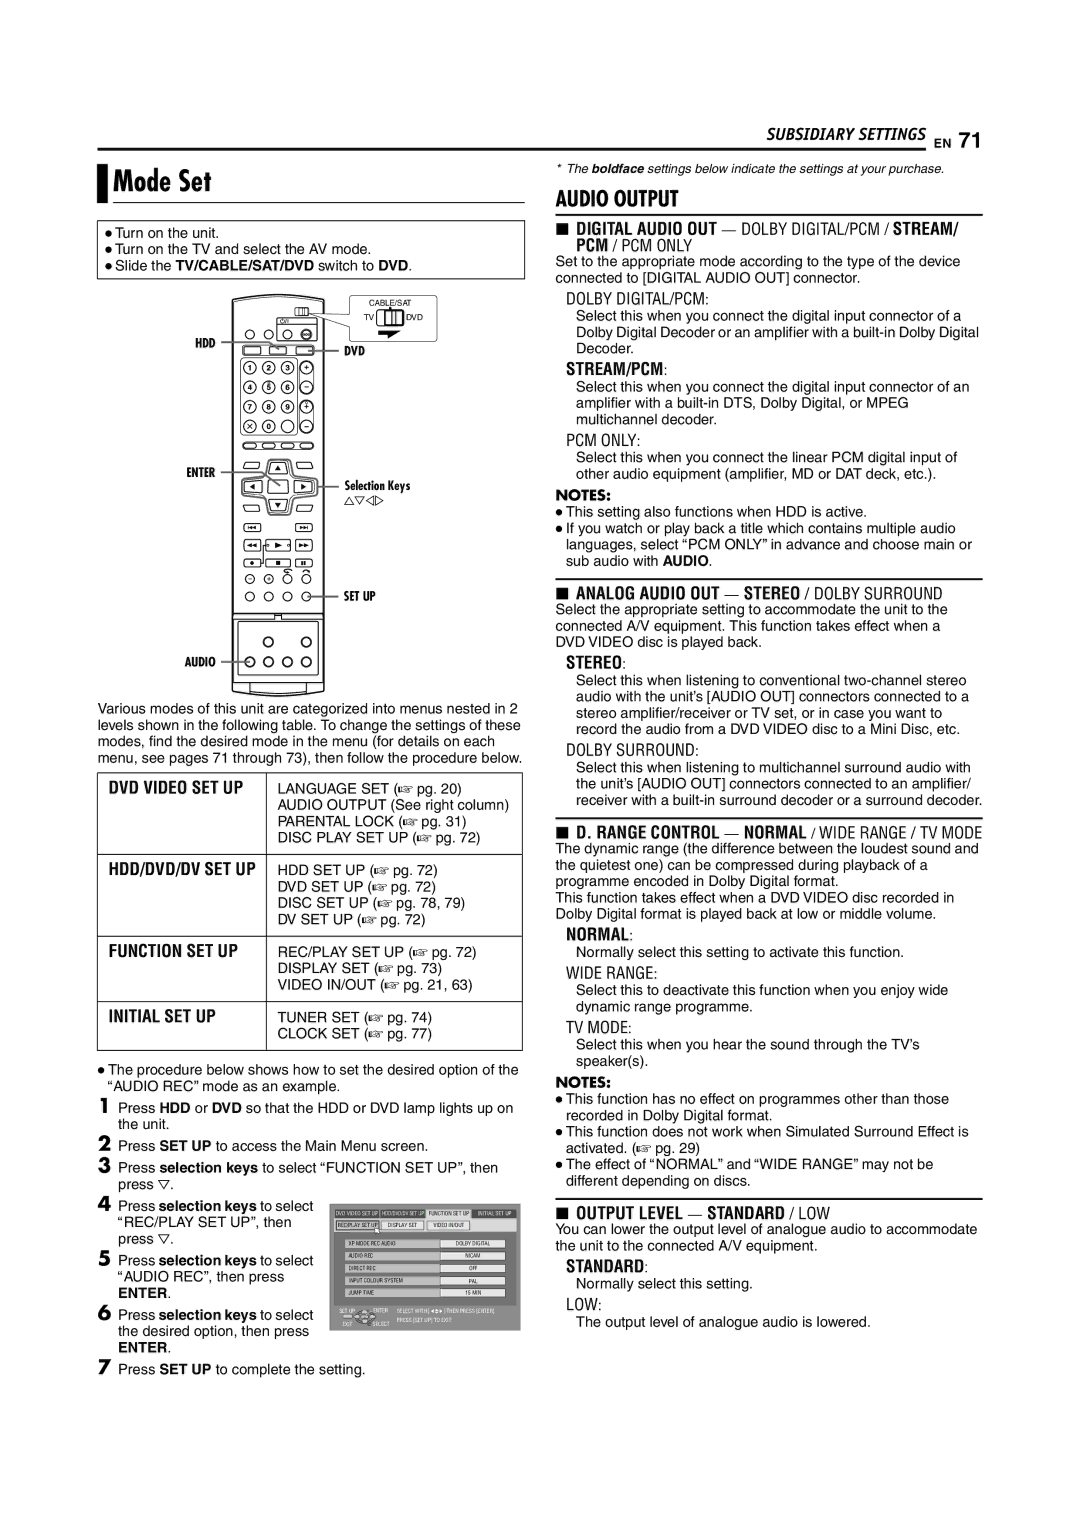
Various modes of this unit are categorized into menus nested in 2 levels shown in the following table. To change the settings of these modes, find the desired mode in the menu (for details on each menu, see pages 71 through 73), then follow the procedure below.
DVD VIDEO SET UP | LANGUAGE SET (A pg. 20) |
| AUDIO OUTPUT (See right column) |
| PARENTAL LOCK (A pg. 31) |
| DISC PLAY SET UP (A pg. 72) |
|
|
HDD/DVD/DV SET UP | HDD SET UP (A pg. 72) |
| DVD SET UP (A pg. 72) |
| DISC SET UP (A pg. 78, 79) |
| DV SET UP (A pg. 72) |
|
|
FUNCTION SET UP | REC/PLAY SET UP (A pg. 72) |
| DISPLAY SET (A pg. 73) |
| VIDEO IN/OUT (A pg. 21, 63) |
|
|
INITIAL SET UP | TUNER SET (A pg. 74) |
| CLOCK SET (A pg. 77) |
|
|
●The procedure below shows how to set the desired option of the AAUDIO RECB mode as an example.
1Press HDD or DVD so that the HDD or DVD lamp lights up on the unit.
2Press SET UP to access the Main Menu screen.
3Press selection keys to select AFUNCTION SET UPB, then press G.
8ANALOG AUDIO OUT ^ STEREO / DOLBY SURROUND
Select the appropriate setting to accommodate the unit to the connected A/V equipment. This function takes effect when a DVD VIDEO disc is played back.
STEREO:
Select this when listening to conventional
DOLBY SURROUND:
Select this when listening to multichannel surround audio with the unit’s [AUDIO OUT] connectors connected to an amplifier/ receiver with a
8D. RANGE CONTROL ^ NORMAL / WIDE RANGE / TV MODE
The dynamic range (the difference between the loudest sound and the quietest one) can be compressed during playback of a programme encoded in Dolby Digital format.
This function takes effect when a DVD VIDEO disc recorded in Dolby Digital format is played back at low or middle volume.
NORMAL:
Normally select this setting to activate this function.
WIDE RANGE:
Select this to deactivate this function when you enjoy wide dynamic range programme.
TV MODE:
Select this when you hear the sound through the TV’s speaker(s).
NOTES:
●This function has no effect on programmes other than those recorded in Dolby Digital format.
●This function does not work when Simulated Surround Effect is activated. (A pg. 29)
●The effect of ANORMALB and AWIDE RANGEB may not be different depending on discs.
4Press selection keys to select AREC/PLAY SET UPB, then press G.
5Press selection keys to select AAUDIO RECB, then press
ENTER.
6Press selection keys to select the desired option, then press
ENTER.
DVD VIDEO SET UP | HDD/DVD/DV SET UP | FUNCTION SET UP INITIAL SET UP | |
REC/PLAY SET UP | DISPLAY SET | VIDEO IN/OUT | |
XP MODE REC AUDIO | DOLBY DIGITAL | ||
AUDIO REC |
| NICAM | |
DIRECT REC |
| OFF | |
INPUT COLOUR SYSTEM | PAL | ||
JUMP TIME |
| 15 MIN | |
SET UP | ENTER SELECT WITH @ THEN PRESS [ENTER] | ||
EXIT |
| PRESS [SET UP] TO EXIT | |
SELECT |
| ||
8OUTPUT LEVEL ^ STANDARD / LOW
You can lower the output level of analogue audio to accommodate the unit to the connected A/V equipment.
STANDARD:
Normally select this setting.
LOW:
The output level of analogue audio is lowered.
7Press SET UP to complete the setting.
