Getting started

Before installation

General Precautions

DO NOT insert any metal object into the unit.

DO NOT disassemble the unit or remove screws, covers, or cabinet.

DO NOT expose the unit to rain or moisture.

Locations

Install the unit in a location that is level and protected from moisture.

The temperature around the unit must be between –5˚C and 35˚C.

Make sure there is good ventilation around the unit. Poor ventilation could cause overheating and damage the unit.

Handling the unit

DO NOT touch the power cord with wet hands.

DO NOT pull on the power cord to unplug the cord. When unplugging the cord, always grasp the plug so as not to damage the cord.

Keep the power cord away from the connecting cords and the antenna. The power cord may cause noise or screen interference. It is recommended to use a coaxial cable for antenna connection, since it is well-shielded against interference.

When a power failure occurs, or when you unplug the power cord, the preset settings such as preset FM or AM (MW) channels and sound adjustments may be erased in a few days.

Checking the supplied accessories

Check to be sure you have all of the following supplied accessories. The number in parentheses indicates the quantity of each piece supplied.

Remote control (1)

Batteries (2)

AM (MW) loop antenna (1)

FM antenna (1)

SCART cable (1)

Digital coaxial cord (1)

If anything is missing, contact your dealer immediately.

Putting batteries in the remote control

Before using the remote control, put two supplied batteries first.

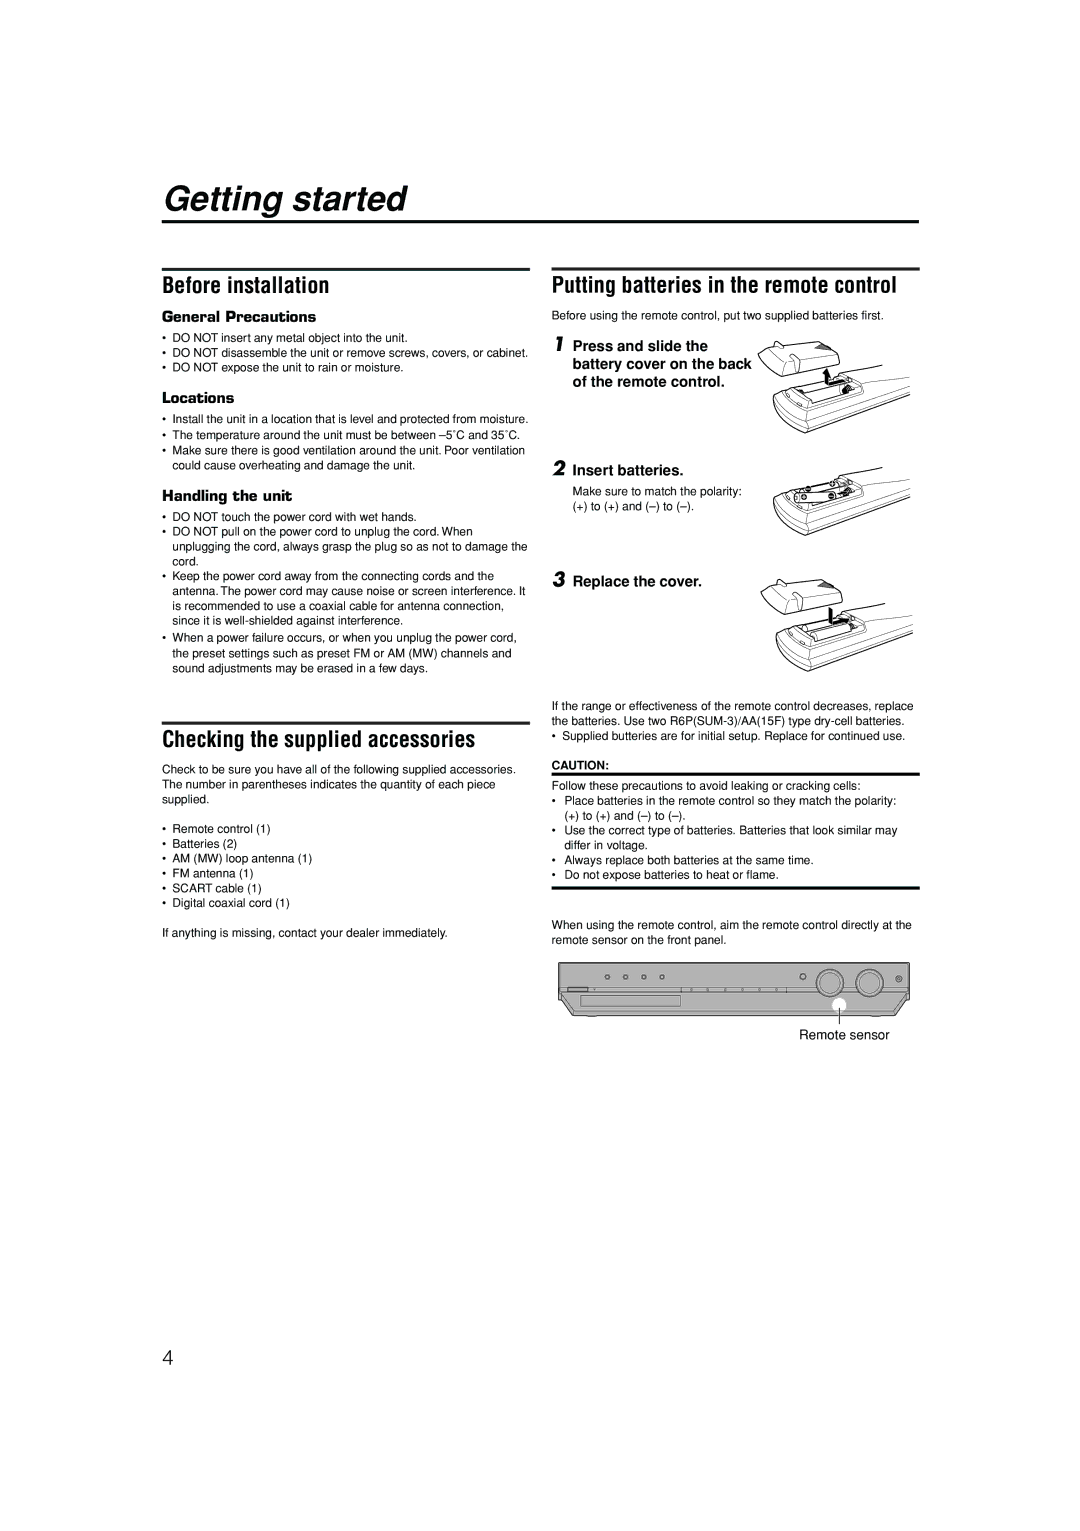
1 Press and slide the battery cover on the back of the remote control.

2 Insert batteries.

Make sure to match the polarity:

(+) to (+) and (–) to (–).

3 Replace the cover.

If the range or effectiveness of the remote control decreases, replace the batteries. Use two R6P(SUM-3)/AA(15F) type dry-cell batteries.

• Supplied butteries are for initial setup. Replace for continued use.

CAUTION:

Follow these precautions to avoid leaking or cracking cells:

Place batteries in the remote control so they match the polarity:

(+) to (+) and (–) to (–).

Use the correct type of batteries. Batteries that look similar may differ in voltage.

Always replace both batteries at the same time.

Do not expose batteries to heat or flame.

When using the remote control, aim the remote control directly at the remote sensor on the front panel.

Remote sensor

4

Page 8
Image 8
JVC LVT1112-001A manual Getting started, Before installation, Checking the supplied accessories, Replace the cover

LVT1112-001A specifications

The JVC LVT1112-001A is a versatile and robust device designed to enhance audio and video experiences in various settings, including home theater systems, professional audio installations, and personal entertainment setups. This product incorporates a range of cutting-edge technologies and features that cater to both audiophiles and casual users.

At the heart of the JVC LVT1112-001A is its impressive sound quality. Utilizing advanced audio processing technologies, this device delivers crystal-clear audio reproduction across a broad frequency range. Whether it’s the thumping bass of your favorite music tracks or the subtle nuances in dialogue from a movie, the LVT1112-001A ensures that every sound is rendered with precision. The inclusion of high-performance DACs (Digital-to-Analog Converters) further enhances audio fidelity, reducing distortion and ensuring a clean audio signal.

One of the standout features of the JVC LVT1112-001A is its flexibility in connectivity options. The device supports multiple audio and video inputs, including HDMI, optical, and AUX, making it easy to connect to a variety of devices such as TVs, gaming consoles, and streaming devices. This adaptability means users can seamlessly integrate the LVT1112-001A into their existing setups without the need for additional converters or adapters.

In addition to its impressive audio capabilities, the JVC LVT1112-001A boasts a user-friendly interface that simplifies navigation and operation. The intuitive remote control allows users to switch between inputs, adjust volume levels, and access various audio settings with ease. For those who prefer hands-on control, the device features conveniently placed buttons for quick adjustments directly on the unit.

Another significant aspect of the JVC LVT1112-001A is its durability and build quality. Constructed with high-quality materials, this device is designed to withstand the rigors of daily use while maintaining aesthetic appeal in both modern and traditional settings. This robustness ensures that users can rely on the device for long-term performance.

Overall, the JVC LVT1112-001A is a well-rounded audio and video solution that combines superior sound quality, versatile connectivity, user-friendly operation, and durable construction. Whether for an immersive home theater experience or casual listening, this device meets the demands of a diverse range of users, making it a valuable addition to any entertainment setup.