Connecting Audio/Video Components
English
7About connecting cords
For video connections
The
Use the cords supplied with the other components or purchase them at your dealer.
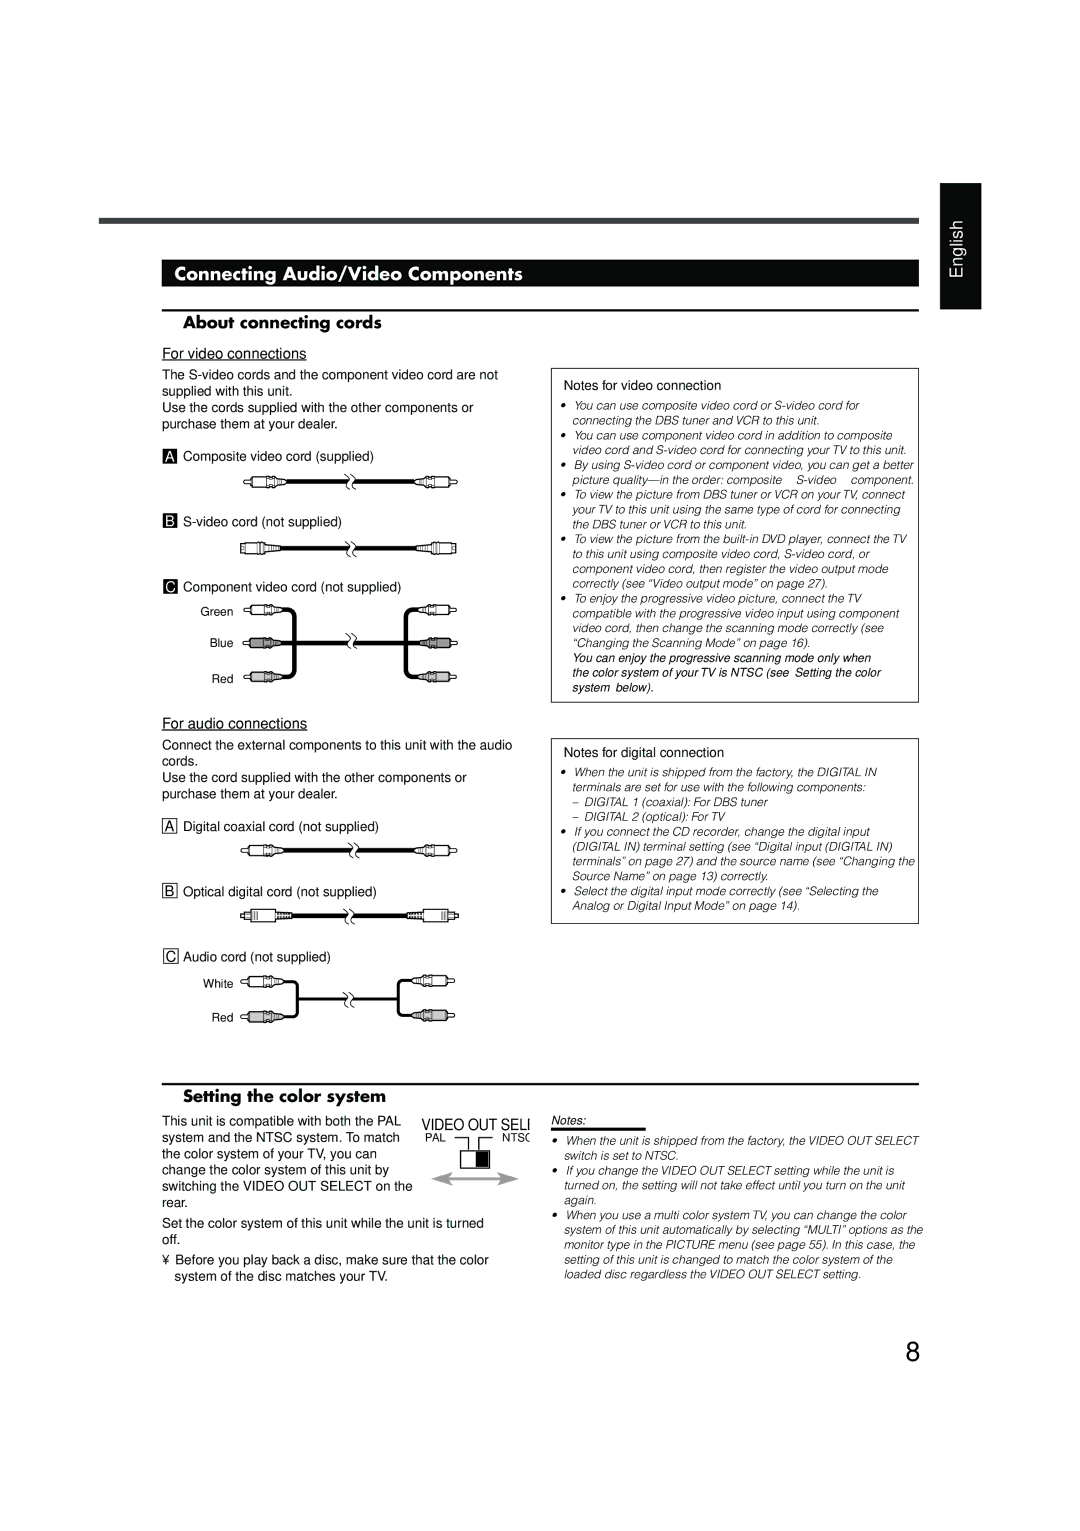
AComposite video cord (supplied)
B
CComponent video cord (not supplied)
Green
Blue
Red
Notes for video connection
•You can use composite video cord or
•You can use component video cord in addition to composite video cord and
•By using
•To view the picture from DBS tuner or VCR on your TV, connect your TV to this unit using the same type of cord for connecting the DBS tuner or VCR to this unit.
•To view the picture from the
•To enjoy the progressive video picture, connect the TV compatible with the progressive video input using component video cord, then change the scanning mode correctly (see “Changing the Scanning Mode” on page 16).
You can enjoy the progressive scanning mode only when the color system of your TV is NTSC (see “Setting the color system” below).
For audio connections
Connect the external components to this unit with the audio cords.
Use the cord supplied with the other components or purchase them at your dealer.
ADigital coaxial cord (not supplied)
BOptical digital cord (not supplied)
CAudio cord (not supplied)
White 
Red 
Notes for digital connection
•When the unit is shipped from the factory, the DIGITAL IN terminals are set for use with the following components:
–DIGITAL 1 (coaxial): For DBS tuner
–DIGITAL 2 (optical): For TV
•If you connect the CD recorder, change the digital input (DIGITAL IN) terminal setting (see “Digital input (DIGITAL IN) terminals” on page 27) and the source name (see “Changing the Source Name” on page 13) correctly.
•Select the digital input mode correctly (see “Selecting the Analog or Digital Input Mode” on page 14).
7Setting the color system
This unit is compatible with both the PAL system and the NTSC system. To match the color system of your TV, you can change the color system of this unit by switching the VIDEO OUT SELECT on the rear.
VIDEO OUT SELECT
PAL ![]()
![]() NTSC
NTSC
Notes:
• When the unit is shipped from the factory, the VIDEO OUT SELECT |
switch is set to NTSC. |
• If you change the VIDEO OUT SELECT setting while the unit is |
turned on, the setting will not take effect until you turn on the unit |
again. |
• When you use a multi color system TV, you can change the color |
Set the color system of this unit while the unit is turned off.
•Before you play back a disc, make sure that the color system of the disc matches your TV.
system of this unit automatically by selecting “MULTI” options as the |
monitor type in the PICTURE menu (see page 55). In this case, the |
setting of this unit is changed to match the color system of the |
loaded disc regardless the VIDEO OUT SELECT setting. |
8