Basic Operations
English
7Listening with headphones
Connect a pair of headphones to the ![]() (phones) jack on the front panel.
(phones) jack on the front panel.
This cancels the Surround mode currently selected, deactivates speakers, and activates the HEADPHONE mode. The SPK 1 and 2 indicators go off from the display.
•Disconnecting a pair of headphones from the ![]() (phones) jack cancels the HEADPHONE mode and activates speakers.
(phones) jack cancels the HEADPHONE mode and activates speakers.
HEADPHONE mode
When using the headphones, the following signals are output regardless of your speaker setting:
–For
–For
–For DVD AUDIO ONLY: When
CAUTION:
Be sure to turn down the volume:
•Before connecting or putting on headphones, as high volume can damage both the headphones and your hearing.
•Before removing headphones, as high volume may come out of the speakers.
Selecting the Front Speakers
When you have connected two pairs of front speakers, you can select which to use.
On the front panel ONLY
To use the speakers connected to the FRONT SPEAKERS 1 terminals
Press SPEAKERS 1 so that the SPK 1 indicator lights up on the display. (Make sure that SPK 2 is not lit on the display.)
To use the speakers connected to the FRONT SPEAKERS 2 terminals
Press SPEAKERS 2 so that the SPK 2 indicator lights up on the display. (Make sure that SPK 1 is not lit on the display.)
To use both pairs of the speakers
Press SPEAKERS 1 and 2 so that the SPK 1 and 2 indicators light up on the display.
To use neither pairs of the speakers
Press SPEAKERS 1 and 2 so that the SPK 1 and SPK 2 indicators go off from the display.
•This activates the HEADPHONE mode (“HEADPHONE” appears on the display).
Notes:
•If you select any of the Surround modes while using both pairs of the front speakers connected to the FRONT SPEAKERS 1 and 2 terminals, the speakers connected to the FRONT SPEAKERS 2 terminals are deactivated.
•While the Surround mode is in use, you can only select either the speakers connected to the FRONT SPEAKERS 1 or 2 terminals.
Changing the Source Name
When you connect a CD recorder to the TAPE/CDR jacks on the rear panel, change the source name which will be shown on the display.
On the front panel ONLY
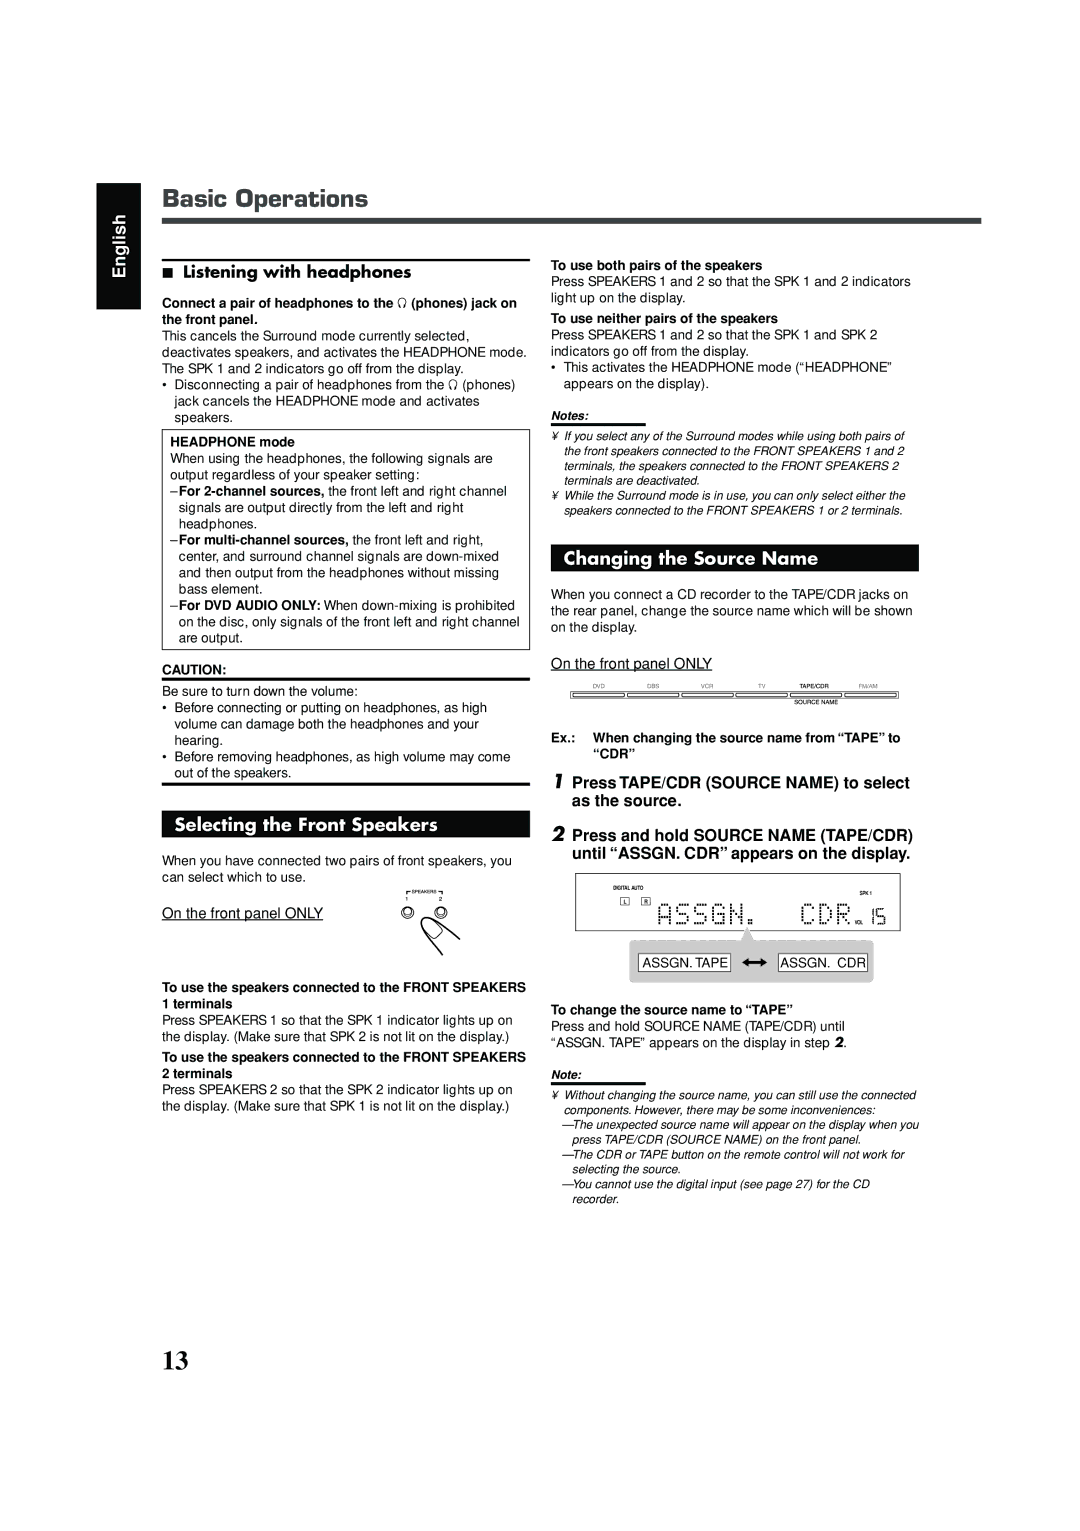
Ex.: When changing the source name from “TAPE” to “CDR”
1Press TAPE/CDR (SOURCE NAME) to select as the source.
2Press and hold SOURCE NAME (TAPE/CDR) until “ASSGN. CDR” appears on the display.
ANALOG DIGITAL AUTO |
| PL DSP SLEEP PROGRAM REPEAT | TA NEWS INFO | INPUT ATT | ||
PPCM AUTO SURROUND |
|
| SPK 1 | 2 RE | C | |
DIGITAL L C | R | GROUP TITLE TRACK CHAP. RESUME B.S.P BONUS TUNED STEREO | AUTO MUTING | AUTO | MODE | |
|
| A.POSITION | ||||
LPCM SUBWFR LFE | kHz |
MHz | |
VOL |
ASSGN. TAPE ![]()
![]()
![]()
![]() ASSGN. CDR
ASSGN. CDR
To change the source name to “TAPE”
Press and hold SOURCE NAME (TAPE/CDR) until “ASSGN. TAPE” appears on the display in step 2.
Note:
•Without changing the source name, you can still use the connected components. However, there may be some inconveniences:
–The unexpected source name will appear on the display when you press TAPE/CDR (SOURCE NAME) on the front panel.
–The CDR or TAPE button on the remote control will not work for selecting the source.
–You cannot use the digital input (see page 27) for the CD recorder.
13