Changing the Scanning Mode
You can select the scanning mode if your TV equipped with component video jacks supports the progressive video input.
From the remote control ONLY:
1 Press DVD. | DVD |
2 Press PROGRESSIVE. | PROGRESSIVE |
• Each time you press the button, the scanning mode alternates between “INTERLACE” and
INTERLACE:
Select this if your TV does not support the progressive video input (conventional TV).
P(Progressive)–SCAN:
Select this if your TV equipped with component video jacks supports the progressive video input.
When you select the
Notes:
•If you press PROGRESSIVE while playing back a disc, playing back stops.
•Some progressive TVs and
In such a case, change the scanning mode to “INTERLACE.” To check the compatibility of your TV, contact your local JVC customer service center.
•All JVC progressive TVs and
Adjusting the Pictures
You can adjust parameters that affect the appearance of picture.
From the remote control ONLY:
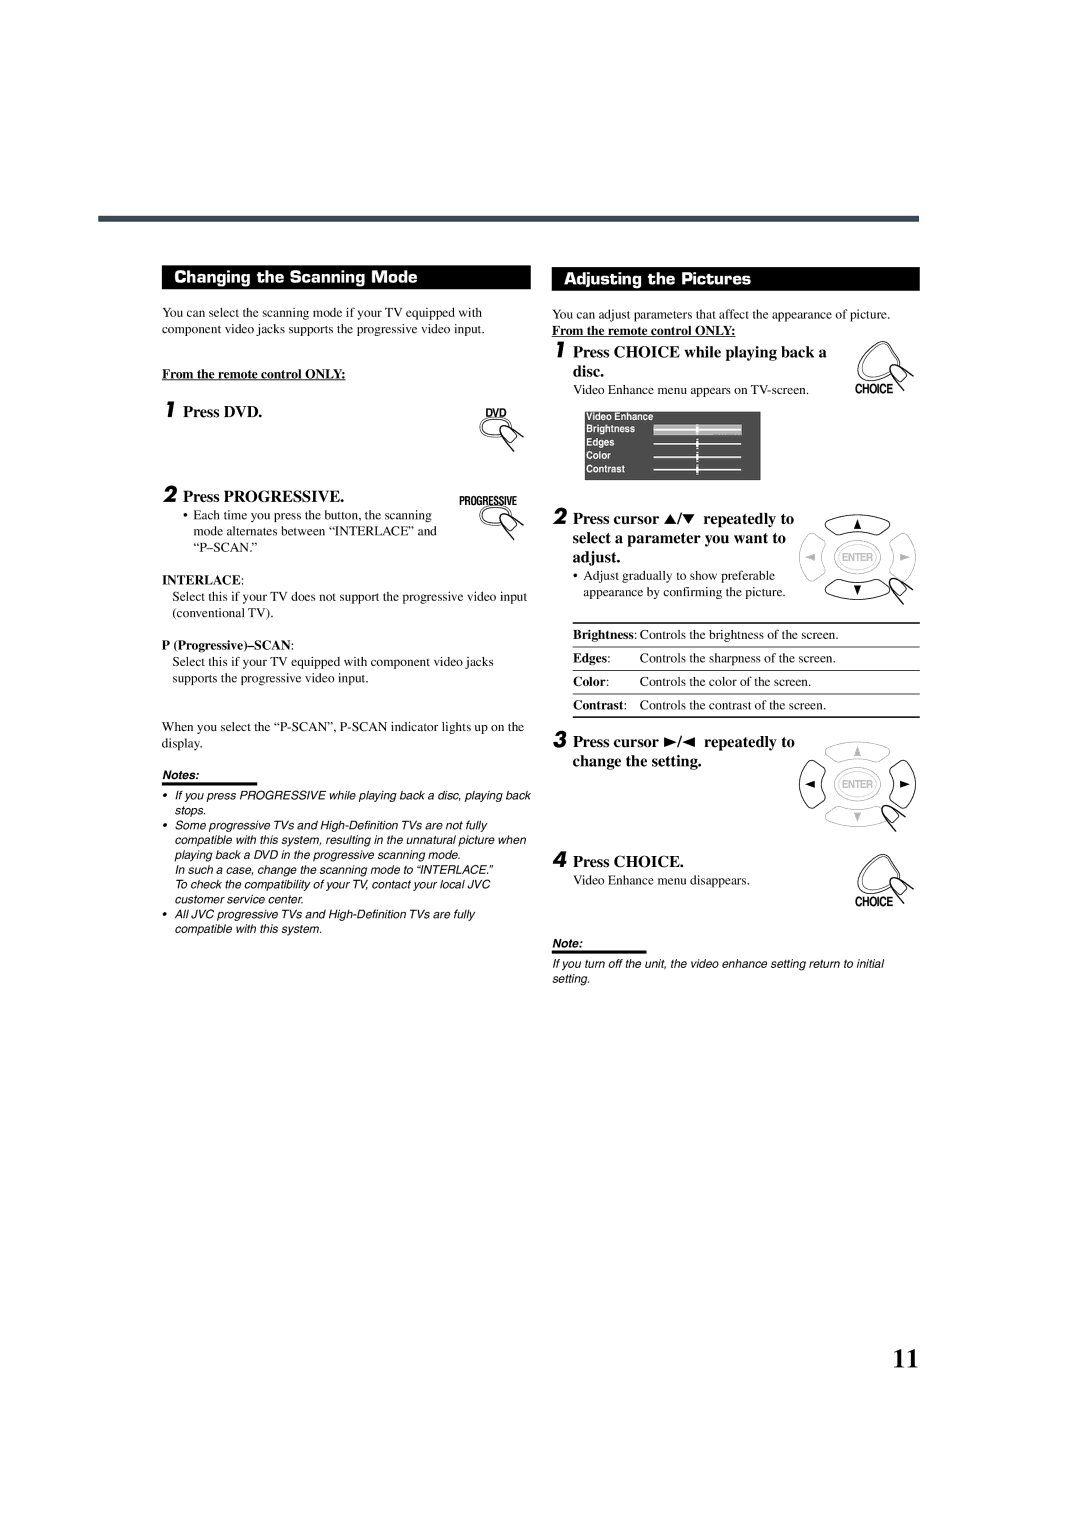
1Press CHOICE while playing back a
disc.
Video Enhance menu appears on | CHOICE |
Video Enhance
Brightness
Edges
Color
Contrast
2Press cursor 5/∞ repeatedly to select a parameter you want to
adjust.![]() ENTER
ENTER
•Adjust gradually to show preferable
appearance by confirming the picture.
Brightness: Controls the brightness of the screen.
Edges: Controls the sharpness of the screen.
Color: Controls the color of the screen.
Contrast: Controls the contrast of the screen.
3Press cursor 3/2 repeatedly to change the setting.
ENTER
4 Press CHOICE.
Video Enhance menu disappears.
CHOICE
Note:
If you turn off the unit, the video enhance setting return to initial setting.
11