Basic DVD Operations
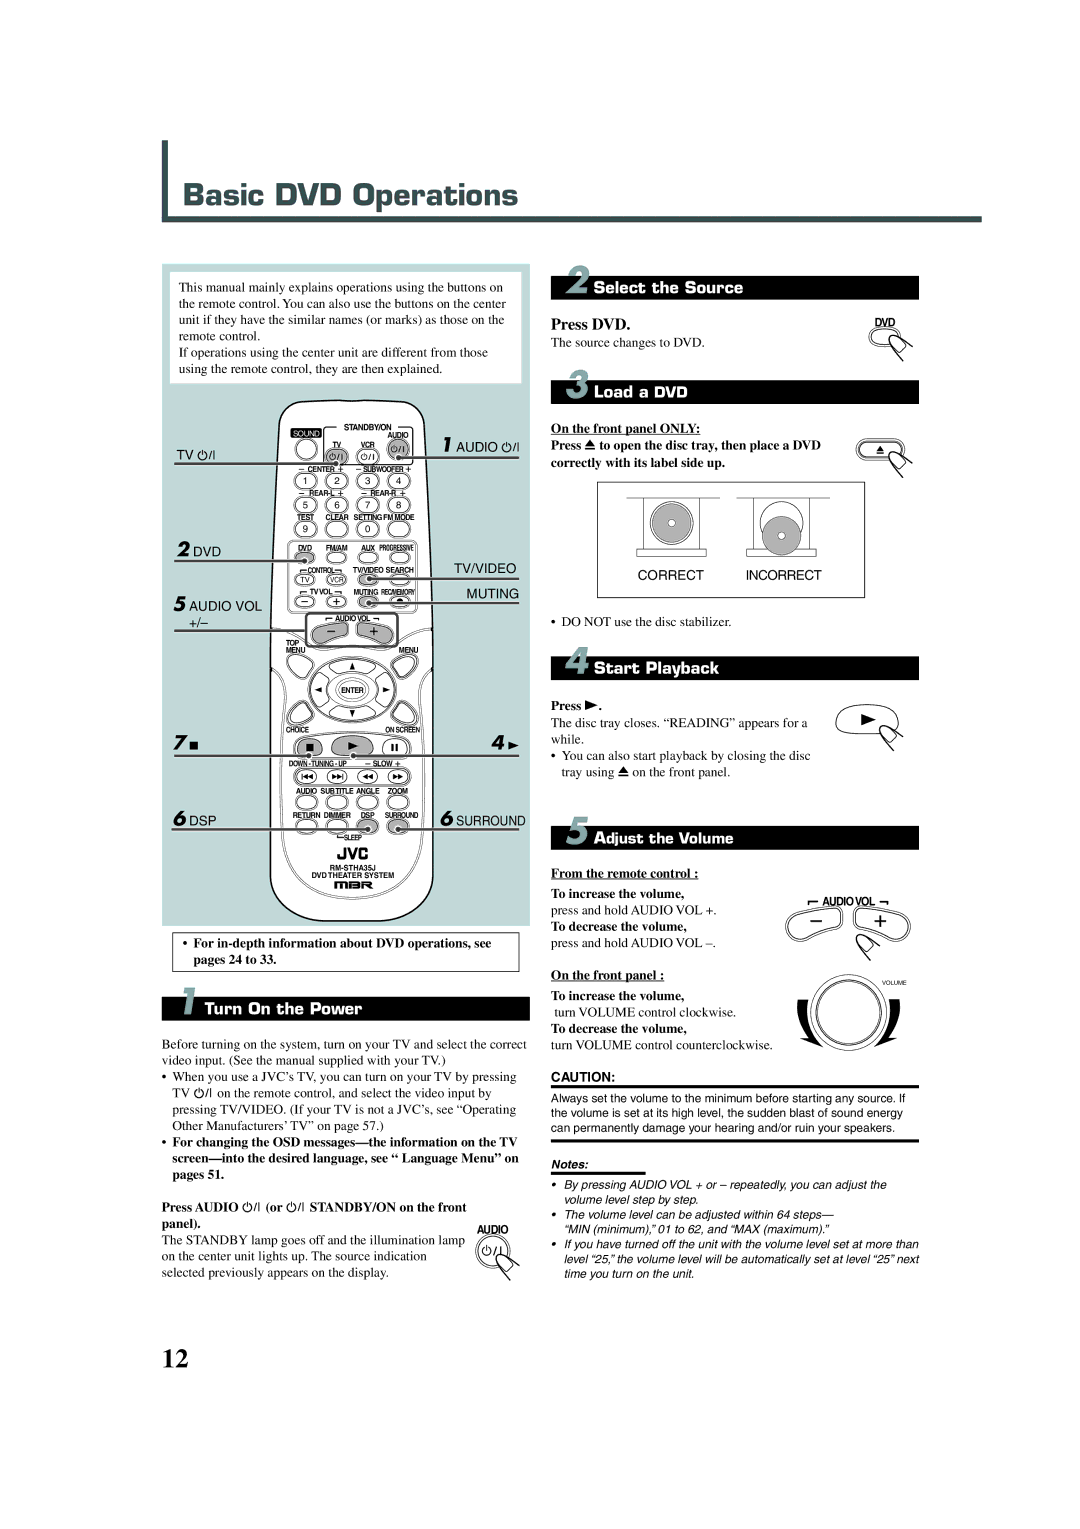
This manual mainly explains operations using the buttons on the remote control. You can also use the buttons on the center unit if they have the similar names (or marks) as those on the remote control.
If operations using the center unit are different from those using the remote control, they are then explained.
| SOUND | STANDBY/ON |
| ||
|
|
| AUDIO | 1 AUDIO | |
TV |
| TV | VCR | ||
|
|
|
| ||
|
|
|
|
| |
| CENTER | SUBWOOFER |
| ||
| 1 | 2 | 3 | 4 |
|
|
|
| |||
| 5 | 6 | 7 | 8 |
|
| TEST | CLEAR SETTINGFM MODE |
| ||
| 9 |
| 0 |
|
|
2 DVD | DVD | FM/AM | AUX PROGRESSIVE |
| |
|
|
|
| TV/VIDEO | |
| CONTROL | TV/VIDEO SEARCH | |||
| TV | VCR |
|
|
|
5 AUDIO VOL | TVVOL | MUTING REC/MEMORY | MUTING | |
| ||||
AUDIOVOL |
|
| ||
+/– |
|
| ||
|
|
|
| |
| TOP |
| MENU |
|
| MENU |
|
| |
| ENTER |
|
| |
7 7 | CHOICE |
| ON SCREEN | 4 3 |
|
|
| ||
| DOWN | SLOW |
| |
| AUDIO SUBTITLE ANGLE | ZOOM |
| |
6 DSP | RETURN DIMMER | DSP | SURROUND | 6 SURROUND |
|
|
| ||
SLEEP
DVD THEATER SYSTEM
•For
1 Turn On the Power
Before turning on the system, turn on your TV and select the correct video input. (See the manual supplied with your TV.)
•When you use a JVC’s TV, you can turn on your TV by pressing
TV ![]() on the remote control, and select the video input by pressing TV/VIDEO. (If your TV is not a JVC’s, see “Operating Other Manufacturers’ TV” on page 57.)
on the remote control, and select the video input by pressing TV/VIDEO. (If your TV is not a JVC’s, see “Operating Other Manufacturers’ TV” on page 57.)
•For changing the OSD
Press AUDIO | (or | STANDBY/ON on the front |
panel). |
| AUDIO |
|
|
The STANDBY lamp goes off and the illumination lamp on the center unit lights up. The source indication selected previously appears on the display.
2 Select the Source
Press DVD. | DVD |
The source changes to DVD.
3 Load a DVD
On the front panel ONLY:
Press 0 to open the disc tray, then place a DVD correctly with its label side up.
CORRECT INCORRECT
•DO NOT use the disc stabilizer.
4 Start Playback
Press 3.
The disc tray closes. “READING” appears for a while.
•You can also start playback by closing the disc tray using 0 on the front panel.
5 Adjust the Volume
From the remote control :
To increase the volume,
AUDIOVOL
press and hold AUDIO VOL +.
To decrease the volume,
press and hold AUDIO VOL
On the front panel :
VOLUME
To increase the volume,
turn VOLUME control clockwise.
To decrease the volume,
turn VOLUME control counterclockwise.
CAUTION:
Always set the volume to the minimum before starting any source. If the volume is set at its high level, the sudden blast of sound energy can permanently damage your hearing and/or ruin your speakers.
Notes:
•By pressing AUDIO VOL + or – repeatedly, you can adjust the volume level step by step.
•The volume level can be adjusted within 64 steps— “MIN (minimum),” 01 to 62, and “MAX (maximum).”
•If you have turned off the unit with the volume level set at more than level “25,” the volume level will be automatically set at level “25” next time you turn on the unit.
12