To exit from program play
From the remote control ONLY:
1)Press ENTER repeatedly to select “Off” in step 3 on page 38.
2)Press cursor 5/∞ to select “OK”, then press ENTER. Playback changes to normal play and the stored program is cleared.
To check the program contents
1)Press ON SCREEN.
2)Press cursor 5/∞ to select “Mode.”
3)Press ENTER repeatedly to select “Program” again even though “Program” is selected in Step 2.
4)Press cursor 5/∞ to select “OK”, then ENTER.
The program menu appears on the TV.
To disappear program contents, press ON SCREEN twice.
To erase the stored program
1)Repeat steps 1 to 4 on page 38.
2)Press cursor 3/2/5/∞ to select “Clear All”, then ENTER.
7Slow Motion Playback
You can enjoy slow motion playback while playing a VCD.
From the remote control ONLY:
1Press 8 at the point where you want to start playback in
A still picture appears on the TV screen.
2 Press SLOW +. |
| SLOW |
|
• Each time you press the button, slow motion speed changes as follows.
![]()
![]()
![]() 1/ 5
1/ 5 ![]()
![]()
![]()
![]() 1/ 4
1/ 4
![]()
![]() 1/ 2
1/ 2 ![]()
![]()
![]()
![]() 1/ 3
1/ 3
To modify the program
You can modify the program while the program menu screen is shown on the TV.
•To erase a step: Press cursor 3/2/5/∞ to select (highlight) an unwanted track, then press CLEAR.
•To modify a step: Press cursor 3/2/5/∞ to select (highlight) a track you want to modify, then perform steps 5 to 6 on page 38 (Before entering a new number, press CLEAR).
•To add a step: Press cursor 3/2/5/∞ to select (highlight) an empty program step, then perform steps 5 to 6 on page 38.
VCD Special Effect Playback
7Still Picture/Frame-by-Frame Playback
You can advance the still picture frame by frame while playing a VCD.
From the remote control ONLY:
1 Press 8 once during playback.
A still picture appears on the TV screen.
8P A U S E
2Press 8 repeatedly to advance the
picture frame by frame.
•Each time you press the button, the picture advances frame by frame.
83STEP |
| 83STEP |
| 83STEP | 83STEP | 83STEP | 83STEP |
|
|
|
|
|
|
|
|
|
|
|
|
|
|
|
|
To resume normal play
Press 3.
To resume normal play
Press 3.
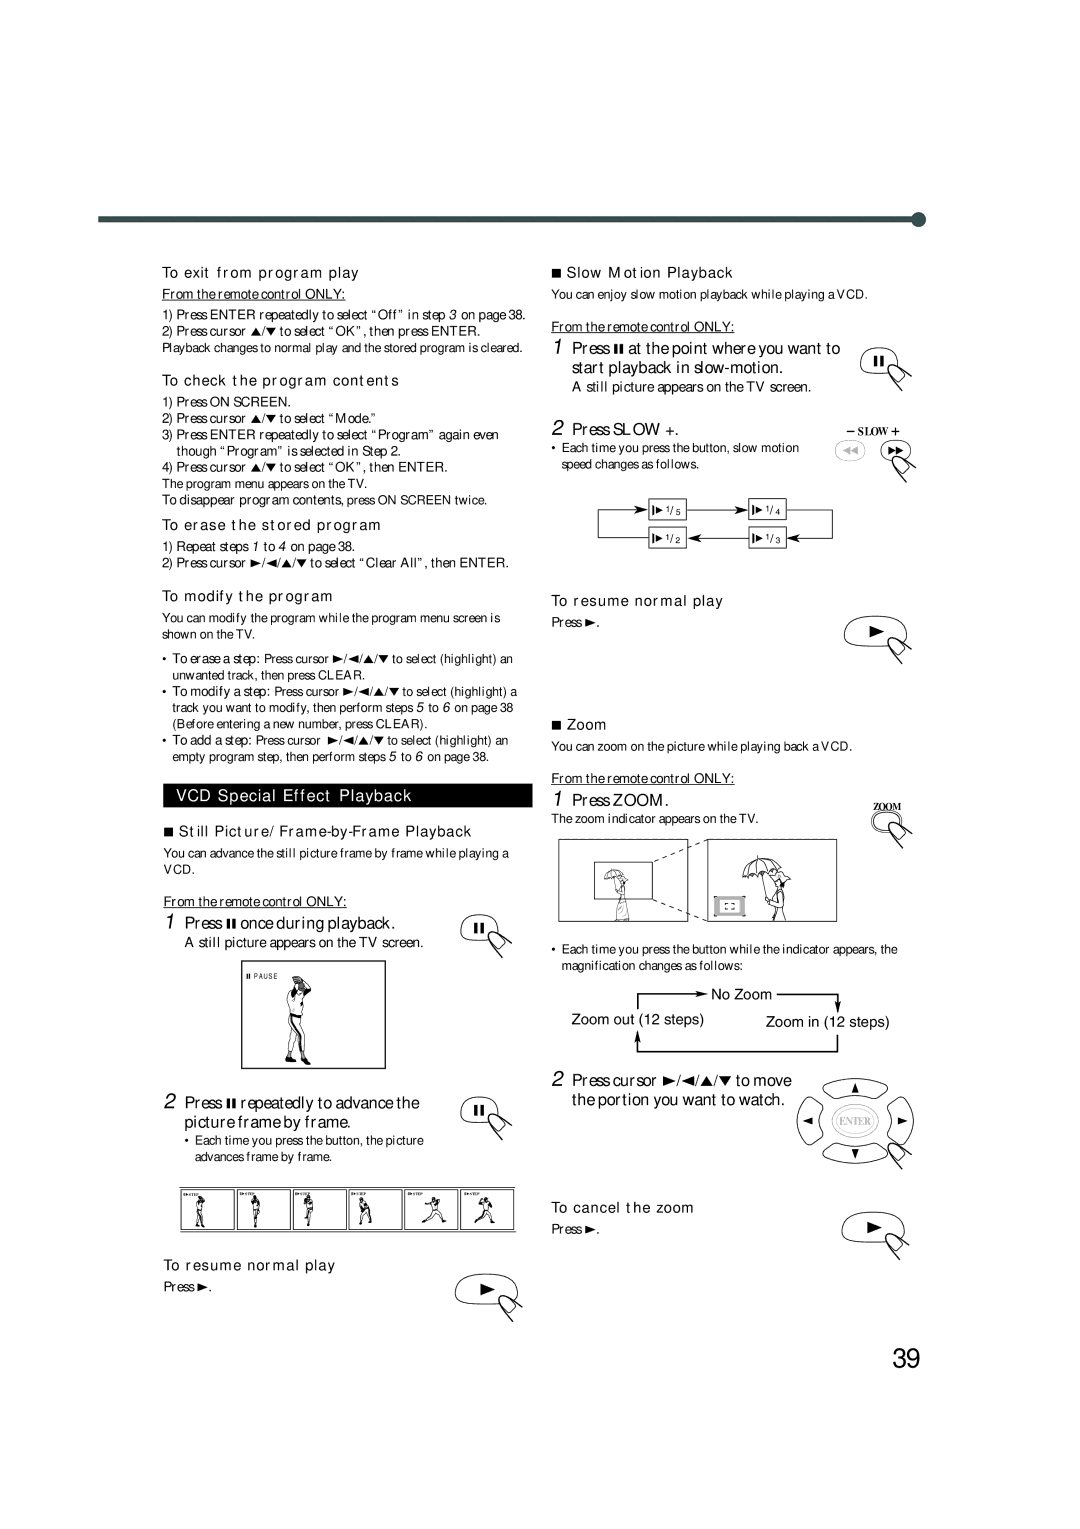
7Zoom
You can zoom on the picture while playing back a VCD.
From the remote control ONLY: |
|
1 Press ZOOM. | ZOOM |
The zoom indicator appears on the TV.
•Each time you press the button while the indicator appears, the magnification changes as follows:
![]()
![]() No Zoom
No Zoom ![]()
Zoom out (12 steps) | Zoom in (12 steps) |
2Press cursor 3/2/5/∞ to move the portion you want to watch.
ENTER
To cancel the zoom
Press 3.
39