Karaoke operations
See page 41 for button locations.
Reserving songs
You can reserve your desired songs (groups/titles and tracks/chapters) to play in the order of your choice.
Up to 12 songs can be reserved with this function.
7 While stopped with Karaoke function is turned on
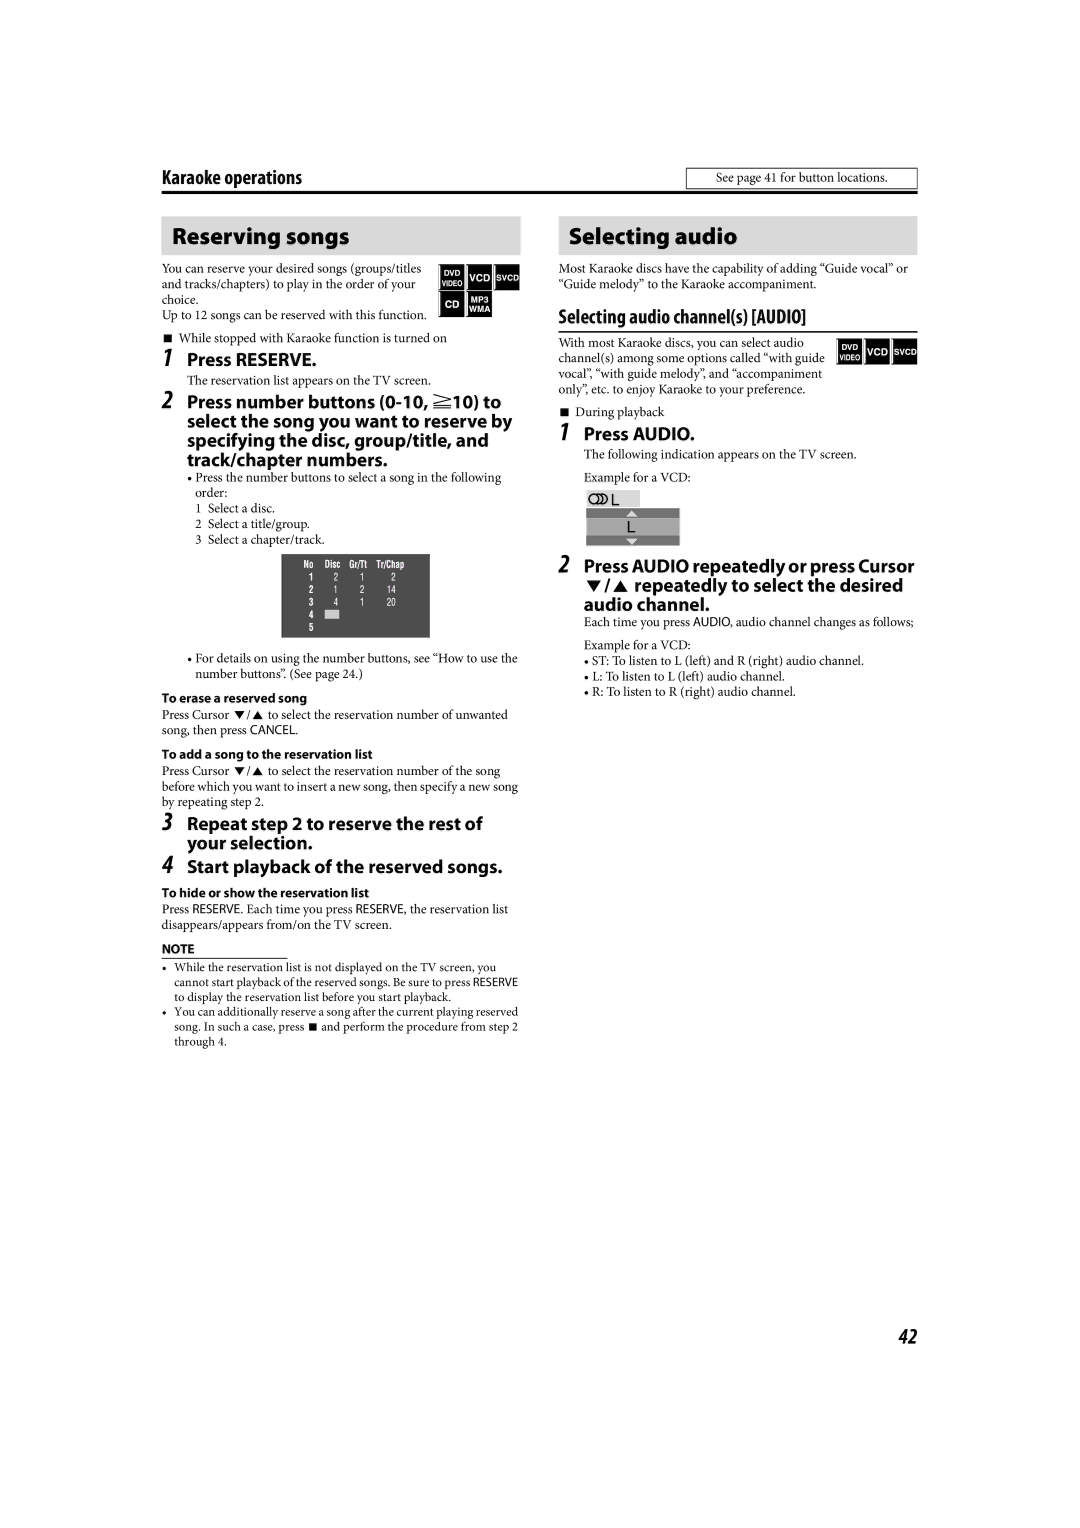
1 Press RESERVE.
The reservation list appears on the TV screen.
2 Press number buttons
• Press the number buttons to select a song in the following order:
1 Select a disc.
2 Select a title/group.
3 Select a chapter/track.
•For details on using the number buttons, see “How to use the number buttons”. (See page 24.)
To erase a reserved song
Press Cursor Y/5 to select the reservation number of unwanted song, then press CANCEL.
To add a song to the reservation list
Press Cursor Y/5 to select the reservation number of the song before which you want to insert a new song, then specify a new song
by repeating step 2.
3
4
To hide or show the reservation list
Press RESERVE. Each time you press RESERVE, the reservation list disappears/appears from/on the TV screen.
NOTE
•While the reservation list is not displayed on the TV screen, you cannot start playback of the reserved songs. Be sure to press RESERVE to display the reservation list before you start playback.
•You can additionally reserve a song after the current playing reserved song. In such a case, press 7 and perform the procedure from step 2 through 4.
Selecting audio
Most Karaoke discs have the capability of adding “Guide vocal” or “Guide melody” to the Karaoke accompaniment.
Selecting audio channel(s) [AUDIO]
With most Karaoke discs, you can select audio channel(s) among some options called “with guide vocal”, “with guide melody”, and “accompaniment only”, etc. to enjoy Karaoke to your preference.
7 During playback
1 Press AUDIO.
The following indication appears on the TV screen.
Example for a VCD:
2Press AUDIO repeatedly or press Cursor Y/5 repeatedly to select the desired
audio channel.
Each time you press AUDIO, audio channel changes as follows;
Example for a VCD:
•ST: To listen to L (left) and R (right) audio channel.
•L: To listen to L (left) audio channel.
•R: To listen to R (right) audio channel.
42