TK-C1460 specifications
The JVC TK-C1460 is a robust and reliable surveillance camera designed for various security and monitoring applications. Renowned for its high-quality imaging capabilities, this camera is favored by professionals in different fields, including retail, transportation, and public safety.One of the standout features of the TK-C1460 is its 1/3-inch CCD (Charge-Coupled Device) sensor, which ensures outstanding picture quality. This sensor enables the camera to capture clear and vivid images, even in low-light conditions. With a horizontal resolution of 570 TV lines, it delivers sharp and detailed visuals, making it ideal for identifying individuals and objects in monitored areas.
The TK-C1460 incorporates advanced automatic gain control (AGC) technology, which enhances its performance in varying lighting conditions. This feature automatically adjusts the camera's sensitivity, allowing it to function optimally during both day and night. Additionally, the camera offers a wide dynamic range (WDR) which effectively balances bright and dark areas in the frame, ensuring that crucial details are not lost in challenging lighting environments.
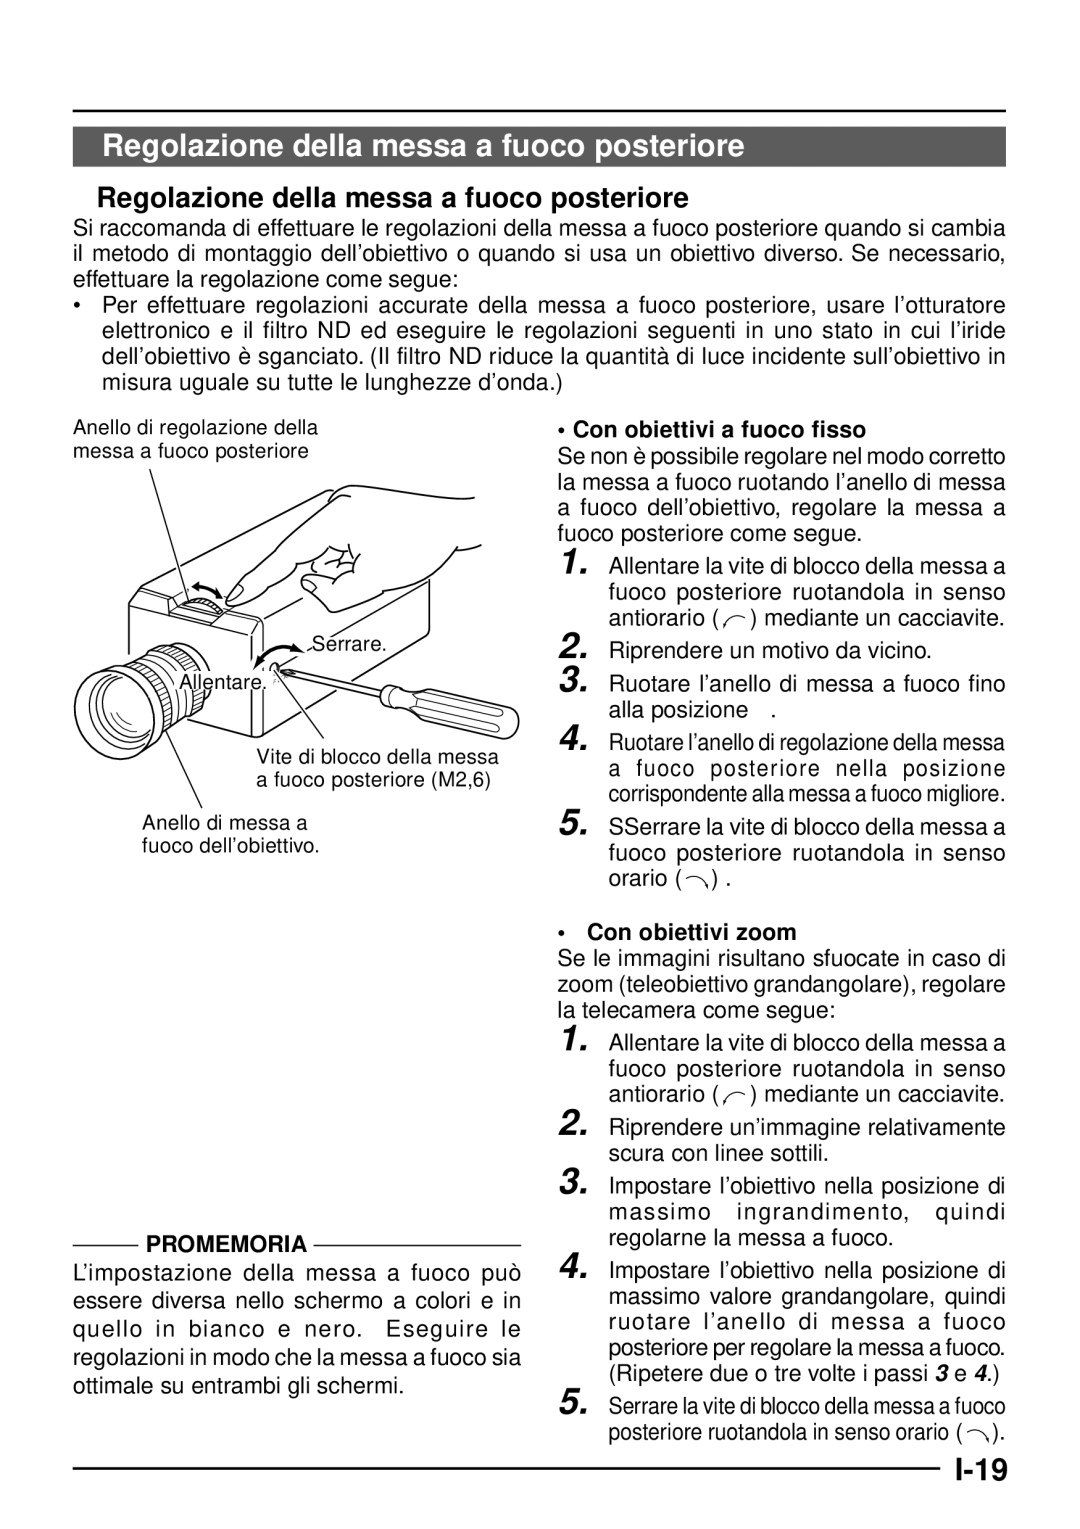
Another significant characteristic of the TK-C1460 is its versatile lens options. The camera is compatible with a variety of C/CS mount lenses, providing users the flexibility to choose the appropriate focal length based on specific surveillance needs. This versatility is particularly beneficial in environments where distances and angles may vary.
The TK-C1460 also supports multiple video output formats, including composite video and S-video, making it compatible with a range of recording devices and display systems. Its low power consumption design enhances its efficiency, making it a cost-effective choice for long-term surveillance installations.
With a durable housing and weather-resistant features, the TK-C1460 can be used in various indoor and outdoor environments. Its robust build ensures longevity and resilience against the elements, which is a crucial factor for surveillance cameras placed in exposed locations.
Overall, the JVC TK-C1460 stands out for its exceptional image quality, advanced features, and user-friendly design. Coupled with its compatibility with multiple lenses and video formats, it remains a favored choice for those seeking reliable and high-performing surveillance solutions. Whether for commercial, industrial, or residential use, the TK-C1460 proves to be a versatile asset in the realm of security technology.

