Installation and Connection
White-spot correction
As a general characteristic unique to CCDs,
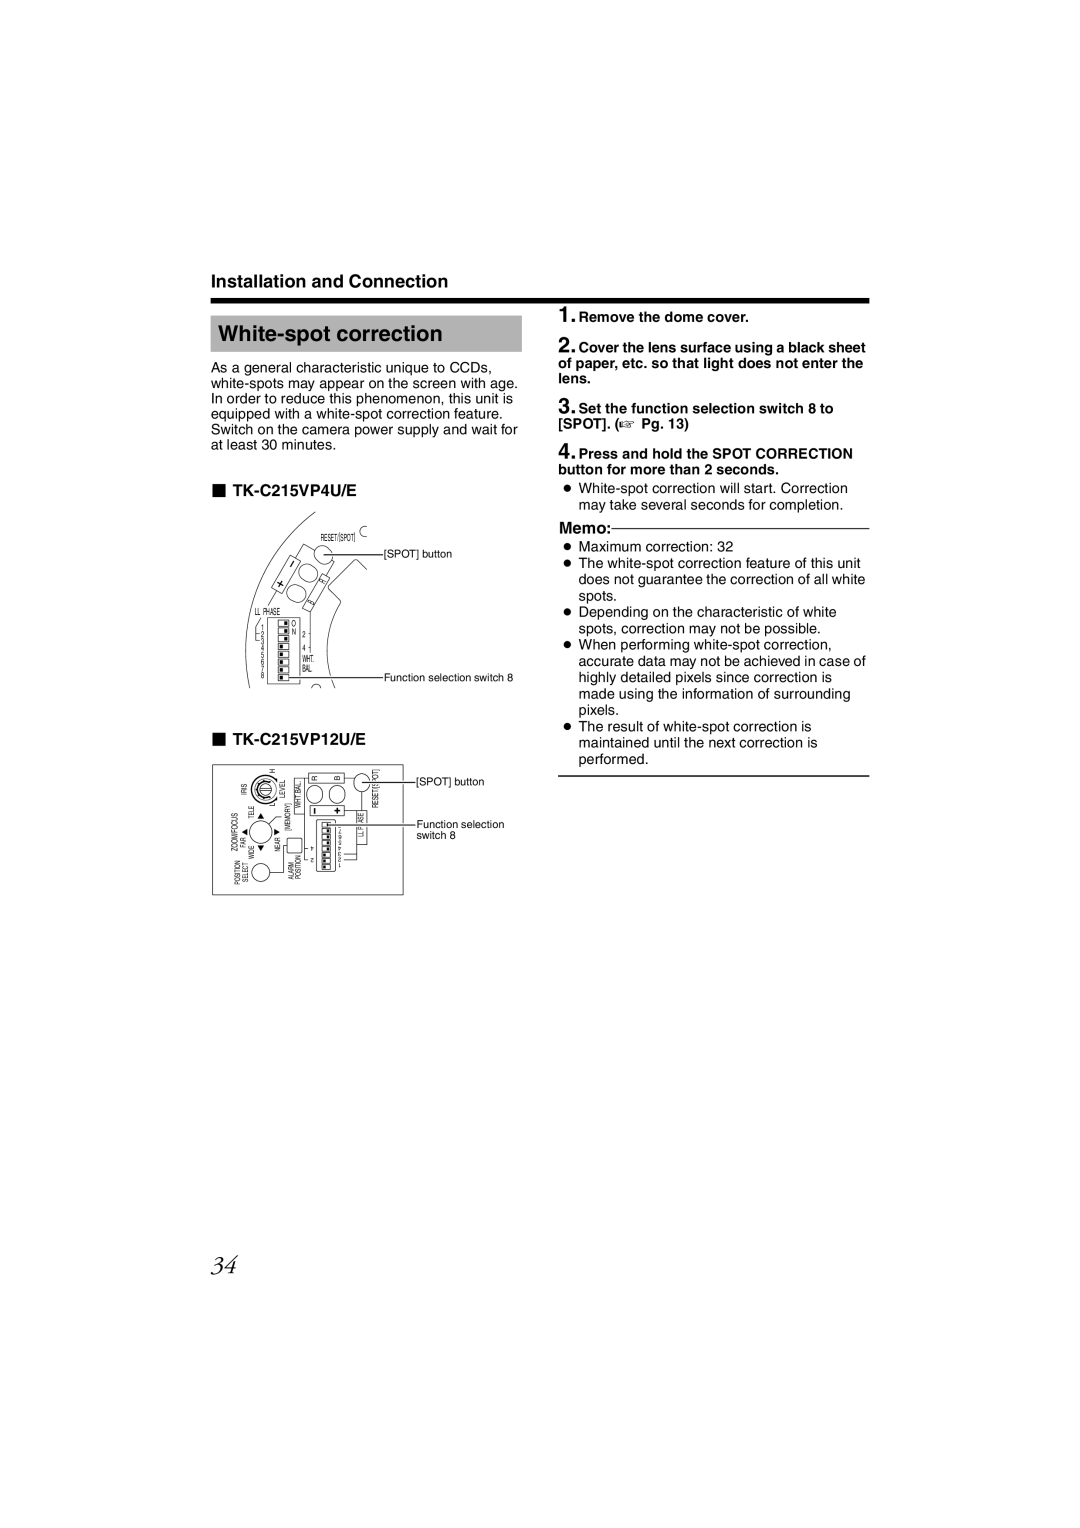
TK-C215VP4U/E
RESET/[SPOT]
[SPOT] button
R
B
LLPHASE
1 |
| O |
| N 2 | |
2 |
| |
3 |
| 4 |
4 |
| |
5 |
| WHT. |
6 |
|
7![]()
![]()
![]() BAL.
BAL.
8![]()
![]()
![]()
![]() Function selection switch 8
Function selection switch 8
TK-C215VP12U/E
ZOOM/FOCUS FAR TELE | L H | [MEMORY] WHT.BAL. | 4 | 4 | PHASELL | RESET/[SPOT] | [SPOT] button |
IRIS | LEVEL | R | B |
|
|
| |
|
|
|
| 8 |
|
| Function selection |
|
|
|
| 7 |
|
| switch 8 |
| NEAR |
|
| 6 |
|
| |
POSITION SELECT WIDE |
|
| 5 |
|
|
| |
ALARM POSITION |
| 3 |
|
|
| ||
2 | 2 |
|
|
| |||
|
|
|
| 1 |
|
|
|
1. Remove the dome cover.
2. Cover the lens surface using a black sheet of paper, etc. so that light does not enter the lens.
3. Set the function selection switch 8 to [SPOT]. (A Pg. 13)
4. Press and hold the SPOT CORRECTION button for more than 2 seconds.
●
Memo:
●Maximum correction: 32
●The
●Depending on the characteristic of white spots, correction may not be possible.
●When performing
●The result of
34