XL-R2010BK specifications
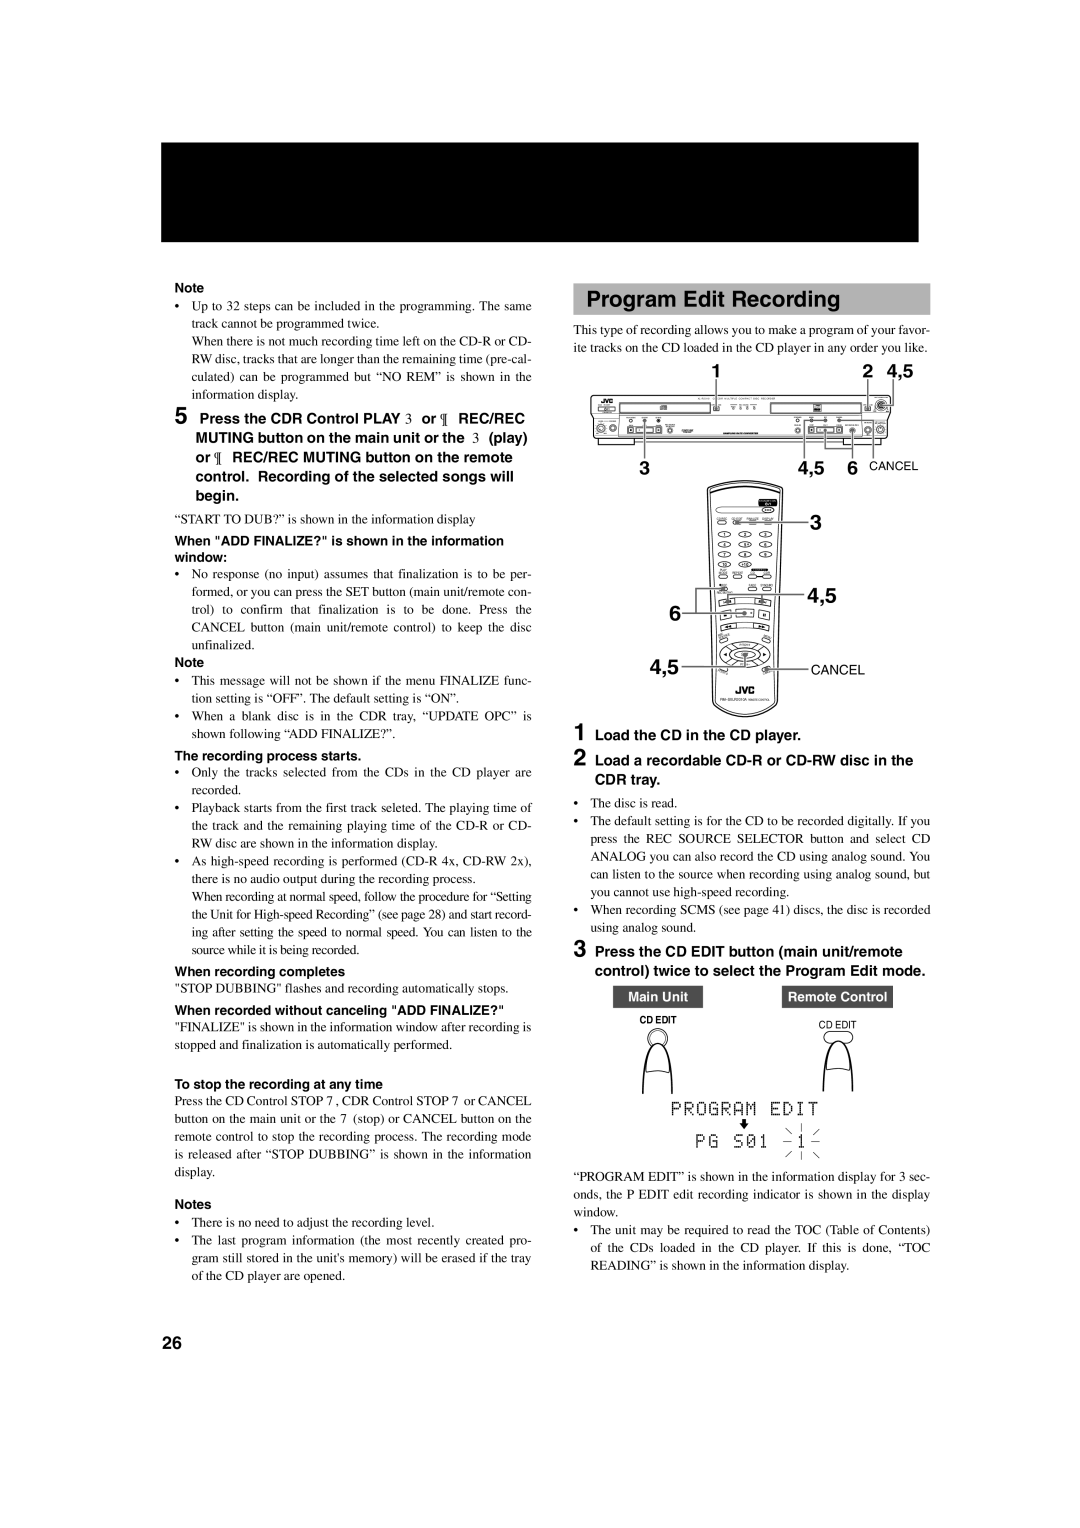
The JVC XL-R2010BK is a versatile and robust CD-R/RW recorder that has been designed for audiophiles and recording enthusiasts alike. This high-performance unit combines cutting-edge technology with a user-friendly interface, making it an excellent choice for both professional and home studio environments.One of the standout features of the XL-R2010BK is its ability to record CDs with exceptional audio quality. It supports both CD-R and CD-RW formats, allowing users to create permanent recordings or rewrite data as needed. The device is equipped with a high-quality, low-jitter digital-to-analog converter (DAC), which ensures that sound reproduction remains faithful to the original recording. This feature is particularly valuable for those who prioritize audio fidelity in their recordings.
In terms of connectivity, the XL-R2010BK boasts a comprehensive array of ports, including digital coaxial and optical inputs, as well as analog RCA inputs. This versatility enables seamless integration with various audio sources, whether it be a computer, cassette player, or vinyl turntable. Furthermore, the unit includes both digital and analog outputs for easy connectivity to other audio equipment, such as amplifiers or mixing consoles.
The recorder also employs advanced technologies to enhance the recording process. The "Auto Level" feature automatically adjusts the recording levels to prevent distortion, ensuring a clean and balanced output. Additionally, the integrated "Track Increment" function allows users to easily insert track markers during recording, ideal for creating compilations or live recordings.
Another notable characteristic of the XL-R2010BK is its user-friendly LCD display, which provides clear feedback on recording status, remaining time, and other important information. The intuitive control layout allows users to navigate functions with ease, making it accessible for all skill levels.
In conclusion, the JVC XL-R2010BK is a premium CD-R/RW recorder that merges high-quality performance with essential features for an unparalleled recording experience. With its excellent audio fidelity, robust connectivity options, and advanced recording technologies, it stands out as an ideal choice for those looking to create high-quality audio recordings, whether for professional projects or personal use.

