Recording onto CD-R and CD-RW
Notes on Recording
•Do not use
•While making a recording or when the “REC” indicator lights in the display, do not subject this unit to any shock or vibration.
•Before recording on a
Read through this section before recording.
Types of recording
The following types of recording are possible with this unit.
Manual recording (page 18)
Manually control the type of recording source and exactly what is to be recorded.
•DIGITAL (digital recording of an external source connected to this unit’s OPTICAL input connector)
•CD (digital/analog recording of CDs loaded in the
•LINE (analog recording of an external source connected to this unit’s LINE input connectors)
•MIC (analog recording of input from a connected microphone)
Synchronized one-button full CD recording (page 20)
Press the CD REC button while the unit is in the stop mode to instantly dub the entire selected CD in the
Synchronized one-button single track recording (page 20)
Press the CD REC button while the unit is playing or paused to instantly dub the current track on a CD in the
Listening Edit recording (page 21)
Select tracks to be recorded while listening to a CD in the
Program Edit recording (page 22)
Program tracks to be recorded from one or all of the CDs loaded in the
Synchronized start recording (page 25)
Start recording a source as soon as the CDR detects an input signal from that source.
Mixed input recording (page 26)
Combine and mix the volumes of two selected analog inputs for recording.
Automatic and manual track marking (page 19)
• When automatic track marking is turned on
Tracks are automatically set in the recording. For digital sources, the track information recorded in the digital source signal is used. For analog recording, spaces of silence are interpreted as track sep- arations.
• Adding track marks manually
Manual track marking offers the flexibility to place track marks anywhere in your recording. However, when automatic track mark- ing is turned on, manual track marking cannot be operated.
Sampling rate converter
The unit incorporates a sampling rate converter to ensure that the original digital signals will be recorded regardless of the sampling frequency (32 kHz, 44.1 kHz or 48 kHz) of the source being recorded.
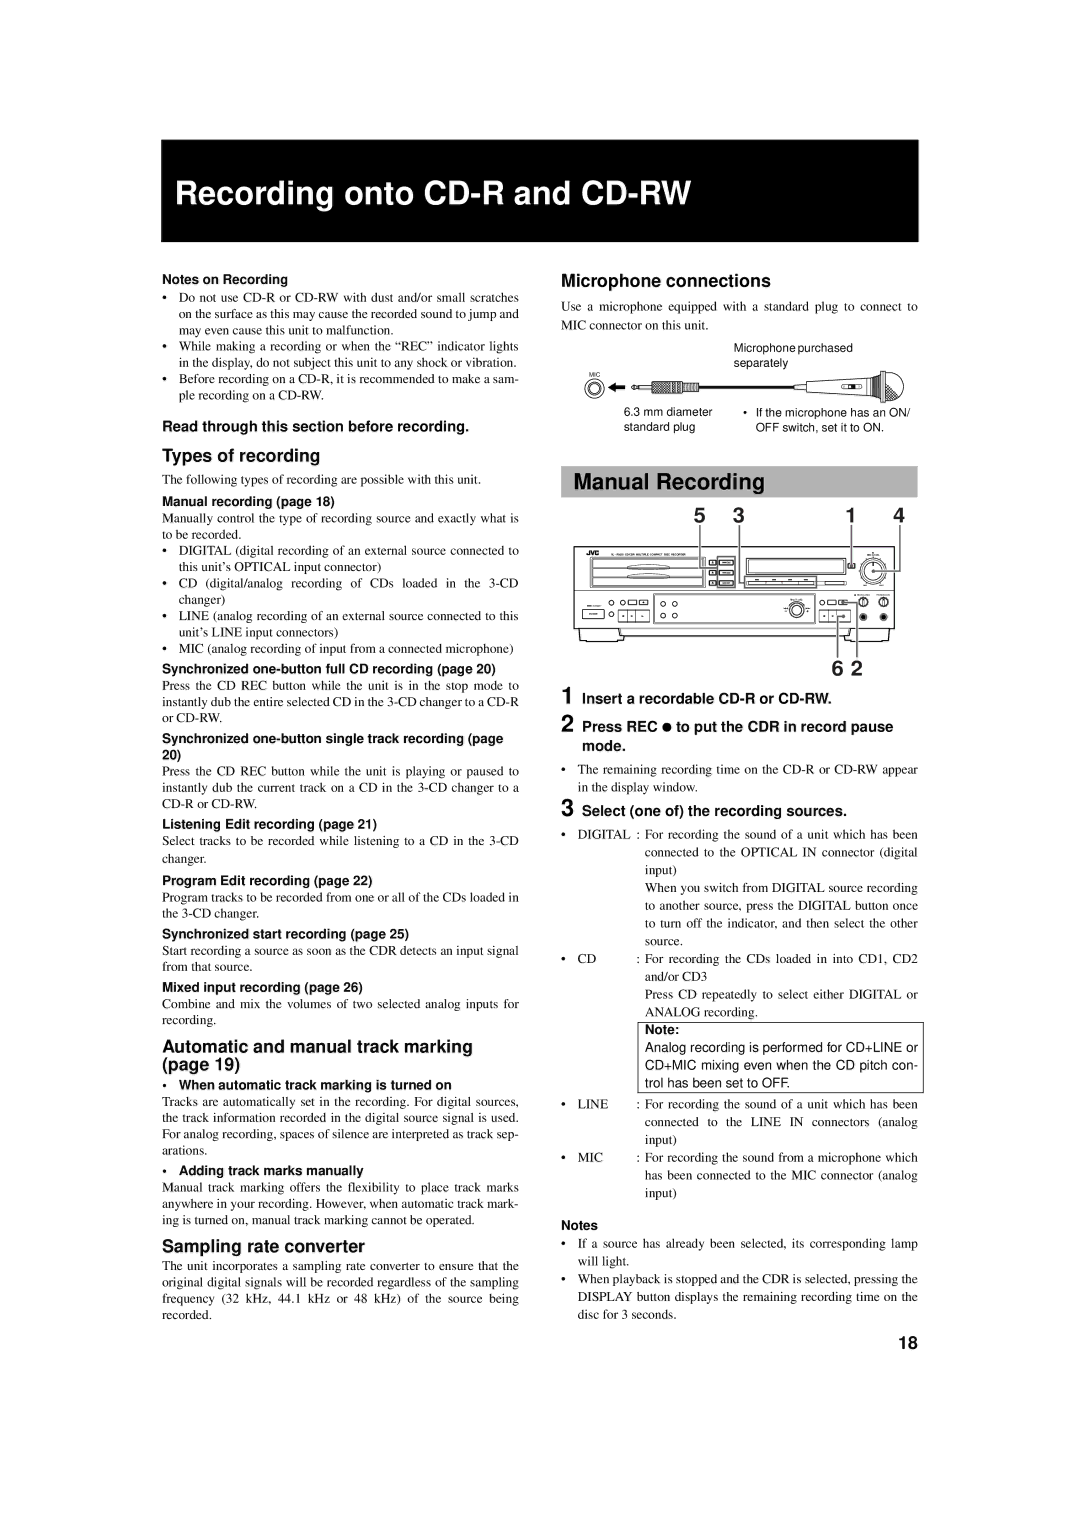
Microphone connections
Use a microphone equipped with a standard plug to connect to
MIC connector on this unit.
Microphone purchased separately
MIC
OFF | ON |
6.3 mm diameter | • If the microphone has an ON/ |
standard plug | OFF switch, set it to ON. |
Manual Recording
5 | 3 | 1 |
| 4 |
XL - R5000 CD/CDR MULTIPLE COMPACT DISC RECORDER |
|
| REC LEVEL | |
|
| MIN |
| MAX |
|
| MIX BALANCE | PHONES LEVEL | |
|
| MULTI JOG |
|
|
STANDBY |
|
– | + |
POWER |
|
6 2
1 Insert a recordable
2 Press REC ¦ to put the CDR in record pause mode.
•The remaining recording time on the
3 Select (one of) the recording sources.
•DIGITAL : For recording the sound of a unit which has been connected to the OPTICAL IN connector (digital
input)
When you switch from DIGITAL source recording to another source, press the DIGITAL button once to turn off the indicator, and then select the other source.
• CD : For recording the CDs loaded in into CD1, CD2 and/or CD3
Press CD repeatedly to select either DIGITAL or ANALOG recording.
Note:
Analog recording is performed for CD+LINE or CD+MIC mixing even when the CD pitch con- trol has been set to OFF.
• | LINE | : For recording the sound of a unit which has been |
|
| connected to the LINE IN connectors (analog |
|
| input) |
• | MIC | : For recording the sound from a microphone which |
|
| has been connected to the MIC connector (analog |
|
| input) |
Notes
•If a source has already been selected, its corresponding lamp will light.
•When playback is stopped and the CDR is selected, pressing the DISPLAY button displays the remaining recording time on the disc for 3 seconds.
18