To adjust the analog input level ——————————
The input level should be adjusted before recording the analog input.
1In Rec/Pause mode, start playing the source for level adjustment. The level indicators show the input levels.
2Turn the jog dial on the main unit to the right or left or press ¢or 4on the remote
control unit to increase or decrease the recording level.
As you adjust the recording level, “VOL.
the recording level between
(below
OR
L ![]()
![]()
![]()
![]()
![]()
![]()
![]()
![]()
![]()
![]()
![]()
![]()
![]()
![]()
40 30 20 15 10 6 3 0 dB
R ![]()
![]()
![]()
![]()
![]()
![]()
![]()
![]()
![]()
![]()
![]()
![]()
![]()
![]()
•Normally the input level should be adjusted so that the segments for 0 dB blink at the peak level.
•When the input level is too high, the OVER indicator will light up, resulting in distorted recording.
OR
MODE
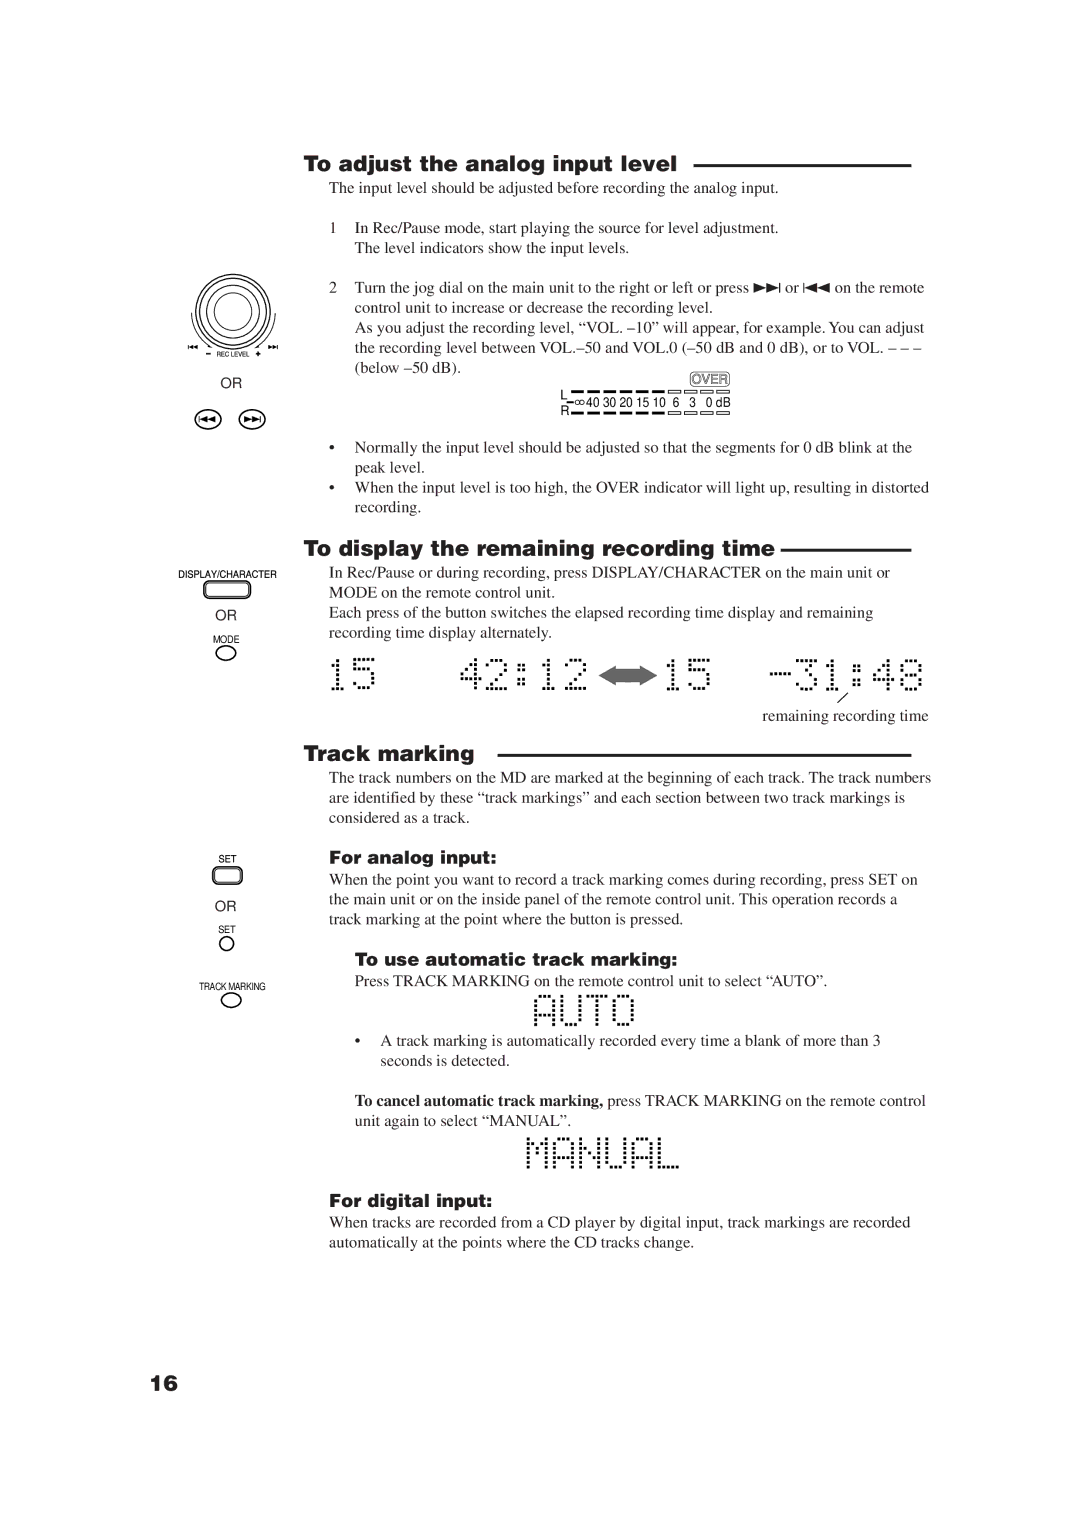
To display the remaining recording time ——————
In Rec/Pause or during recording, press DISPLAY/CHARACTER on the main unit or MODE on the remote control unit.
Each press of the button switches the elapsed recording time display and remaining recording time display alternately.
remaining recording time
Track marking ———————————————————
The track numbers on the MD are marked at the beginning of each track. The track numbers are identified by these “track markings” and each section between two track markings is considered as a track.
OR
SET
TRACK MARKING
For analog input:
When the point you want to record a track marking comes during recording, press SET on the main unit or on the inside panel of the remote control unit. This operation records a track marking at the point where the button is pressed.
To use automatic track marking:
Press TRACK MARKING on the remote control unit to select “AUTO”.
•A track marking is automatically recorded every time a blank of more than 3 seconds is detected.
To cancel automatic track marking, press TRACK MARKING on the remote control unit again to select “MANUAL”.
For digital input:
When tracks are recorded from a CD player by digital input, track markings are recorded automatically at the points where the CD tracks change.
16