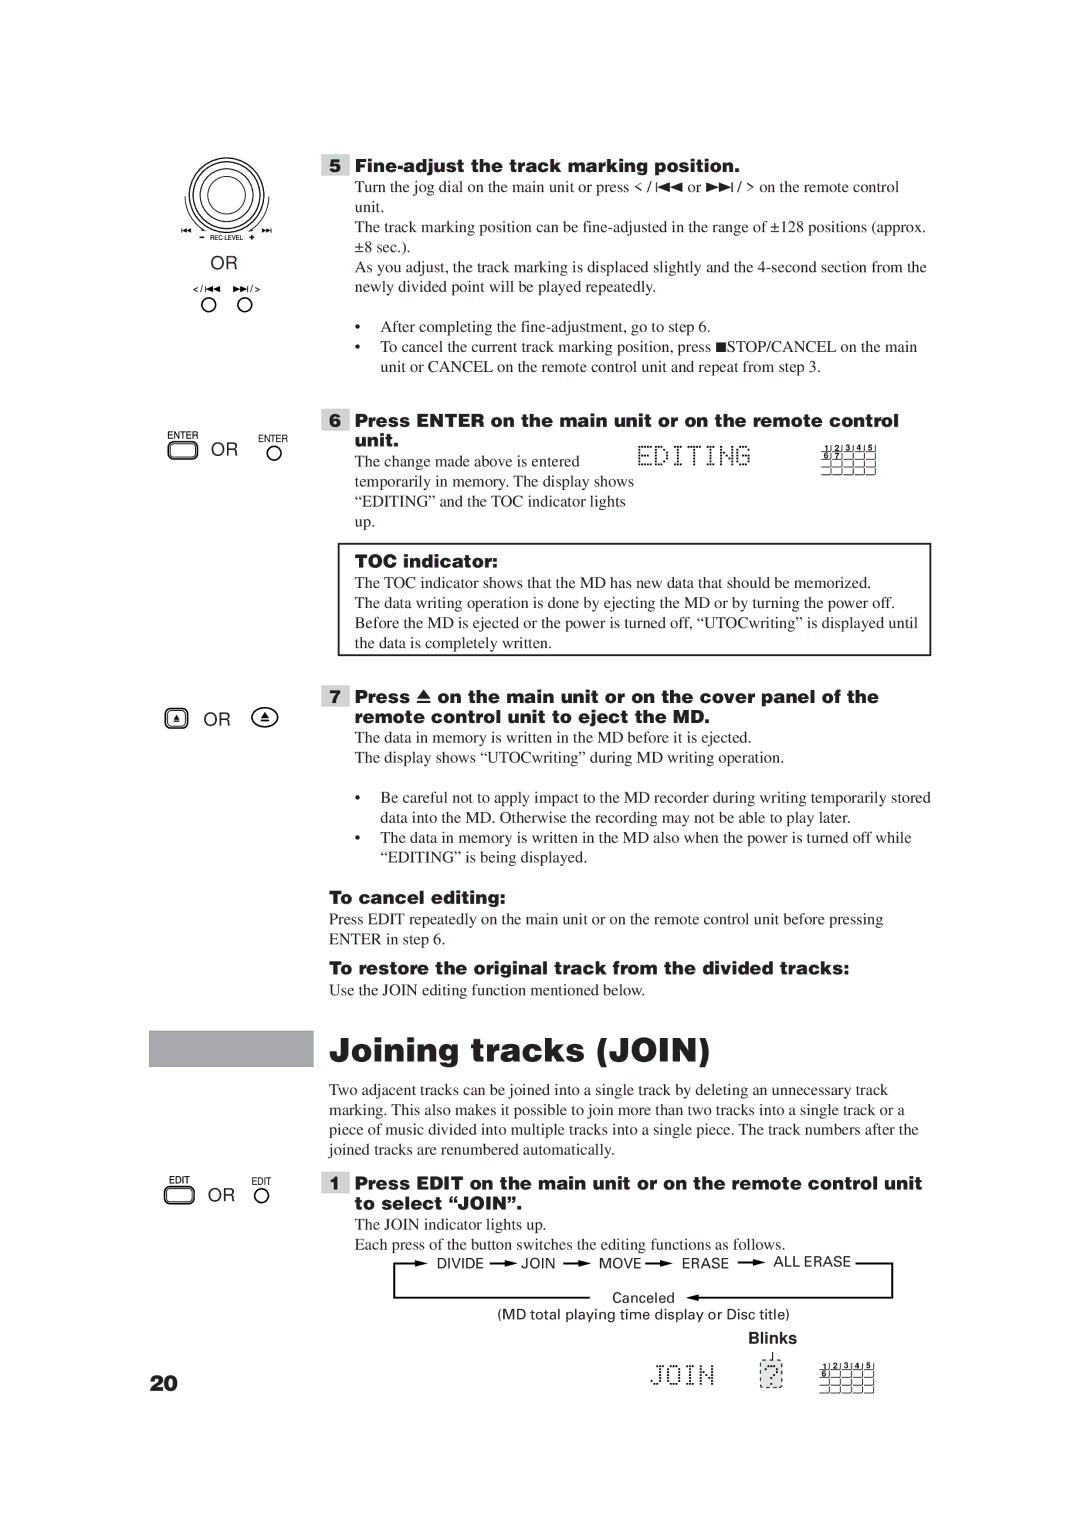
5Fine-adjust the track marking position.
Turn the jog dial on the main unit or press < / 4 or ¢/ > on the remote control
| unit. |
| The track marking position can be |
OR | ±8 sec.). |
As you adjust, the track marking is displaced slightly and the | |
| newly divided point will be played repeatedly. |
•After completing the
•To cancel the current track marking position, press 7STOP/CANCEL on the main unit or CANCEL on the remote control unit and repeat from step 3.
6 Press ENTER on the main unit or on the remote control
OR | ENTER | unit. | 1 | 2 | 3 4 5 |
| |||||
| The change made above is entered | 6 | 7 |
| |
|
|
|
|
|
temporarily in memory. The display shows “EDITING” and the TOC indicator lights up.
TOC indicator:
The TOC indicator shows that the MD has new data that should be memorized. The data writing operation is done by ejecting the MD or by turning the power off. Before the MD is ejected or the power is turned off, “UTOCwriting” is displayed until the data is completely written.
| 7 | Press 0 on the main unit or on the cover panel of the |
OR | remote control unit to eject the MD. | |
The data in memory is written in the MD before it is ejected.
The display shows “UTOCwriting” during MD writing operation.
•Be careful not to apply impact to the MD recorder during writing temporarily stored data into the MD. Otherwise the recording may not be able to play later.
•The data in memory is written in the MD also when the power is turned off while “EDITING” is being displayed.
To cancel editing:
Press EDIT repeatedly on the main unit or on the remote control unit before pressing
ENTER in step 6.
To restore the original track from the divided tracks:
Use the JOIN editing function mentioned below.
Joining tracks (JOIN)
EDIT
OR
Two adjacent tracks can be joined into a single track by deleting an unnecessary track marking. This also makes it possible to join more than two tracks into a single track or a piece of music divided into multiple tracks into a single piece. The track numbers after the joined tracks are renumbered automatically.
1Press EDIT on the main unit or on the remote control unit to select “JOIN”.
The JOIN indicator lights up.
Each press of the button switches the editing functions as follows.
![]() DIVIDE
DIVIDE ![]() JOIN
JOIN ![]() MOVE
MOVE ![]() ERASE
ERASE ![]() ALL ERASE
ALL ERASE
Canceled
(MD total playing time display or Disc title)
Blinks
20
1 2 3 4 5
6
