TITLE
To assign a title using the buttons on the remote control unit
In the following example, the process is explained from the very first — that is, inserting an MD. If you already start recording or playing, see “To assign a track title during playback or recording” on page 29.
1Load a recorded MD.
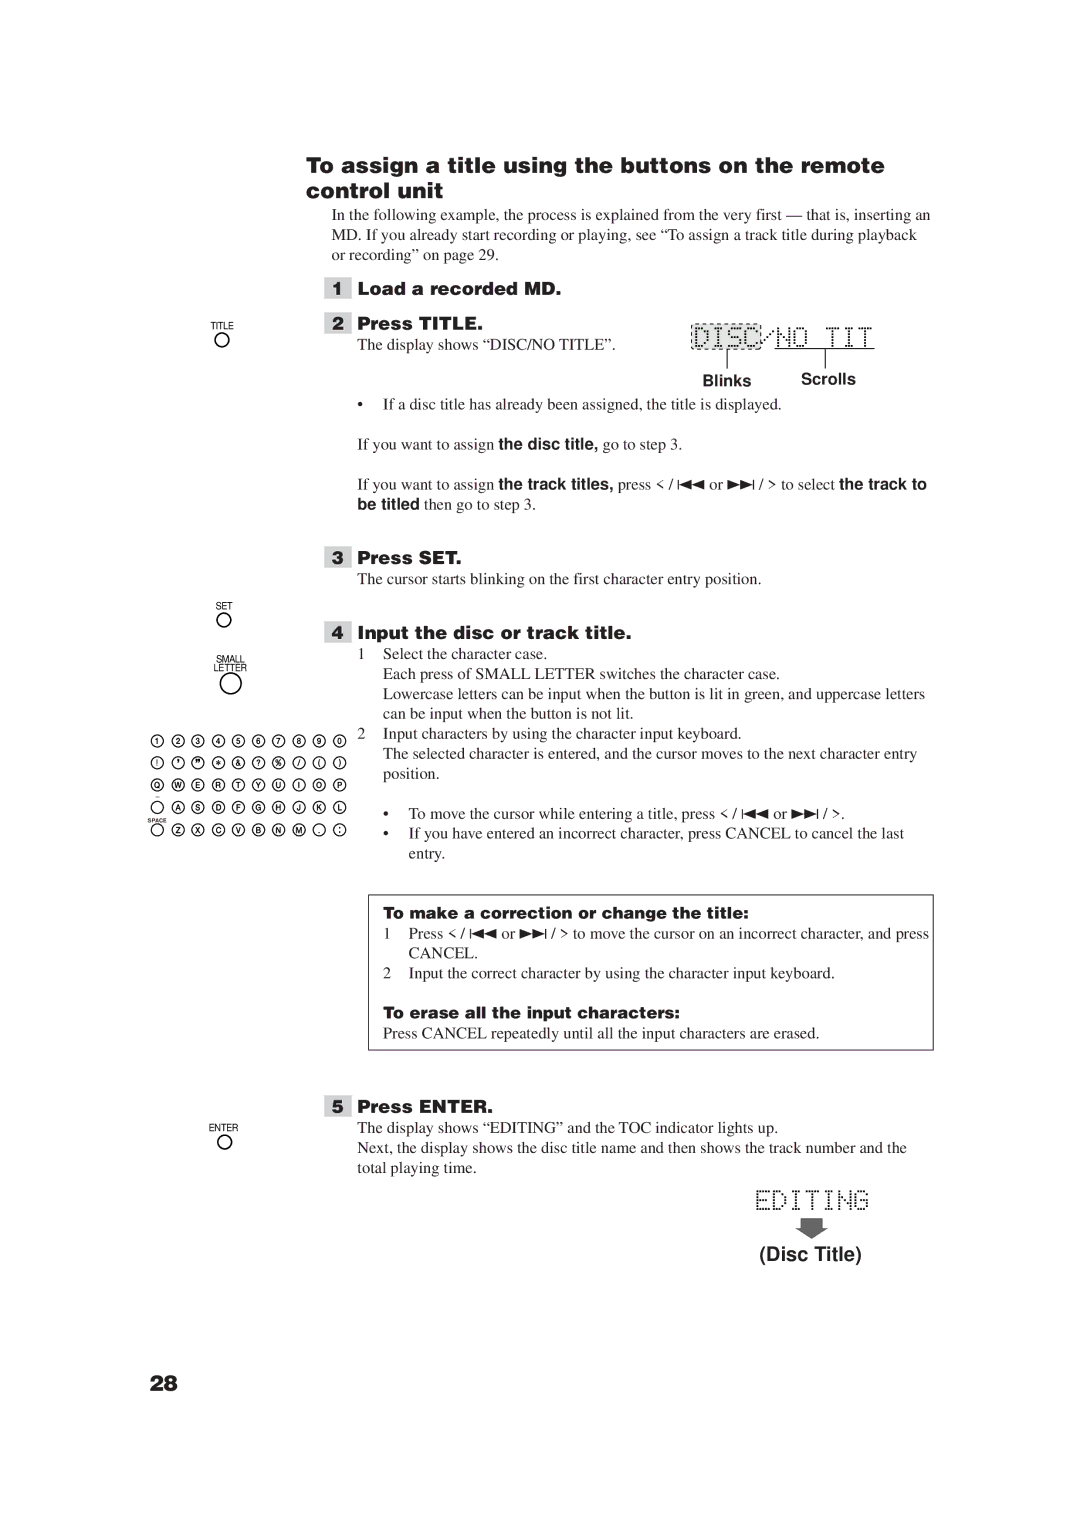
2Press TITLE.
The display shows “DISC/NO TITLE”.
Blinks Scrolls
•If a disc title has already been assigned, the title is displayed. If you want to assign the disc title, go to step 3.
If you want to assign the track titles, press < / 4or ¢ / > to select the track to be titled then go to step 3.
SET
SMALL
LETTER
SPACE
ENTER
3Press SET.
The cursor starts blinking on the first character entry position.
4Input the disc or track title.
1Select the character case.
Each press of SMALL LETTER switches the character case.
Lowercase letters can be input when the button is lit in green, and uppercase letters can be input when the button is not lit.
2Input characters by using the character input keyboard.
The selected character is entered, and the cursor moves to the next character entry position.
•To move the cursor while entering a title, press < / 4 or ¢/ >.
• If you have entered an incorrect character, press CANCEL to cancel the last entry.
To make a correction or change the title:
1Press < / 4 or ¢/ > to move the cursor on an incorrect character, and press
CANCEL.
2Input the correct character by using the character input keyboard.
To erase all the input characters:
Press CANCEL repeatedly until all the input characters are erased.
5Press ENTER.
The display shows “EDITING” and the TOC indicator lights up.
Next, the display shows the disc title name and then shows the track number and the total playing time.
(Disc Title)
28