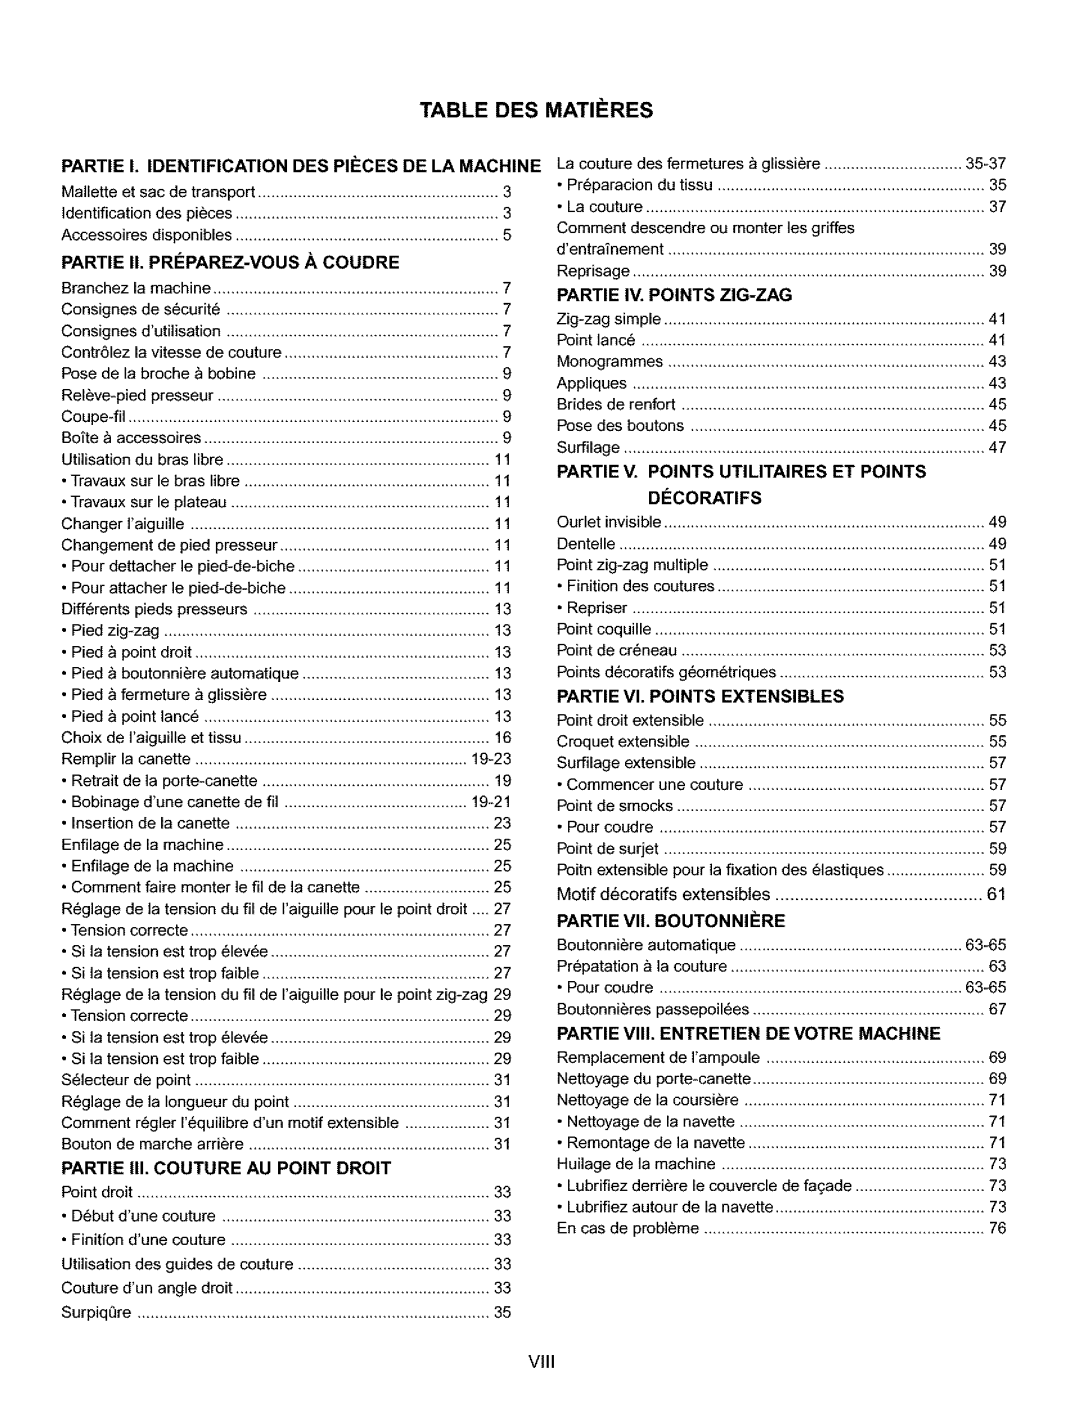
TABLE DES MATIF:RES

PARTIE L IDENTIFICATION DES PIF:CES DE LA MACHINE

Mallette et sac

de transport

3

Identification


des pieces


3

Accessoires

disponibles


5

PARTIE

II. PRlePAREZ-VOUS

A COUDRE


Branchez


la machine


7

Consignes


de securit6

.............................................................


7

Consignes


d'utilisation

.............................................................


7

Contrelez


la vitesse

de couture

................................................

7

Pose

de la broche

_ bobine

9

Releve-pied

presseur


9

Coupe-fil


...................................................................................


9

Bofte

_ accessoires

..................................................................


9

Utilisation


du

bras

libre

...........................................................


11

• Travaux sur le bras

libre

.......................................................

11

Travaux sur le plateau


11

Changer

I'aiguille

...................................................................


11

Changement

de pied presseur

11

• Pour dettacher

le pied-de-biche

11

• Pour

attacher

le pied-de-biche

.............................................

11

Differents


pieds

presseurs

.....................................................

13

• Pied zig-zag

.........................................................................


13

• Pied _ point droit

..................................................................


13

• Pied _ boutonniere

automatique

13

• Pied _ fermeture

_ glissiere

13

• Pied

_ point lance

................................................................


13

Choix

de I'aiguille et tissu

.......................................................

16

Remplir la canette

.............................................................


19-23

• Retrait

de la porte-canette

19

• Bobinage

d'une canette

de fil

.........................................

19-21

• Insertion

de

la canette


23

Enfilage

de la machine

...........................................................


25

• Enfilage


de la machine


25

• Comment

faire monter le fil de la canette

25

Reglage

de

la tension

du fil de

raiguille pour le point droit

..., 27

• Tension


correcte

...................................................................


27

• Si la tension

est

trop

6levee

27

• Si la tension

est

trop faible

27

Reglage de

la tension

du fil de

raiguille pour le point zig-zag 29

• Tension


correcte

...................................................................


29

• Si la tension

est

trop

6levee

29

• Si la tension

est

trop faible

29

S61ecteur

de point

..................................................................


31

Reglage

de la Iongueur

du point

31

Comment


regler requilibre

d'unmotif extensible

31

Bouton de marche

arriere

......................................................

31

PARTIE III. COUTURE AU POINT DROIT


Point

droit


33

• Debut d'une couture

............................................................


33

• Finition


d'unecouture

..........................................................


33

Utilisation


des guides de couture

33

Couture

d'unangle

droit


33

SurpiqQre

...............................................................................


35

La couture

des fermetures _ glissiere

35-37

• Preparacion

du tissu


35

• La couture

............................................................................


37

Comment descendre ou monter les griffes


d'entrai'nement


39

Reprisage

...............................................................................


39

PARTIE IV. POINTS ZlG-ZAG


Zig-zag

simple


41

Point lance

.............................................................................


41

Monogrammes

.......................................................................


43

Appliques

...............................................................................


43

Brides de renfort

....................................................................


45

Pose des boutons


45

Surfilage


.................................................................................


47

PARTIE

V. POINTS

UTILITAIRES

ET POINTS


D¢:CORATIFS


Ourlet invisible


49

Dentelle

..................................................................................


49

Point zig-zag

multiple

.............................................................


51

• Finition


des

coutures


51

• Repriser

...............................................................................


51

Point coquille

..........................................................................


51

Point de creneau

....................................................................


53

Points decoratifs

geometriques


53

PARTIE


VI. POINTS

EXTENSlBLES


Point droit extensible

..............................................................


55

Croquet

extensible


55

Surfilage


extensible


57

• Commencer

une couture


57

Point de smocks

.....................................................................


57

• Pour coudre

.........................................................................


57

Point de

surjet


59

Poitn extensible

pour la fixation

des

elastiques

59

Motif decoratifs

extensibles


61

PARTIE


VII. BOUTONNIF=RE


Boutonniere

automatique


63-65

Prepatation

_ la couture


63

• Pour coudre

....................................................................


63-65

Boutonnieres

passepoilees


67

PARTIE VIII. ENTRETIEN DE VOTRE MACHINE


Remplacement

de I'ampoule


69

Nettoyage

du porte-canette


69

Nettoyage

de la coursiere


71

• Nettoyage

de la navette


71

• Remontage

de la navette


71

Huilage

de la machine


73

• Lubrifiez

derriere le couvercle

de facade

73

• Lubrifiez

autour

de

la navette


73

En cas de probleme


76

VIII

Page 9
Image 9
Kenmore 385.15516 owner manual Table DES Matifres

385.15516 specifications

The Kenmore 385.15516 is a versatile and robust sewing machine that has earned a reputation for reliability and user-friendly features. Renowned for its performance, this machine caters to both beginners and experienced sewists alike, making it a popular choice for home sewing projects.

One of the standout features of the Kenmore 385.15516 is its 25 built-in stitch patterns. These stitches include a variety of utility stitches, decorative designs, and buttonhole options, allowing users to tackle various sewing projects with ease. The stitch selector is conveniently located, making it simple to switch between stitch styles with just a turn of a dial.

The machine is designed with a top-loading bobbin system, simplifying the process of setting up and monitoring thread levels. This feature minimizes the hassle often associated with bobbin insertion and threading, ensuring that users can focus on their creative tasks. The clear bobbin cover also provides visibility, allowing sewists to quickly check on their bobbin status without interrupting their workflow.

Another key feature is the adjustable stitch width and length, giving users greater control over their sewing. This customization enables sewists to create professional-looking seams and finishes tailored to their specific project requirements. The machine's maximum stitch width of 5mm and maximum stitch length of 4mm contribute to its versatility in handling various fabrics, from lightweight materials to heavier textiles.

Additionally, the Kenmore 385.15516 comes equipped with a free arm, making it easier to sew cylindrical items like sleeves and hems. This functionality adds to its appeal, especially when working on intricate designs or repairs. The machine also incorporates a built-in needle threader, which expedites the process of threading the needle, alleviating a common frustration among sewists.

In terms of technology and build, the Kenmore 385.15516 showcases a sturdy construction that ensures durability and stability. It is compact enough for easy storage but weighs enough to remain steady during use, reducing vibrations and enhancing sewing precision. Furthermore, the control interface is intuitive, allowing users to seamlessly navigate between functions and settings.

In summary, the Kenmore 385.15516 is a well-rounded sewing machine that offers a blend of functionality and convenience. With its range of built-in stitches, adjustable parameters, and user-friendly features, it stands as an excellent choice for anyone looking to enhance their sewing experience, whether for practical repairs, creative projects, or exploring the world of crafting.