CAPTURING IMAGES
The
1Slide the PWR switch upward to turn the power ON.
•The TX/RX indicator lights green.
2Press [S] to activate both the camera and LCD monitor.
•The TX/RX indicator goes out.
3While looking at the LCD monitor, turn and focus the camera onto an object.
4Press [S] again to capture the image.
•When capturing is completed, the camera is deactivated and the TX/RX indicator lights green again.
5Press [MR] to store the captured image in a memory channel.
•You may skip this step if you do not store the image.
6Repeat step 2 to 5 to capture and store a maximum of 10 desired images.
•When all channels are full, the currently selected channel is overwritten with a newly captured image.
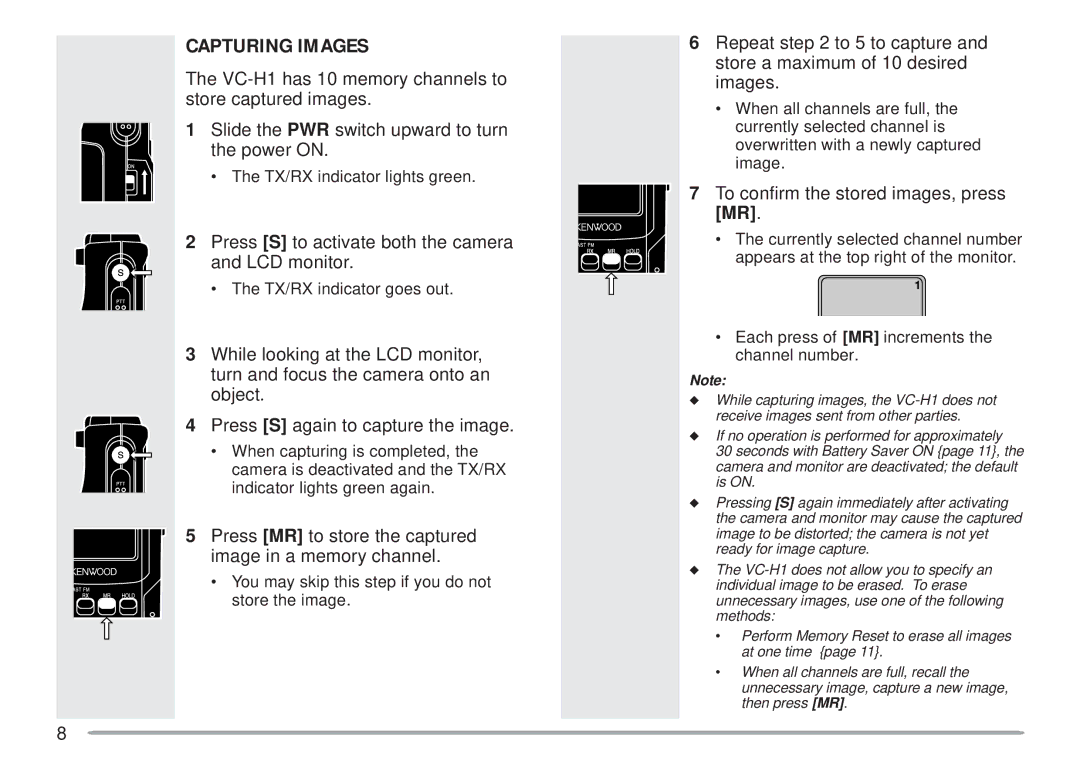
7To confirm the stored images, press [MR].
•The currently selected channel number appears at the top right of the monitor.
•Each press of [MR] increments the channel number.
Note:
◆While capturing images, the
◆If no operation is performed for approximately
30 seconds with Battery Saver ON {page 11}, the camera and monitor are deactivated; the default is ON.
◆Pressing [S] again immediately after activating the camera and monitor may cause the captured image to be distorted; the camera is not yet ready for image capture.
◆The
•Perform Memory Reset to erase all images at one time {page 11}.
•When all channels are full, recall the unnecessary image, capture a new image, then press [MR].
8