To Bake or Roast:

Before baking or roasting, position racks according to the “Positioning Racks and Bakeware” section. When roasting, it is not necessary to wait for the oven to preheat before putting food in, unless recommended in the recipe.

1.From the Main menu, touch BAKE.

2.To change the preset temperature, enter the desired temperature using the numerical keys. The temperature can be set between 170°F and 500°F (77°C and 260°C).

3.To enter a cook time, touch COOK TIME. Enter the desired cook time using the numerical keys.

4.To use the temperature probe, touch PROBE and enter the desired food temperature using the numerical keys.

5.Once a cooking setup function is complete, the Start key will light up.

6.When settings are correct, touch START.

7.If the oven temperature is below the set temperature, the Preheat Bar will be displayed showing the status of the preheat cycle. When preheat is complete a tone will sound.

8.During the preheat and cooking cycle an Adjust Settings key appears on the lower right hand corner of the display. Touch ADJUST SETTINGS to change the desired time, temperature and/or probe settings. Touch START to enter new settings.

9.If the Cook Time has been set or the temperature probe has been used, the Check Food message will appear at the end of the cook time or once the set temperature has been reached.

If enabled, end-of-cycle tones will sound, then reminder tones will sound every minute. Touch OK to clear the message, stop reminder tones, and continue the current cooking cycle.

10.Touch OFF, UPPER OVEN OFF or LOWER OVEN OFF when finished cooking.

FullandCenterBroiling

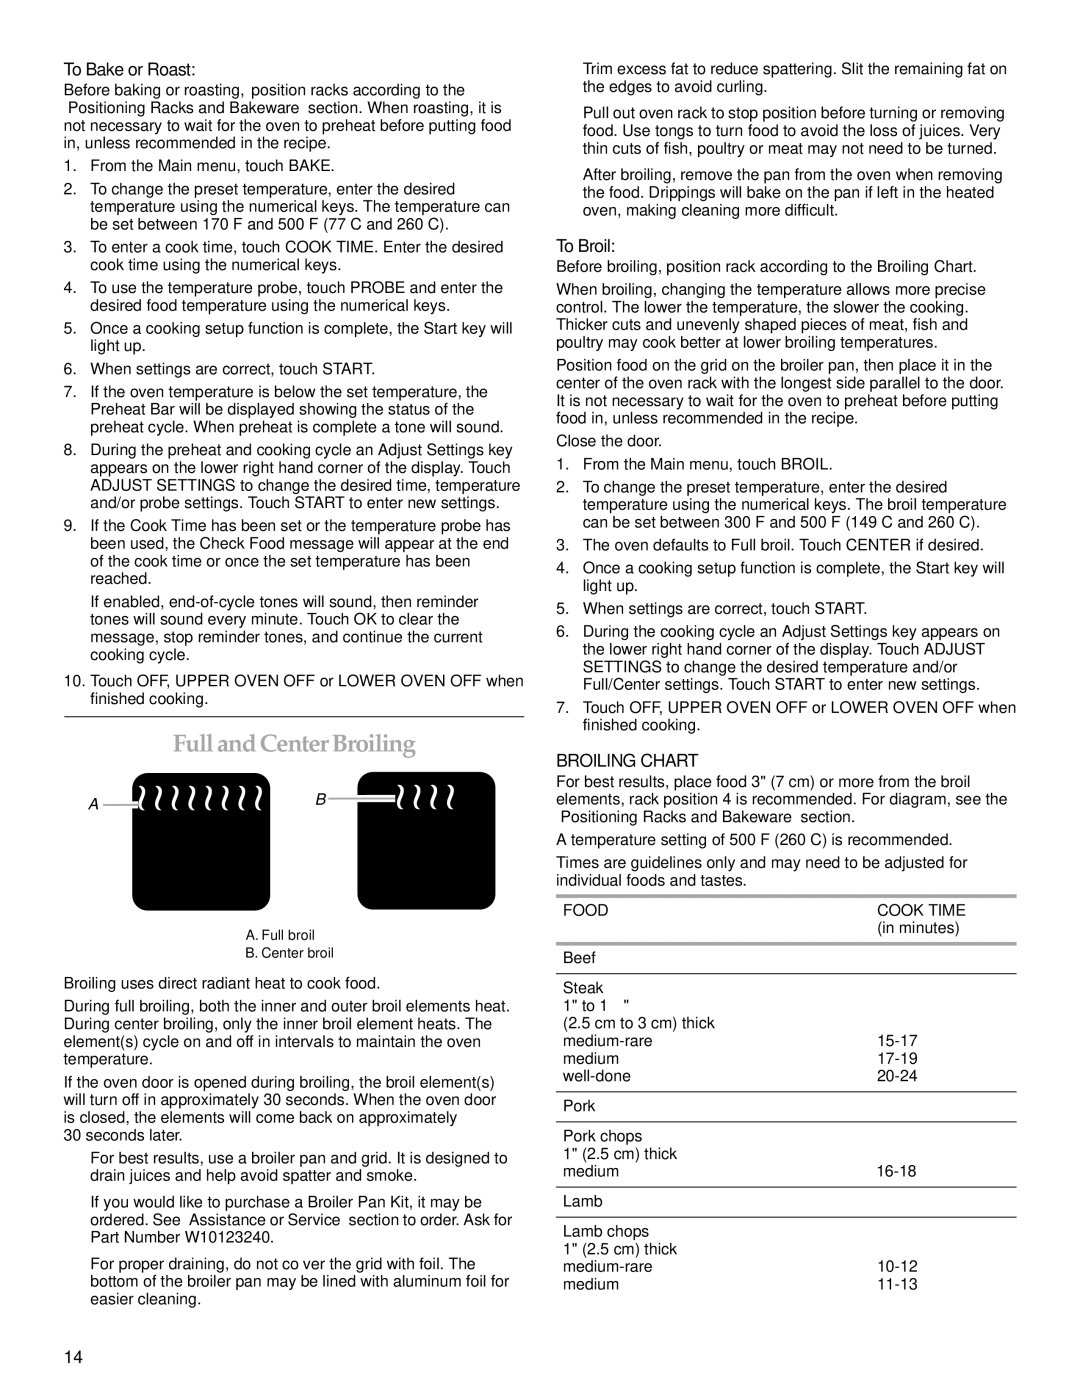
A B

A. Full broil

B. Center broil

Broiling uses direct radiant heat to cook food.

During full broiling, both the inner and outer broil elements heat. During center broiling, only the inner broil element heats. The element(s) cycle on and off in intervals to maintain the oven temperature.

If the oven door is opened during broiling, the broil element(s) will turn off in approximately 30 seconds. When the oven door is closed, the elements will come back on approximately

30 seconds later.

For best results, use a broiler pan and grid. It is designed to drain juices and help avoid spatter and smoke.

If you would like to purchase a Broiler Pan Kit, it may be ordered. See “Assistance or Service” section to order. Ask for Part Number W10123240.

For proper draining, do not cover the grid with foil. The bottom of the broiler pan may be lined with aluminum foil for easier cleaning.

Trim excess fat to reduce spattering. Slit the remaining fat on the edges to avoid curling.

Pull out oven rack to stop position before turning or removing food. Use tongs to turn food to avoid the loss of juices. Very thin cuts of fish, poultry or meat may not need to be turned.

After broiling, remove the pan from the oven when removing the food. Drippings will bake on the pan if left in the heated oven, making cleaning more difficult.

To Broil:

Before broiling, position rack according to the Broiling Chart.

When broiling, changing the temperature allows more precise control. The lower the temperature, the slower the cooking. Thicker cuts and unevenly shaped pieces of meat, fish and poultry may cook better at lower broiling temperatures.

Position food on the grid on the broiler pan, then place it in the center of the oven rack with the longest side parallel to the door. It is not necessary to wait for the oven to preheat before putting food in, unless recommended in the recipe.

Close the door.

1.From the Main menu, touch BROIL.

2.To change the preset temperature, enter the desired temperature using the numerical keys. The broil temperature can be set between 300°F and 500°F (149°C and 260°C).

3.The oven defaults to Full broil. Touch CENTER if desired.

4.Once a cooking setup function is complete, the Start key will light up.

5.When settings are correct, touch START.

6.During the cooking cycle an Adjust Settings key appears on the lower right hand corner of the display. Touch ADJUST SETTINGS to change the desired temperature and/or Full/Center settings. Touch START to enter new settings.

7.Touch OFF, UPPER OVEN OFF or LOWER OVEN OFF when finished cooking.

BROILING CHART

For best results, place food 3" (7 cm) or more from the broil elements, rack position 4 is recommended. For diagram, see the “Positioning Racks and Bakeware” section.

A temperature setting of 500°F (260°C) is recommended.

Times are guidelines only and may need to be adjusted for individual foods and tastes.

FOOD

COOK TIME


(in minutes)


Beef


Steak


1" to 1¹⁄₄"


(2.5 cm to 3 cm) thick


medium-rare

15-17

medium

17-19

well-done

20-24


Pork


Pork chops


1" (2.5 cm) thick


medium

16-18


Lamb


Lamb chops


1" (2.5 cm) thick


medium-rare

10-12

medium

11-13

14

Page 14
Image 14
KitchenAid 8304531A, KEBU208, KEBU107 manual FullandCenterBroiling, To Bake or Roast, To Broil, Food Cook Time

KEBU208, 8304531A, KEBU107 specifications

The KitchenAid KEBU107, KEBU8304531A, and KEBU208 are just a few highlights from KitchenAid's range of advanced and versatile kitchen appliances designed to elevate culinary experiences. These models exemplify KitchenAid's commitment to quality, performance, and innovation in kitchen technology.

The KitchenAid KEBU107 is celebrated for its sleek design and user-friendly interface. This built-in wall oven offers exceptional cooking capabilities with an emphasis on even heating and precise temperature control. One of its standout features is the convection cooking system, which circulates hot air for faster, more uniform cooking outcomes. With a generous capacity, the KEBU107 is perfect for families or those who enjoy entertaining, enabling users to cook multiple dishes simultaneously without compromising quality.

Meanwhile, the KitchenAid KEBU8304531A offers unique features that cater to the modern home chef. This model is equipped with advanced smart sensing technology, which automatically adjusts cooking times and temperatures based on the food being prepared. This ensures optimal results whether roasting a chicken or baking a batch of cookies. Additionally, the KEBU8304531A incorporates a self-cleaning function, making maintenance hassle-free. The intuitive touch controls allow for easy navigation through cooking modes and settings, enhancing user convenience.

The KEBU208 model stands out with its labor-saving technologies and elegant design. It boasts an innovative steam cooking option that locks in moisture, resulting in tender and flavorful dishes. Home cooks can experiment with various cooking techniques, including baking, roasting, broiling, and steaming, all in one appliance. The KEBU208 also features a large touchscreen display that provides clear visibility and control over cooking parameters, while its smart features integrate seamlessly with mobile devices for remote monitoring.

All three models highlight KitchenAid's focus on durability and craftsmanship. Constructed with high-quality materials, they are designed to withstand daily use while maintaining their aesthetic appeal. With their combination of functionality, modern design, and advanced cooking technologies, the KitchenAid KEBU107, KEBU8304531A, and KEBU208 are undoubtedly valuable additions to any kitchen, making cooking more convenient and enjoyable for both novice and experienced chefs alike.