KEBU208, 8304531A, KEBU107 specifications
The KitchenAid KEBU107, KEBU8304531A, and KEBU208 are just a few highlights from KitchenAid's range of advanced and versatile kitchen appliances designed to elevate culinary experiences. These models exemplify KitchenAid's commitment to quality, performance, and innovation in kitchen technology.The KitchenAid KEBU107 is celebrated for its sleek design and user-friendly interface. This built-in wall oven offers exceptional cooking capabilities with an emphasis on even heating and precise temperature control. One of its standout features is the convection cooking system, which circulates hot air for faster, more uniform cooking outcomes. With a generous capacity, the KEBU107 is perfect for families or those who enjoy entertaining, enabling users to cook multiple dishes simultaneously without compromising quality.
Meanwhile, the KitchenAid KEBU8304531A offers unique features that cater to the modern home chef. This model is equipped with advanced smart sensing technology, which automatically adjusts cooking times and temperatures based on the food being prepared. This ensures optimal results whether roasting a chicken or baking a batch of cookies. Additionally, the KEBU8304531A incorporates a self-cleaning function, making maintenance hassle-free. The intuitive touch controls allow for easy navigation through cooking modes and settings, enhancing user convenience.
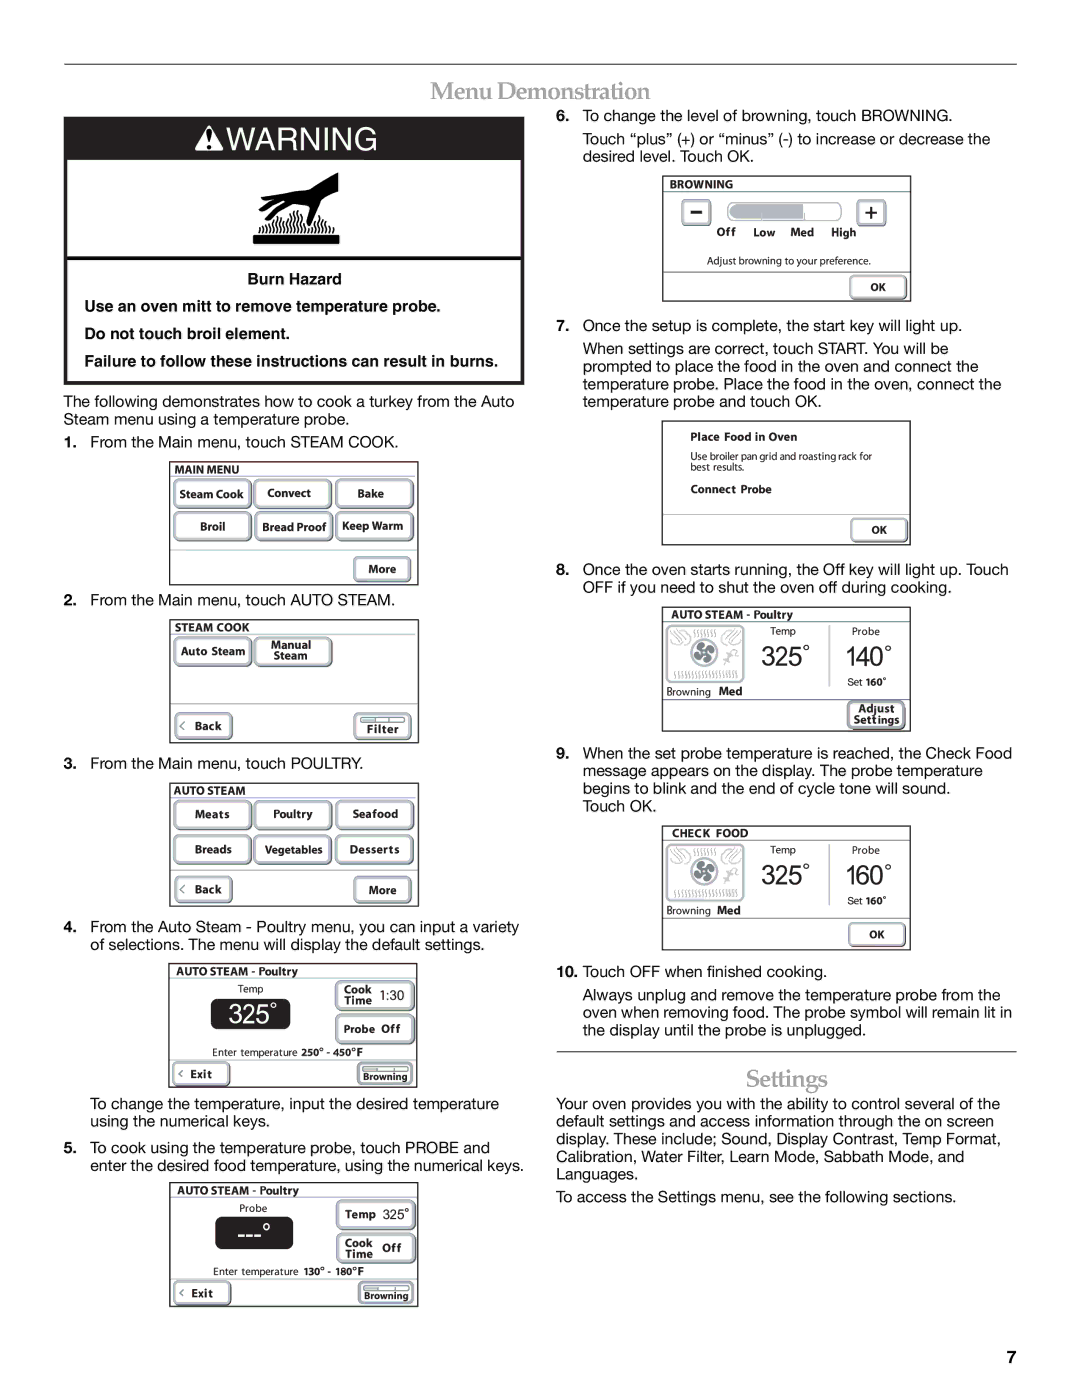
The KEBU208 model stands out with its labor-saving technologies and elegant design. It boasts an innovative steam cooking option that locks in moisture, resulting in tender and flavorful dishes. Home cooks can experiment with various cooking techniques, including baking, roasting, broiling, and steaming, all in one appliance. The KEBU208 also features a large touchscreen display that provides clear visibility and control over cooking parameters, while its smart features integrate seamlessly with mobile devices for remote monitoring.
All three models highlight KitchenAid's focus on durability and craftsmanship. Constructed with high-quality materials, they are designed to withstand daily use while maintaining their aesthetic appeal. With their combination of functionality, modern design, and advanced cooking technologies, the KitchenAid KEBU107, KEBU8304531A, and KEBU208 are undoubtedly valuable additions to any kitchen, making cooking more convenient and enjoyable for both novice and experienced chefs alike.

