Return to Section TOC
Return to Section TOC
Return to Master TOC
Return to Master TOC
TROUBLESHOOTING & REPAIR
ENGINE/ROTOR REMOVAL AND
REPLACEMENT (continued)
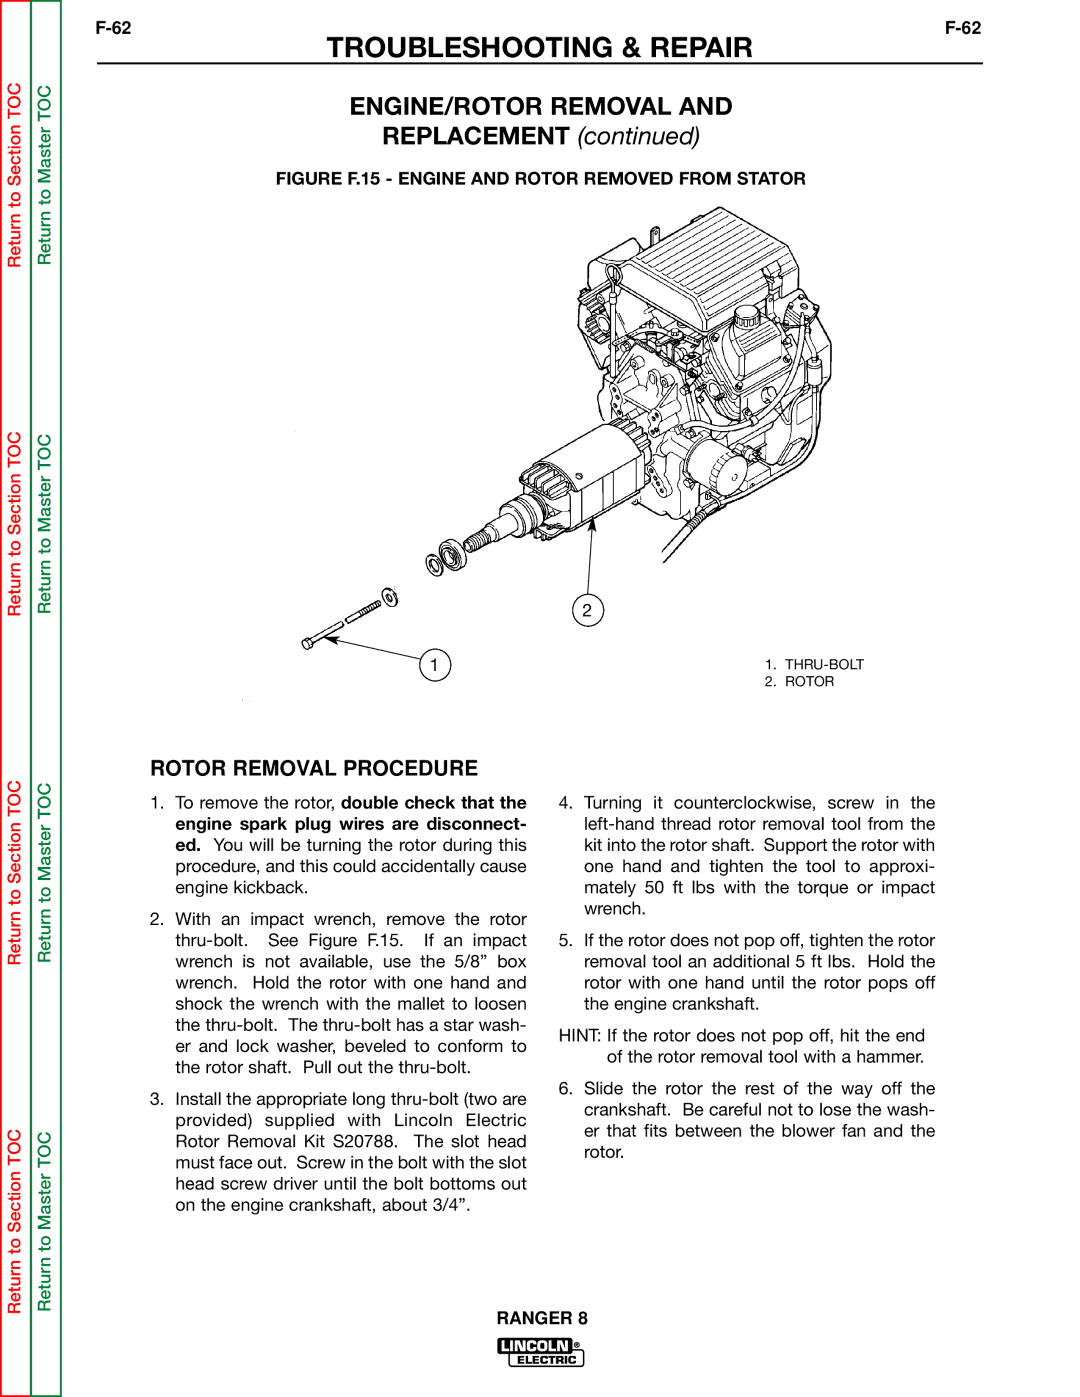
FIGURE F.15 - ENGINE AND ROTOR REMOVED FROM STATOR
2
1 | 1. | |
| 2. | ROTOR |
|
|
|
ROTOR REMOVAL PROCEDURE
Return to Section TOC
Return to Section TOC
Return to Master TOC
Return to Master TOC
1.To remove the rotor, double check that the engine spark plug wires are disconnect- ed. You will be turning the rotor during this procedure, and this could accidentally cause engine kickback.
2.With an impact wrench, remove the rotor
3.Install the appropriate long
4.Turning it counterclockwise, screw in the
5.If the rotor does not pop off, tighten the rotor removal tool an additional 5 ft lbs. Hold the rotor with one hand until the rotor pops off the engine crankshaft.
HINT: If the rotor does not pop off, hit the end of the rotor removal tool with a hammer.
6.Slide the rotor the rest of the way off the crankshaft. Be careful not to lose the wash- er that fits between the blower fan and the rotor.