B-8

B-8

OPERATION

Return to Section TOC

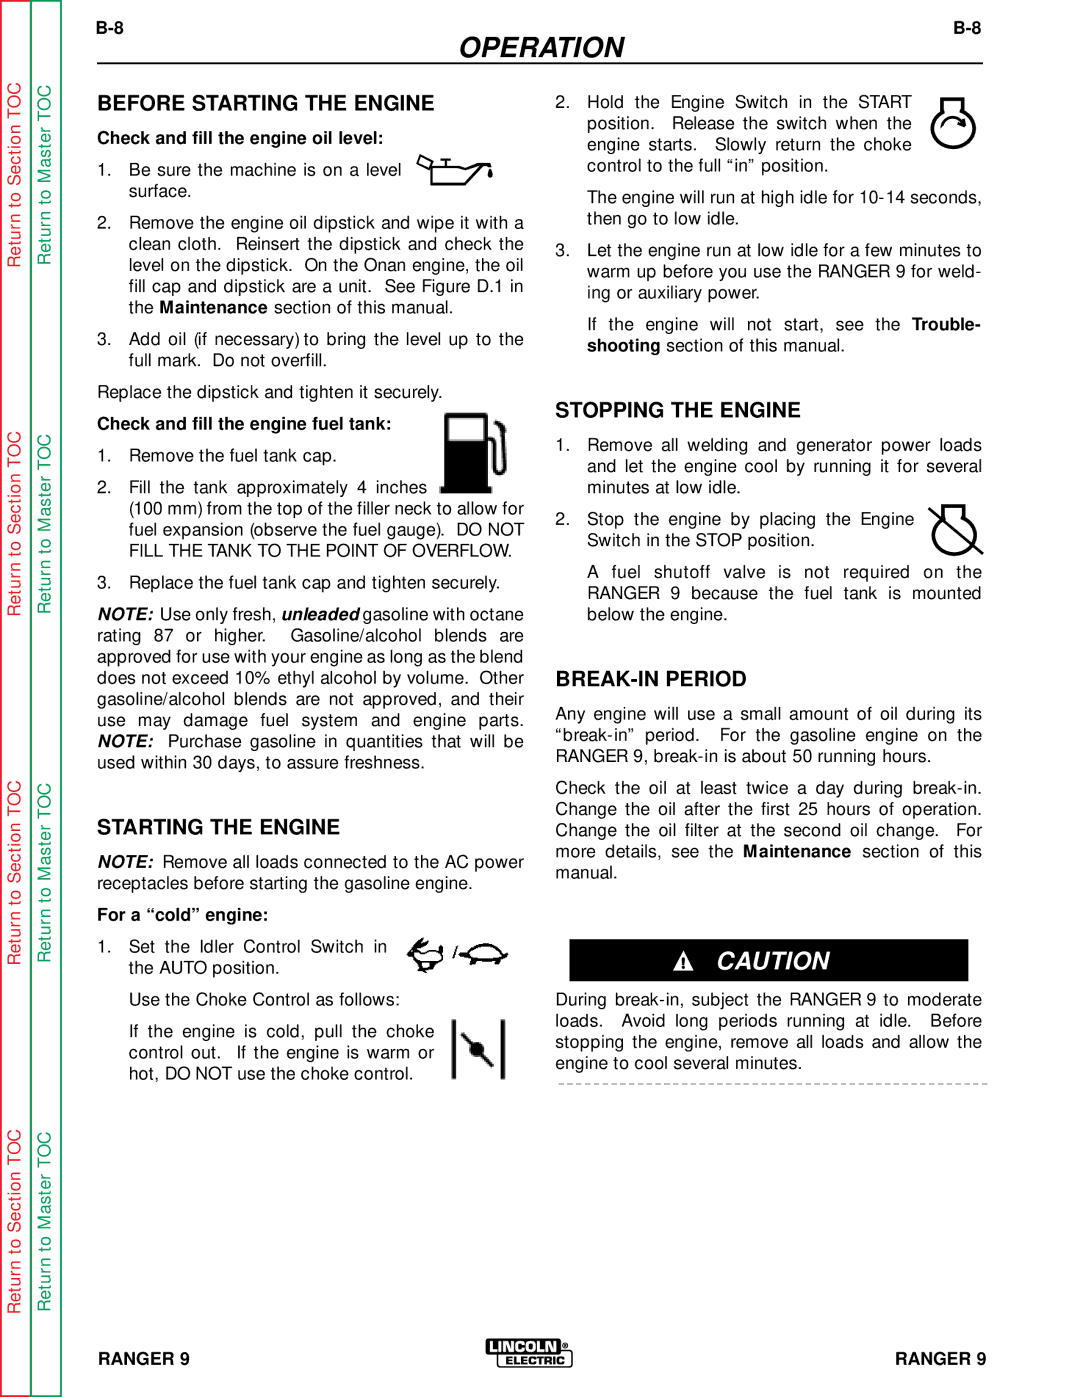
BEFORE STARTING THE ENGINE

Check and fill the engine oil level:

1.Be sure the machine is on a level surface.

2.Remove the engine oil dipstick and wipe it with a clean cloth. Reinsert the dipstick and check the level on the dipstick. On the Onan engine, the oil fill cap and dipstick are a unit. See Figure D.1 in the Maintenance section of this manual.

3.Add oil (if necessary) to bring the level up to the full mark. Do not overfill.

Replace the dipstick and tighten it securely.

2. Hold the Engine Switch in the START position. Release the switch when the engine starts. Slowly return the choke control to the full “in” position.

The engine will run at high idle for 10-14 seconds, then go to low idle.

3.Let the engine run at low idle for a few minutes to warm up before you use the RANGER 9 for weld- ing or auxiliary power.

If the engine will not start, see the Trouble- shooting section of this manual.

Return to Section TOC

Return to Section TOC

Return to Section TOC

Return to Master TOC

Return to Master TOC

Return to Master TOC

Return to Master TOC

Check and fill the engine fuel tank:

1.Remove the fuel tank cap.

2.Fill the tank approximately 4 inches

(100 mm) from the top of the filler neck to allow for fuel expansion (observe the fuel gauge). DO NOT FILL THE TANK TO THE POINT OF OVERFLOW.

3.Replace the fuel tank cap and tighten securely.

NOTE: Use only fresh, unleaded gasoline with octane rating 87 or higher. Gasoline/alcohol blends are approved for use with your engine as long as the blend does not exceed 10% ethyl alcohol by volume. Other gasoline/alcohol blends are not approved, and their use may damage fuel system and engine parts. NOTE: Purchase gasoline in quantities that will be used within 30 days, to assure freshness.

STARTING THE ENGINE

NOTE: Remove all loads connected to the AC power receptacles before starting the gasoline engine.

For a “cold” engine:

1.Set the Idler Control Switch in the AUTO position.

Use the Choke Control as follows:

If the engine is cold, pull the choke control out. If the engine is warm or hot, DO NOT use the choke control.

STOPPING THE ENGINE

1.Remove all welding and generator power loads and let the engine cool by running it for several minutes at low idle.

2. Stop the engine by placing the Engine Switch in the STOP position.

A fuel shutoff valve is not required on the RANGER 9 because the fuel tank is mounted below the engine.

BREAK-IN PERIOD

Any engine will use a small amount of oil during its “break-in” period. For the gasoline engine on the RANGER 9, break-in is about 50 running hours.

Check the oil at least twice a day during break-in. Change the oil after the first 25 hours of operation. Change the oil filter at the second oil change. For more details, see the Maintenance section of this manual.

CAUTION

During break-in, subject the RANGER 9 to moderate loads. Avoid long periods running at idle. Before stopping the engine, remove all loads and allow the engine to cool several minutes.

RANGER 9


RANGER 9


Page 22
Image 22
Lincoln Electric SVM 110-A service manual Before Starting the Engine, Stopping the Engine, BREAK-IN Period

SVM 110-A specifications

The Lincoln Electric SVM 110-A is a state-of-the-art welding machine designed to cater to the needs of professionals and hobbyists alike. Known for its adaptability and superior performance, the SVM 110-A provides a seamless welding experience that is gaining popularity across various industries.

One of the main features of the Lincoln Electric SVM 110-A is its impressive power output. Capable of delivering up to 110 amps of welding current, this machine is ideal for a wide range of applications, including light to medium fabrication work, maintenance, and repair tasks. The versatile voltage input options allow users to operate the machine on standard household current as well as generator power, enhancing its portability and usability in diverse settings.

The SVM 110-A employs advanced inverter technology, which allows for a more compact design without sacrificing performance. This technology not only improves efficiency but also provides greater control over the welding arc, ensuring cleaner beads and reduced spatter. Additionally, the inverter design contributes to a lighter weight, making the SVM 110-A easy to transport and maneuver.

Another significant characteristic of the SVM 110-A is its user-friendly interface. With intuitive controls and clear display indicators, the machine is designed for ease of use, enabling welders to quickly adjust settings to suit their specific needs. This feature is especially beneficial for beginners who are looking to enhance their skills without being overwhelmed by complex operations.

The machine supports a variety of welding processes, including MIG and stick welding, offering unmatched versatility in terms of the types of materials it can handle. From steel to aluminum, the SVM 110-A demonstrates excellent compatibility with various consumables, allowing users to select the best options for their projects.

Furthermore, the design of the SVM 110-A incorporates advanced safety features, including thermal overload protection and a sturdy construction that can withstand demanding environments. This commitment to safety ensures that users can perform their work confidently and efficiently.

In conclusion, the Lincoln Electric SVM 110-A is a remarkable welding machine that combines power, portability, and ease of use. Its advanced inverter technology, user-friendly controls, and versatility make it an ideal choice for both amateurs and seasoned welders. Whether for home projects or professional trades, the SVM 110-A stands out as a reliable and efficient solution in today’s welding landscape.