9.In the Primary Network Logon box, select Client for Microsoft Networks.
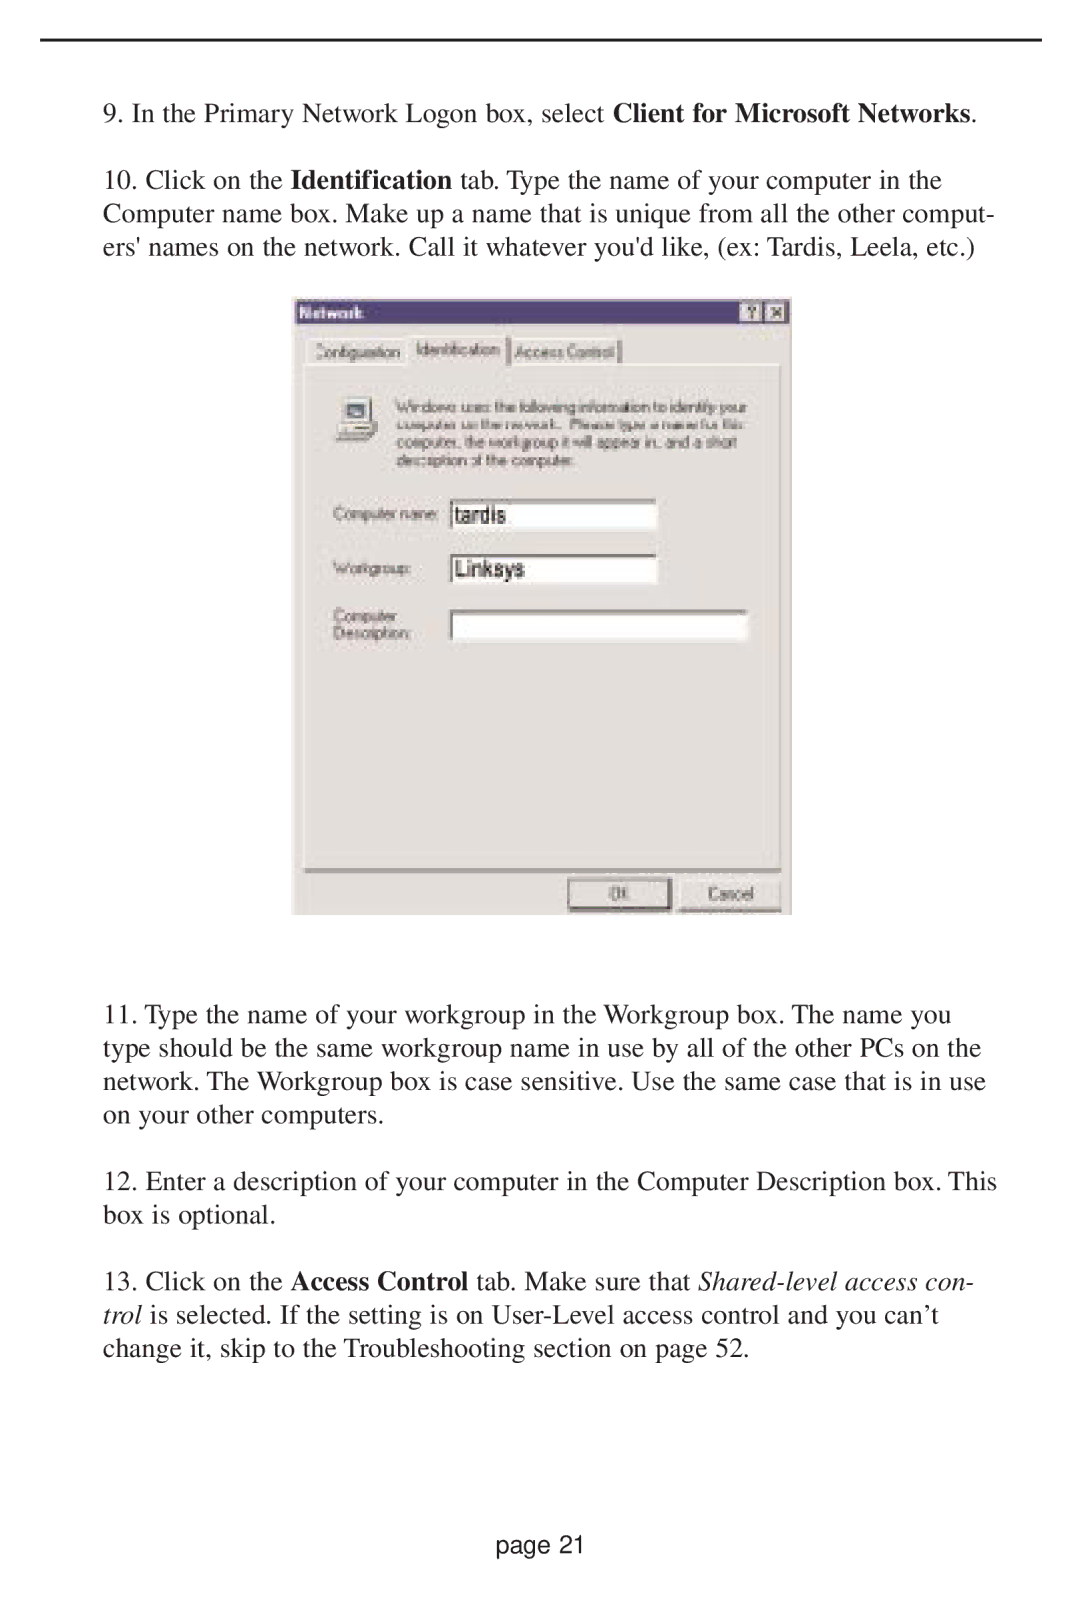
10.Click on the Identification tab. Type the name of your computer in the Computer name box. Make up a name that is unique from all the other comput- ers' names on the network. Call it whatever you'd like, (ex: Tardis, Leela, etc.)
11.Type the name of your workgroup in the Workgroup box. The name you type should be the same workgroup name in use by all of the other PCs on the network. The Workgroup box is case sensitive. Use the same case that is in use on your other computers.
12.Enter a description of your computer in the Computer Description box. This box is optional.
13.Click on the Access Control tab. Make sure that
page 21