
Yankee Bay Pellet Insert specifications
The Lopi Yankee Bay Pellet Insert is an exceptional heating solution designed for homeowners seeking both efficiency and elegance. This state-of-the-art pellet insert combines advanced technology with a sleek design, making it a popular choice for enhancing home comfort while reducing energy costs.One of the standout features of the Lopi Yankee Bay Pellet Insert is its high efficiency rating. With a thermal efficiency of over 85%, this insert maximizes the heat output from each pellet, allowing you to enjoy a warm and inviting living space without excessive energy consumption. The intelligent design ensures that less fuel is used, making it an environmentally friendly option as well.
The insert utilizes a patented Smart Control technology that simplifies the heating process. This system ensures optimal performance by automatically adjusting the combustion cycle based on the desired temperature. Users can easily set their preferred temperature using a remote control or a wall-mounted thermostat, providing unmatched convenience. The automatic ignition system enhances usability, allowing for quick and effortless starts.
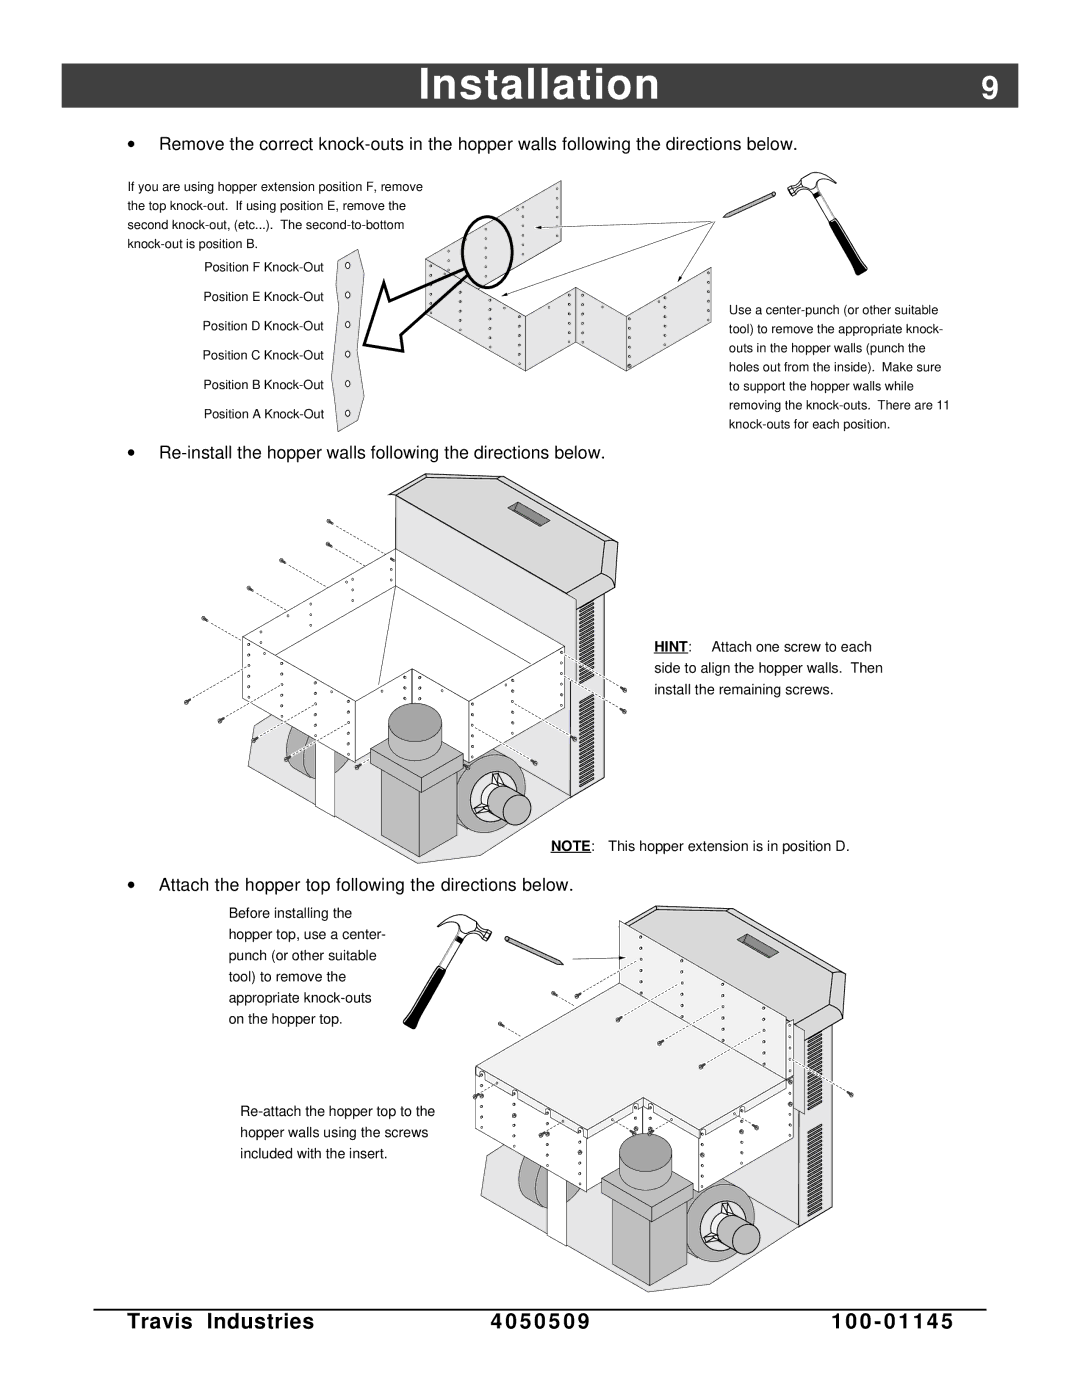
Another impressive feature of the Lopi Yankee Bay Pellet Insert is its large hopper capacity. With the ability to hold up to 40 pounds of pellets, the insert requires less frequent refueling, giving users more time to enjoy the warmth without constant maintenance. Additionally, the large viewing window features a beautiful bay design that showcases the mesmerizing flames, adding a cozy ambiance to any room.
Durability and craftsmanship are evident in the build of the Lopi Yankee Bay Pellet Insert. Constructed from heavy-duty steel, it is designed to withstand the rigors of daily use while maintaining its stylish appearance. The unit is available in several finishes, ensuring it complements your home's décor seamlessly.
The safety features integrated into the Lopi Yankee Bay Pellet Insert include a heat shield and a sealed combustion chamber, which prevent heat loss and minimize the risk of fire hazards. These attributes make it a safe choice for families, providing peace of mind alongside comfort and efficiency.
In summary, the Lopi Yankee Bay Pellet Insert stands out as a leading option for homeowners looking to upgrade their heating systems. Its combination of efficiency, advanced technology, and aesthetic appeal makes it a wonderful investment for a warm and inviting home.