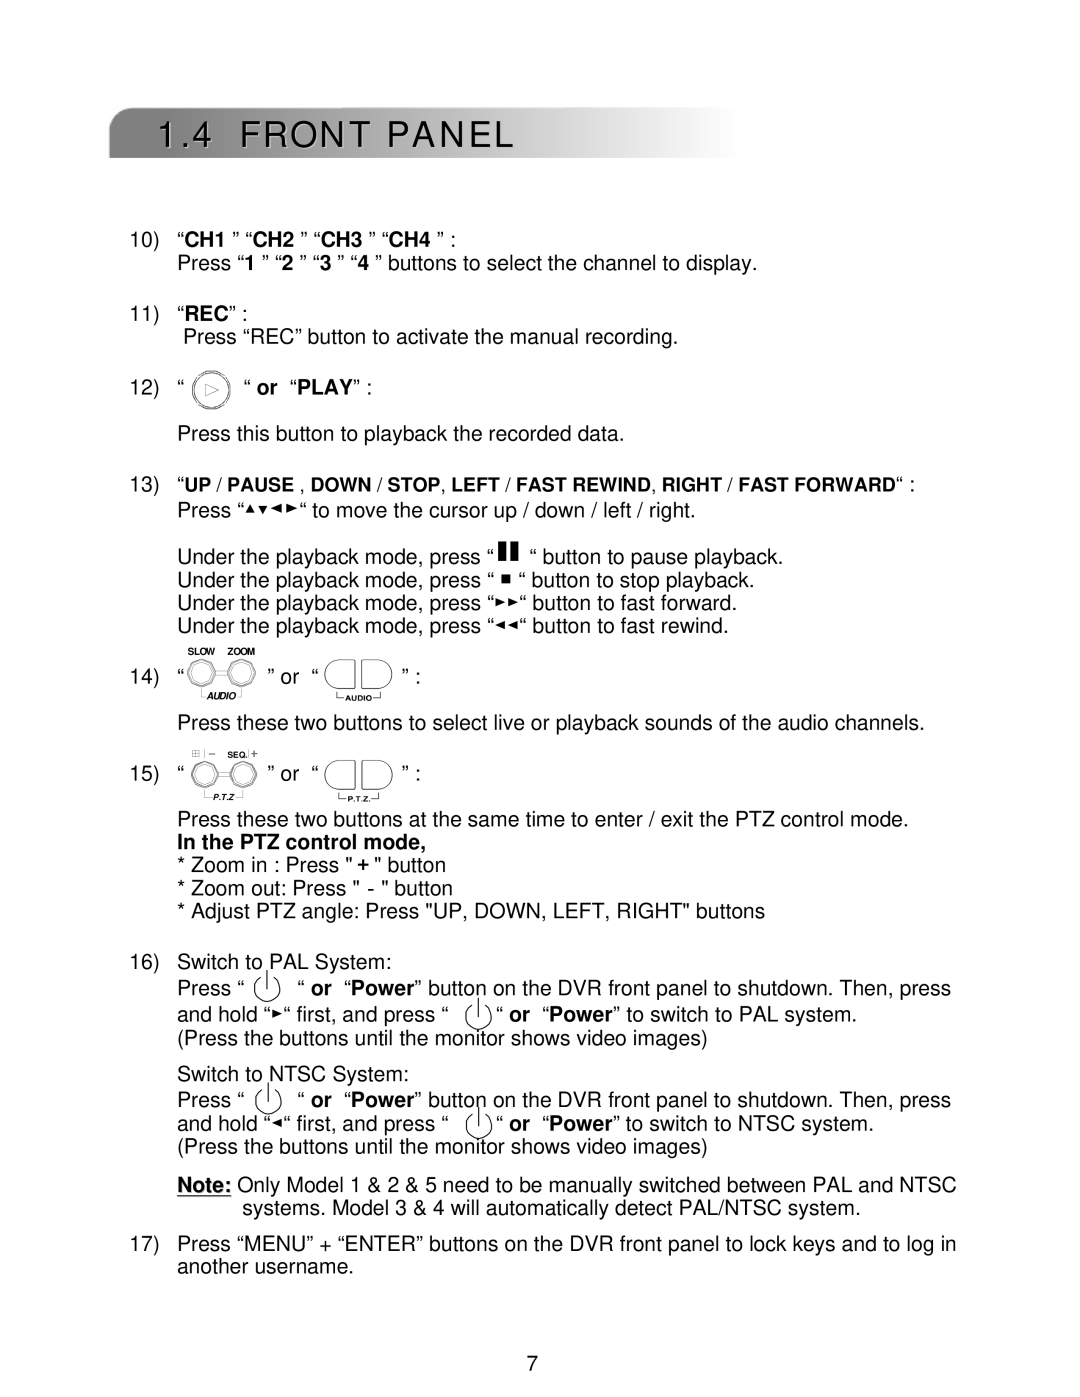
1.4FRONT PANEL
10)“CH1 ” “CH2 ” “CH3 ” “CH4 ” :
Press “1 ” “2 ” “3 ” “4 ” buttons to select the channel to display.
11)“REC” :
Press “REC” button to activate the manual recording.
12)“ “ or “PLAY” :
Press this button to playback the recorded data.
13)“UP / PAUSE , DOWN / STOP, LEFT / FAST REWIND, RIGHT / FAST FORWARD“ : Press “▲▼◄►“ to move the cursor up / down / left / right.
Under the playback mode, press “ ![]() “ button to pause playback. Under the playback mode, press “ ■ “ button to stop playback. Under the playback mode, press “►►“ button to fast forward.
“ button to pause playback. Under the playback mode, press “ ■ “ button to stop playback. Under the playback mode, press “►►“ button to fast forward.
Under the playback mode, press “◄◄“ button to fast rewind.
SLOW | ZOOM |
|
14) “ | ” or “ | ” : |
AUDIO |
| |
Press these two buttons to select live or playback sounds of the audio channels.
SEQ. ![]()
![]()
15) “
![]() P.T.Z
P.T.Z ![]()
” or “![]() ” :
” :
Press these two buttons at the same time to enter / exit the PTZ control mode.
In the PTZ control mode,
*Zoom in : Press "+" button
*Zoom out: Press "-" button
*Adjust PTZ angle: Press "UP, DOWN, LEFT, RIGHT" buttons
16)Switch to PAL System:
Press “ “ or “Power” button on the DVR front panel to shutdown. Then, press
and hold “►“ first, and press “ “ or “Power” to switch to PAL system. (Press the buttons until the monitor shows video images)
Switch to NTSC System:
Press “ “ or “Power” button on the DVR front panel to shutdown. Then, press
and hold “◄“ first, and press “ “ or “Power” to switch to NTSC system. (Press the buttons until the monitor shows video images)
Note: Only Model 1 & 2 & 5 need to be manually switched between PAL and NTSC systems. Model 3 & 4 will automatically detect PAL/NTSC system.
17)Press “MENU” + “ENTER” buttons on the DVR front panel to lock keys and to log in another username.
7
