BASIC OPERATION
3.1 RECORDING
The DVR offers three recording modes, manual record, event record and timer
record. If power is off accidentally, recorded video files will still be still stored in the HDD. DVR will return to the original recording status after power is on again.
1)MANUAL RECORDING (continuous recording) :
Recording is initiated by manually pressing the “REC” button, indicated by the sign “●” on the screen.
2)EVENT RECORDING (triggered by motion and external alarm) :
When this function is activated, the recording is triggered by motion or external alarms, indicated by the sign " ![]() " (motion) or "
" (motion) or " ![]() " (external alarm) on the screen.
" (external alarm) on the screen.
3)TIMER RECORDING (scheduled time) :
Recording is scheduled by Timer, indicated by the sign “TIMER RECORD”.
There must be at least 8192 images of recorded data for playback to work properly. If not, your DVR will stop the playback. For example, if the IPS is set to 30, the recording time should be at least 273 seconds (8192 images / 30 IPS) for the playback to work properly.
When the recording function is activated, please DO NOT change the date or time on your DVR. The recorded data will be disordered and you will not be able to find the recorded file to backup by time search.
NOTE:
If users change the date or time accidentally when the recording function is activated, it’s recommended to clear all HDD data, and start recording again.
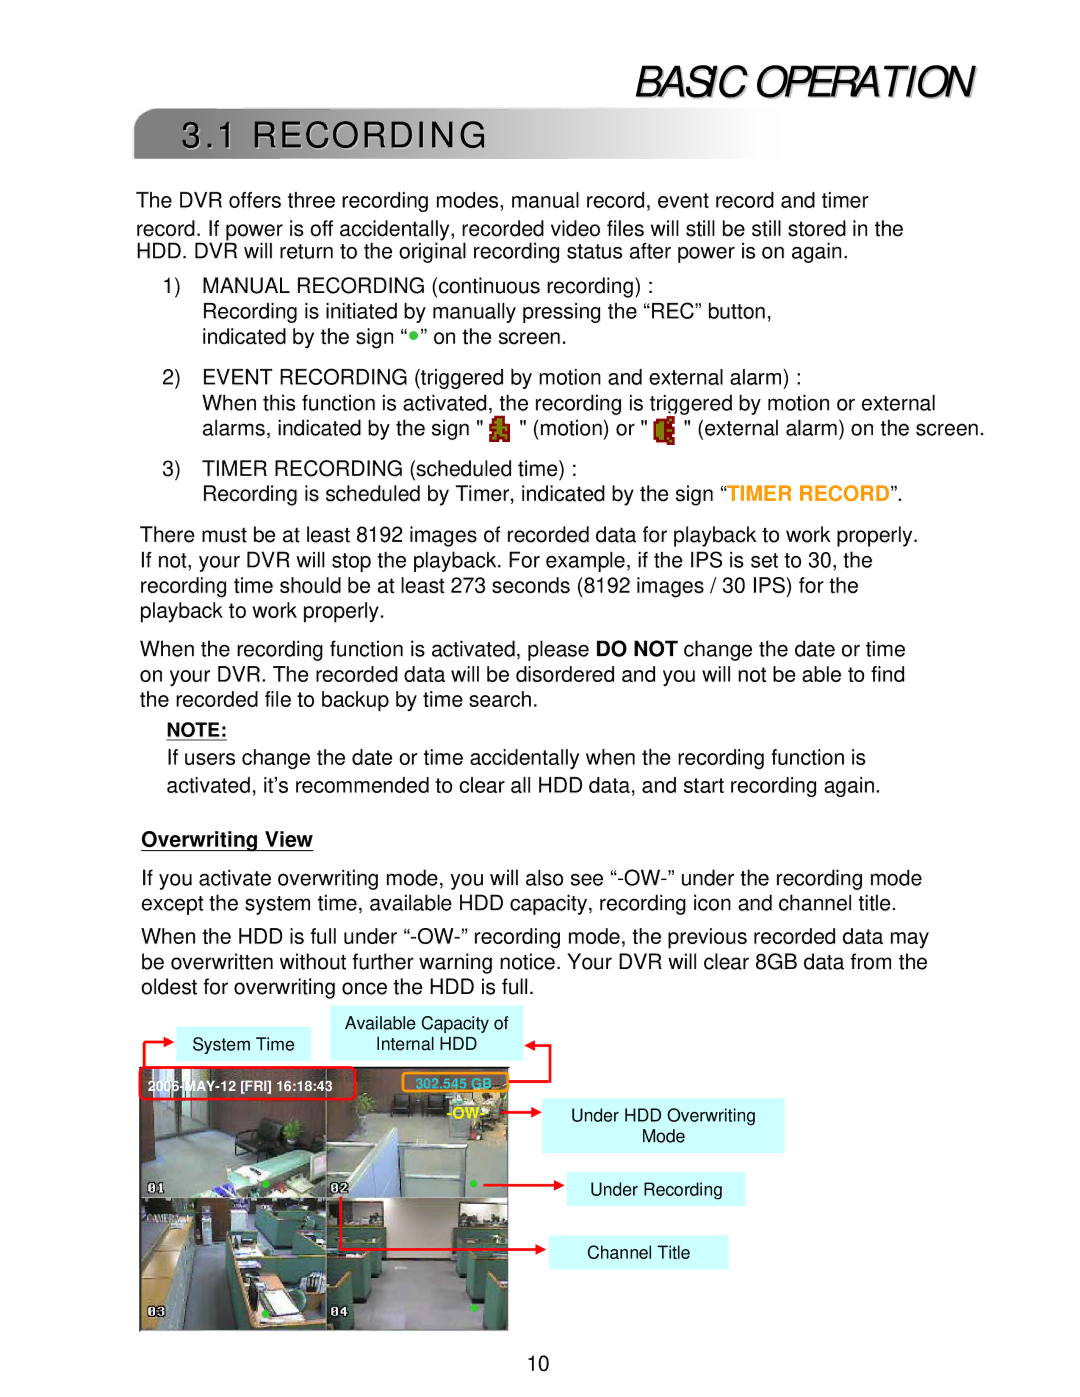
Overwriting View
If you activate overwriting mode, you will also see
When the HDD is full under
|
|
|
| Available Capacity of |
|
|
|
|
| |
| System Time |
|
| Internal HDD |
|
|
|
|
| |
|
|
|
|
|
|
|
| |||
302.545 GB |
|
|
|
|
|
| ||||
|
|
|
|
|
| |||||
|
|
|
|
|
|
| Under HDD Overwriting | |||
|
|
|
|
|
|
|
|
| Mode | |
| ● | ● |
|
|
|
| ||||
|
|
|
| Under Recording |
| |||||
|
|
|
|
|
|
|
|
|
|
|
Channel Title
●●
10