Oven Bottom
To protect the oven bottom against spillovers, use the correct pan size. The oven bottom can be removed for cleaning ifspillovers occur.
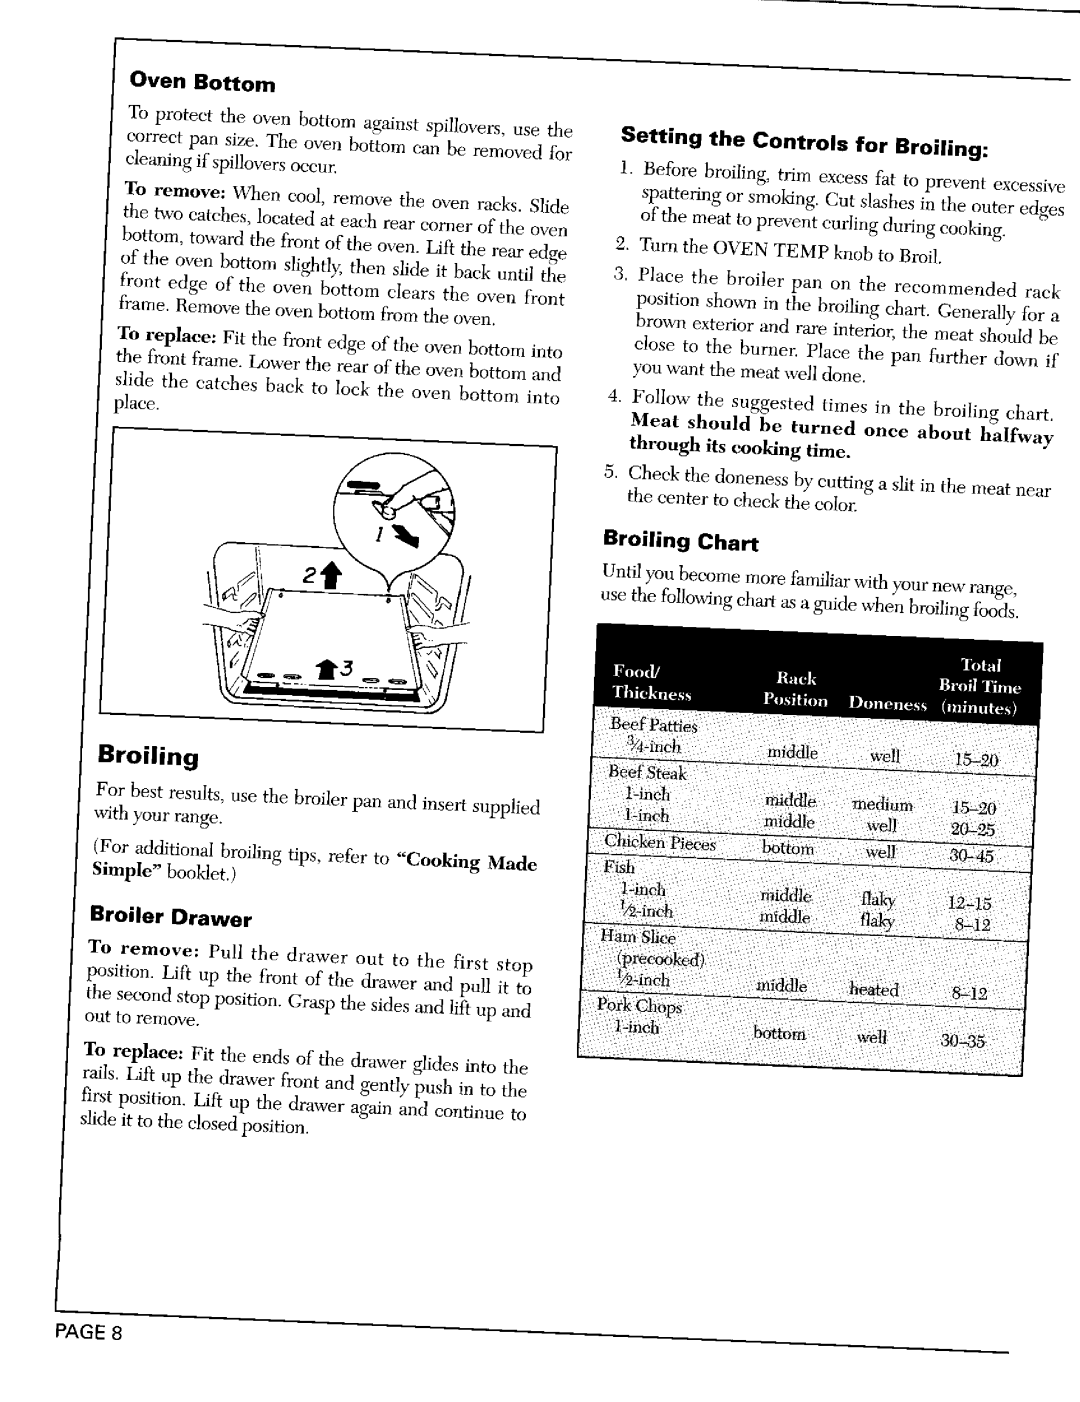
To remove: When cool, remove the oven racks. Slide the two catches, located at each rear comer of the oven
bottom, toward the front of the oven. Lift the rear edge of the oven bottom slightly; then slide it back until the
front edge of tile oven bottom clears the oven front flame. Remove the oven bottom from the oven.
To replace: Fit the front edge of the oven bottom into the front frame. Lower the rear of the oven bottom and
slide the catches back to lock the oven bottom into place.
"r 2
Setting the Controls for Broiling:
1.Before broiling, trim excess fat to prevent excessive spattering or smoking. Cut slashes in the outer edges
of the meat to prevent curling during cooking.
"2. Turn the OVEN TEMP knob to Broil.
3.Place the broiler pan on the recommended rack
position shown in the broiling chart. Generally for a brown exterior and rare interior, the meat should be
dose to the burner. Place the pan further doum if you want the meat well done.
4.Follow the suggested times in the broiling chart.
Meat should be turned once about halfway through its cooking time.
the center to check the color.
Broiling Chart
5. Check the doneness by cutting a slit in the meat near
use the following chart as a guide when broiling foods.
Broiling
For best results, use the broiler pan and insert supplied with your range.
(For additional broiling tips, refer to "Cooking Made Simple" booklet.)
Broiler Drawer
To remove: Pull the drawer out to the first stop position. Lift up the front of the drawer and pull it to
the second stop position. Grasp the sides and lift up and out to remove.
To replace: Fit the ends of the drawer glides into the rails. Lift np the drawer front and gently push in to the first position. Lift up the drawer again and continue to slide it to the closed position.
PAGE 8