IBM BladeCenter Deployment Guide
7 Flash the QLogic HBA BIOS
Perform the following steps to flash the QLogic HBA BIOS:
1.Create a blank, bootable disk formatted with
2.Using a text editor, verify that the config.sys and autoexec.bat files are blank and contain no entries.
3.Insert the disk created in step 1 in an appropriate drive.
4.Insert the disk from step 3 into the drive mounted on the target blade and boot from the disk.
5.At the a:\ prompt, type ibmutil /i /f, then press ENTER. This will update the BIOS for both channels of the expansion card in the system.
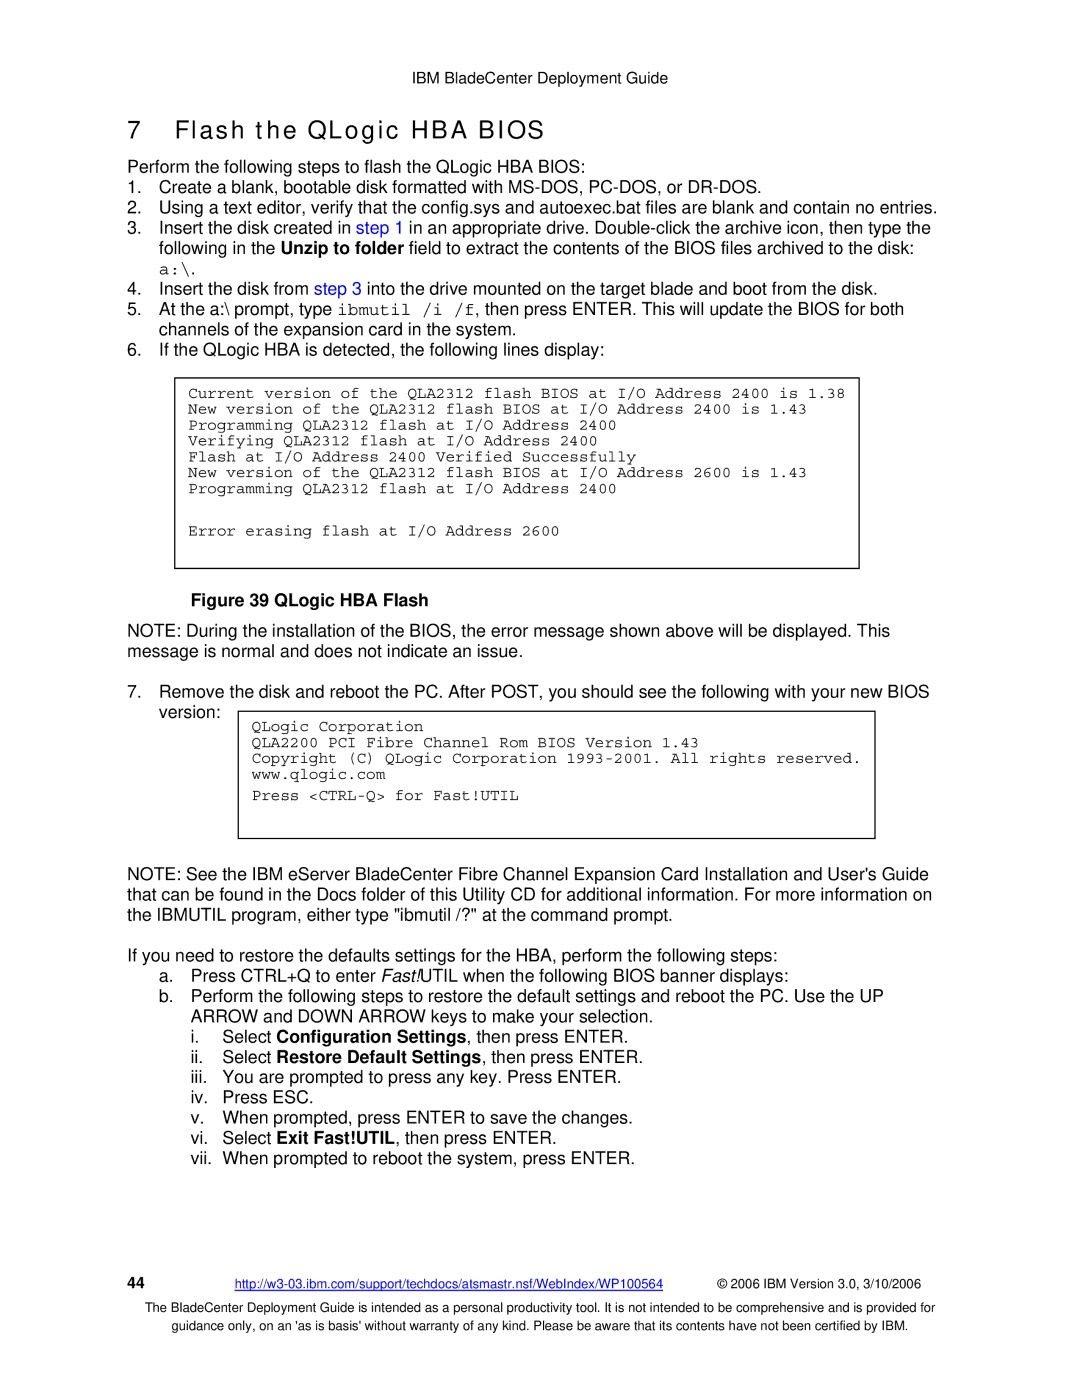
6.If the QLogic HBA is detected, the following lines display:
Current version of the QLA2312 flash BIOS at I/O Address 2400 is 1.38 New version of the QLA2312 flash BIOS at I/O Address 2400 is 1.43 Programming QLA2312 flash at I/O Address 2400
Verifying QLA2312 flash at I/O Address 2400 Flash at I/O Address 2400 Verified Successfully
New version of the QLA2312 flash BIOS at I/O Address 2600 is 1.43 Programming QLA2312 flash at I/O Address 2400
Error erasing flash at I/O Address 2600
Figure 39 QLogic HBA Flash
NOTE: During the installation of the BIOS, the error message shown above will be displayed. This message is normal and does not indicate an issue.
7.Remove the disk and reboot the PC. After POST, you should see the following with your new BIOS version:
QLogic Corporation
QLA2200 PCI Fibre Channel Rom BIOS Version 1.43
Copyright (C) QLogic Corporation
Press
NOTE: See the IBM eServer BladeCenter Fibre Channel Expansion Card Installation and User's Guide that can be found in the Docs folder of this Utility CD for additional information. For more information on the IBMUTIL program, either type "ibmutil /?" at the command prompt.
If you need to restore the defaults settings for the HBA, perform the following steps:
a.Press CTRL+Q to enter Fast!UTIL when the following BIOS banner displays:
b.Perform the following steps to restore the default settings and reboot the PC. Use the UP ARROW and DOWN ARROW keys to make your selection.
i.Select Configuration Settings, then press ENTER.
ii.Select Restore Default Settings, then press ENTER.
iii.You are prompted to press any key. Press ENTER.
iv.Press ESC.
v.When prompted, press ENTER to save the changes.
vi.Select Exit Fast!UTIL, then press ENTER.
vii.When prompted to reboot the system, press ENTER.
44 | © 2006 IBM Version 3.0, 3/10/2006 |
The BladeCenter Deployment Guide is intended as a personal productivity tool. It is not intended to be comprehensive and is provided for
guidance only, on an 'as is basis' without warranty of any kind. Please be aware that its contents have not been certified by IBM.