EASY SCAN UTILITY
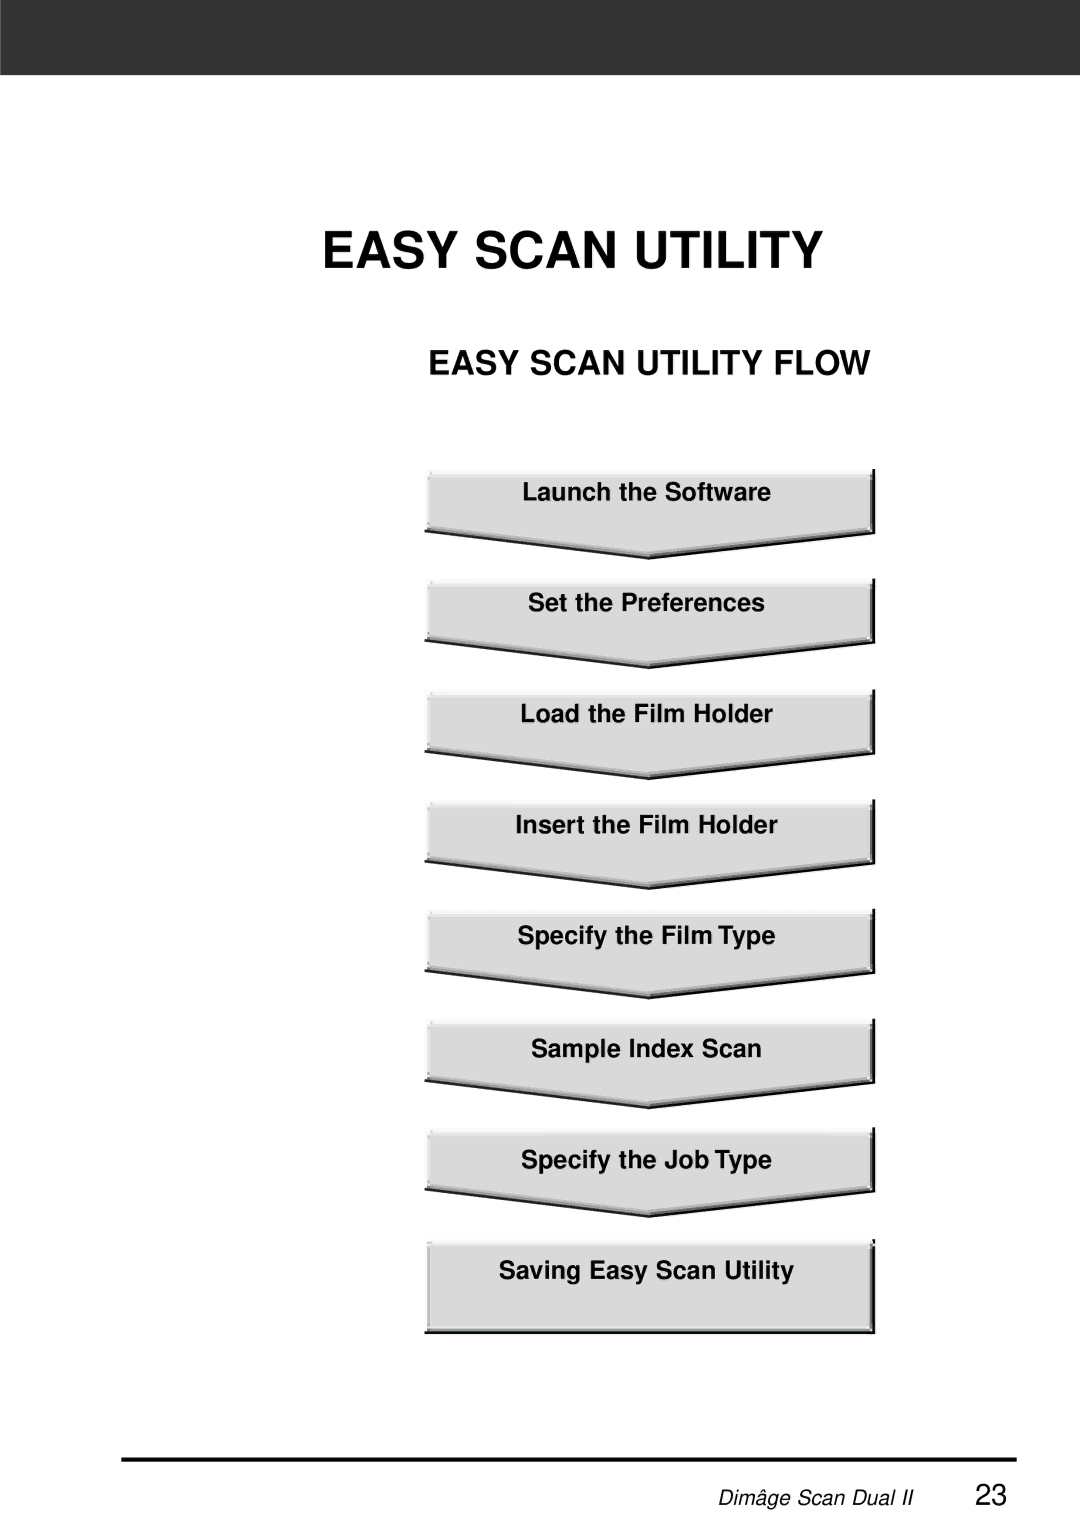
EASY SCAN UTILITY FLOW
Launch the Software
Set the Preferences
Load the Film Holder
Insert the Film Holder
Specify the Film Type
Sample Index Scan
Specify the Job Type
Saving Easy Scan Utility
Dimâge Scan Dual II | 23 |
Launch the Software
Set the Preferences
Load the Film Holder
Insert the Film Holder
Specify the Film Type
Sample Index Scan
Specify the Job Type
Saving Easy Scan Utility
Dimâge Scan Dual II | 23 |