Navigating the multi-function recording mode menu
In
a setting.
Activate the
![]()
![]()
![]() menu will be highlighted. Use the left/right keys of the controller to highlight the
menu will be highlighted. Use the left/right keys of the controller to highlight the ![]() appropriate menu tab; the menu will change as the tabs are highlighted.
appropriate menu tab; the menu will change as the tabs are highlighted.
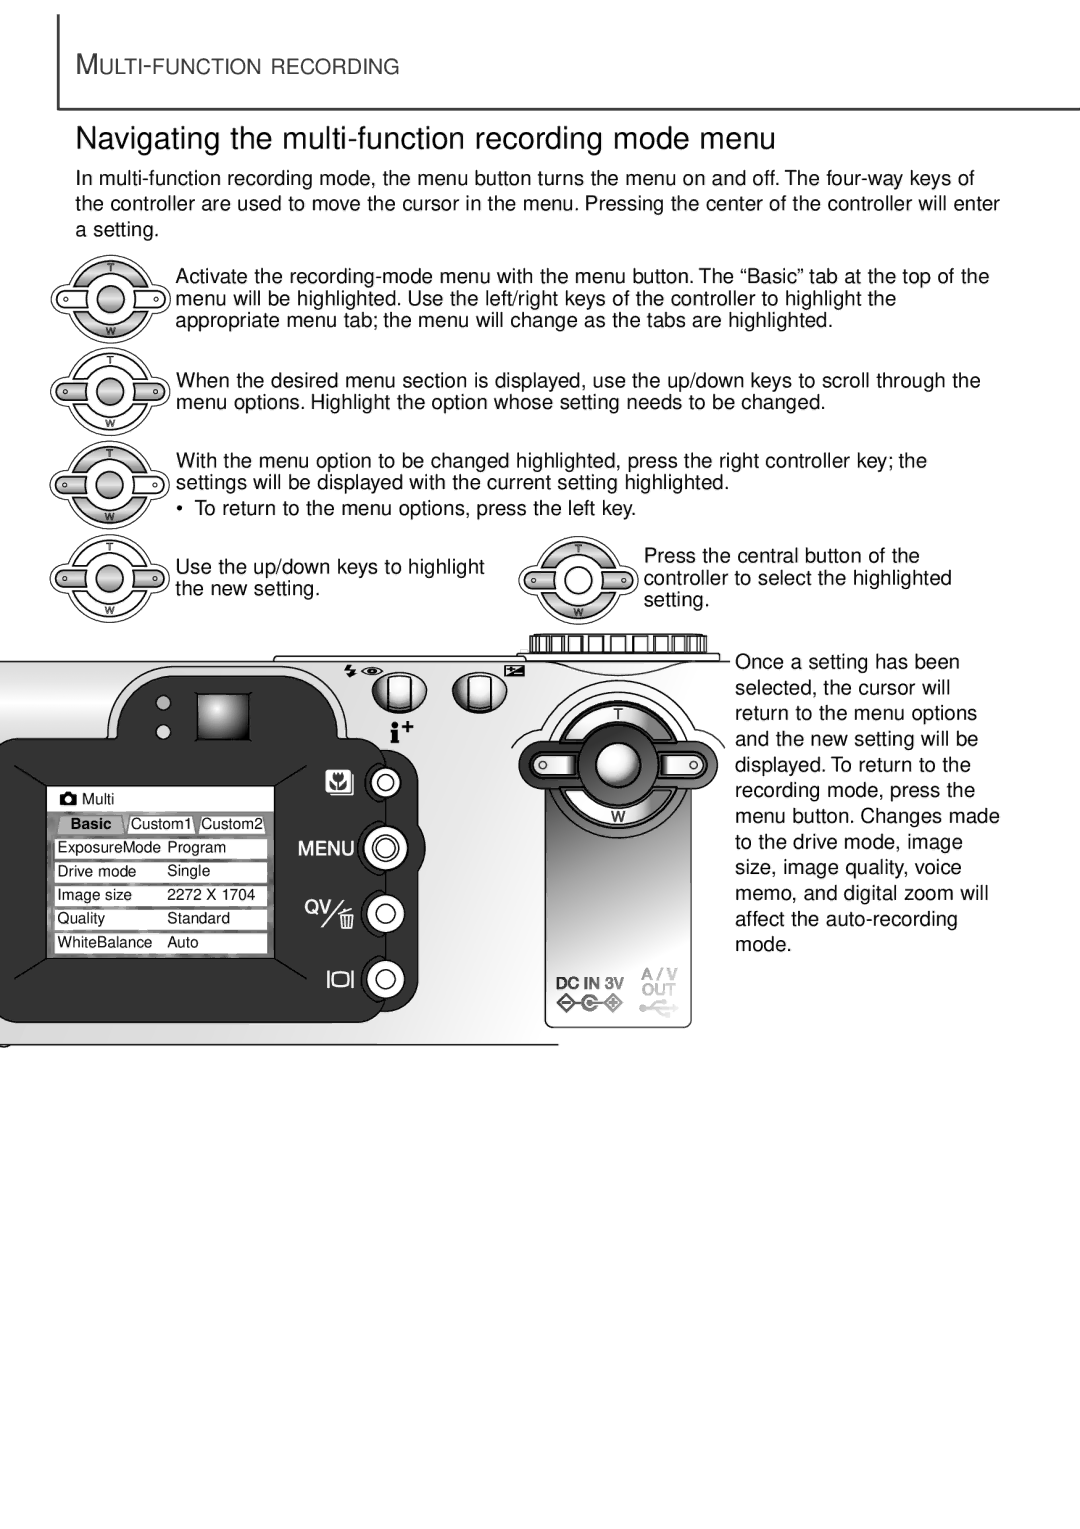
When the desired menu section is displayed, use the up/down keys to scroll through the menu options. Highlight the option whose setting needs to be changed.
With the menu option to be changed highlighted, press the right controller key; the
![]()
![]()
![]() settings will be displayed with the current setting highlighted.
settings will be displayed with the current setting highlighted.
• To return to the menu options, press the left key.
Use the up/down keys to highlight the new setting.
![]() Multi
Multi
Basic Custom1 Custom2
ExposureMode Program
Drive mode | Single | |
|
|
|
Image size | 2272 X 1704 | |
|
| |
Quality | Standard | |
WhiteBalance Auto
Press the central button of the
![]()
![]() controller to select the highlighted
controller to select the highlighted ![]() setting.
setting.
Once a setting has been selected, the cursor will return to the menu options and the new setting will be displayed. To return to the recording mode, press the menu button. Changes made to the drive mode, image size, image quality, voice memo, and digital zoom will affect the
56