Installation (continued)
Front projection, ceiling mounting
For ceiling mounting, you need the ceiling mount kit designed for this projector. Ask a specialist for installation. For details, consult your dealer.
•The warranty on this projector does not cover any damage caused by use of any
•When using the projector mounted on the ceiling, set IMAGE REVERSE in the INSTALLATION menu to MIRROR INVERT. See page 23.
•When the projector is mounted on the ceiling, images may appear darker than those projected in the case of tabletop mounting. This isn’t a product malfunction.
Ceiling mount installation
If you wish to install the projector using a ceiling mount, please use the screw holes as the illustration shows.
Important:
•Screws are not included. Please obtain the appropriate screws for your type of ceiling. (M4 diameter)
•It is recommended that you keep a reasonable space between the bracket and the projector to allow for proper heat distribution.
Caution:
•Installation must be done by a qualified professional.
When the projector is installed on the ceiling using the ceiling mount kit, it is recommended to hold the mount kit and the projector using a metal bar or wire in addition to the mount kit fixing screws to prevent the projector from falling due to an earthquake or other cause. For that purpose, use a metal bar, wire, or screw that bears a load of at least 55 kgf. When using a metal wire, secure one end to a screw hole marked with an arrow on the rear terminal panel and the other end to the mount
kit. (Don’t use screw holes without arrow marks.) In this case, make sure that the screw is inserted in the projector at least 5 mm. The length of the screw should be 20 mm or shorter. Also make sure that no electrical current is flowing in the mount kit due to current leakage or other cause.
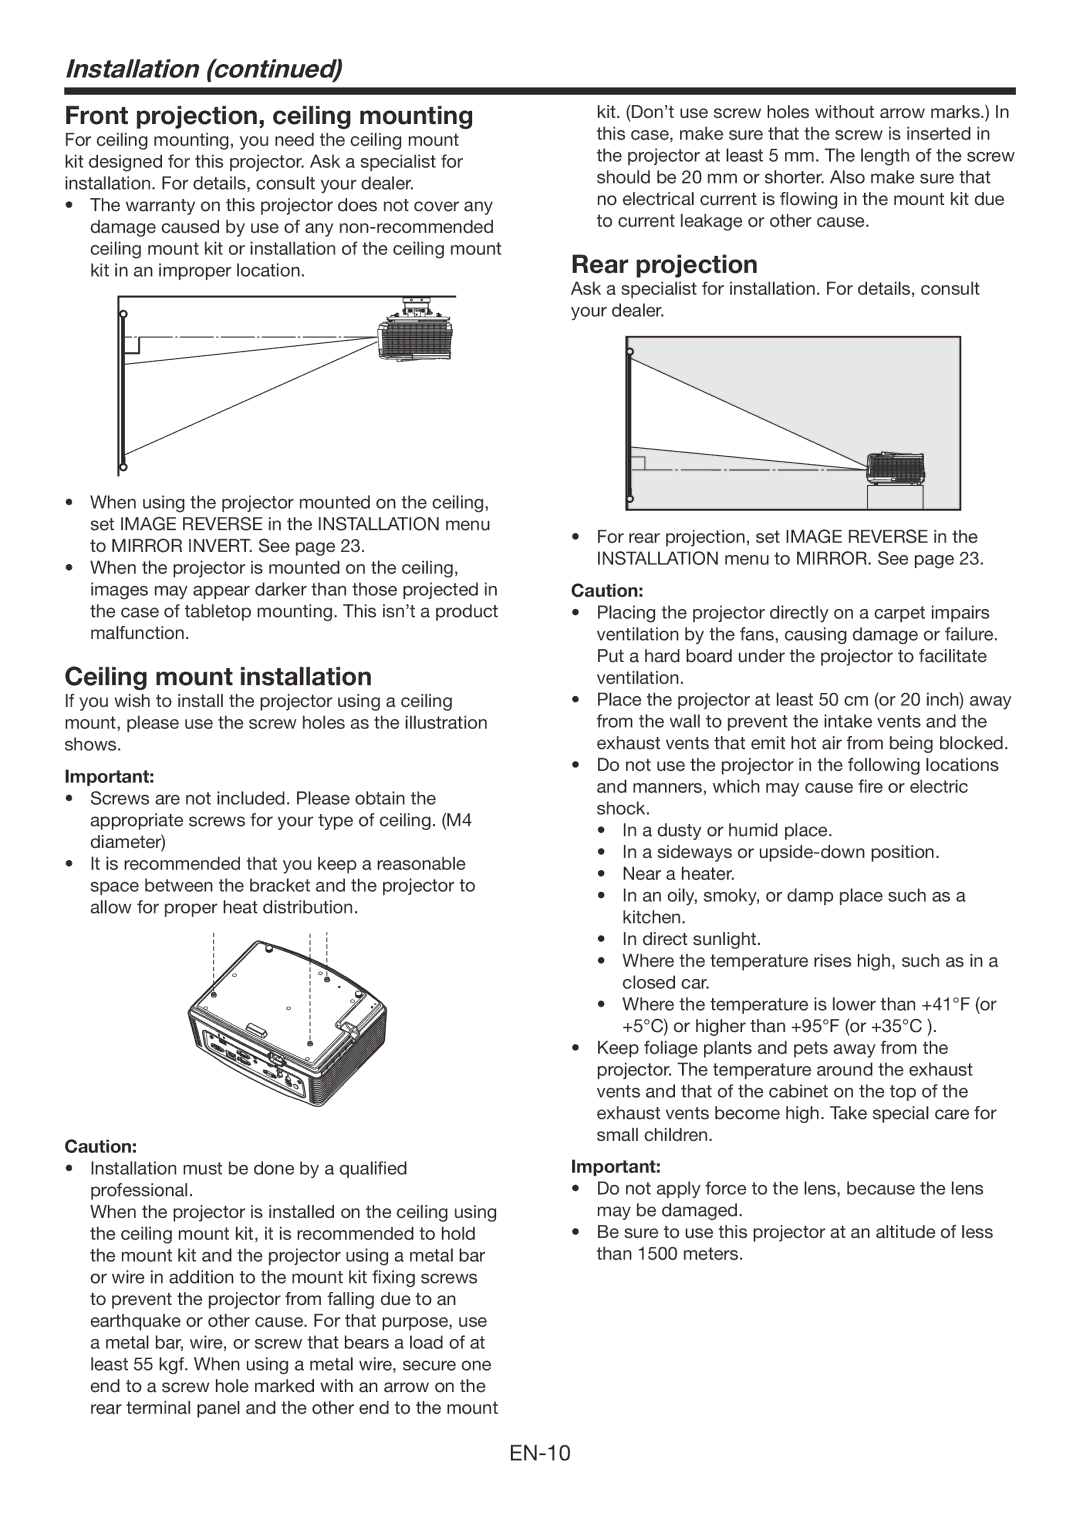
Rear projection
Ask a specialist for installation. For details, consult your dealer.
•For rear projection, set IMAGE REVERSE in the
INSTALLATION menu to MIRROR. See page 23.
Caution:
•Placing the projector directly on a carpet impairs ventilation by the fans, causing damage or failure. Put a hard board under the projector to facilitate ventilation.
•Place the projector at least 50 cm (or 20 inch) away from the wall to prevent the intake vents and the exhaust vents that emit hot air from being blocked.
•Do not use the projector in the following locations and manners, which may cause fire or electric shock.
•In a dusty or humid place.
•In a sideways or
•Near a heater.
•In an oily, smoky, or damp place such as a kitchen.
•In direct sunlight.
•Where the temperature rises high, such as in a closed car.
•Where the temperature is lower than +41°F (or +5°C) or higher than +95°F (or +35°C ).
•Keep foliage plants and pets away from the projector. The temperature around the exhaust vents and that of the cabinet on the top of the exhaust vents become high. Take special care for small children.
Important:
•Do not apply force to the lens, because the lens may be damaged.
•Be sure to use this projector at an altitude of less than 1500 meters.