Basic operation
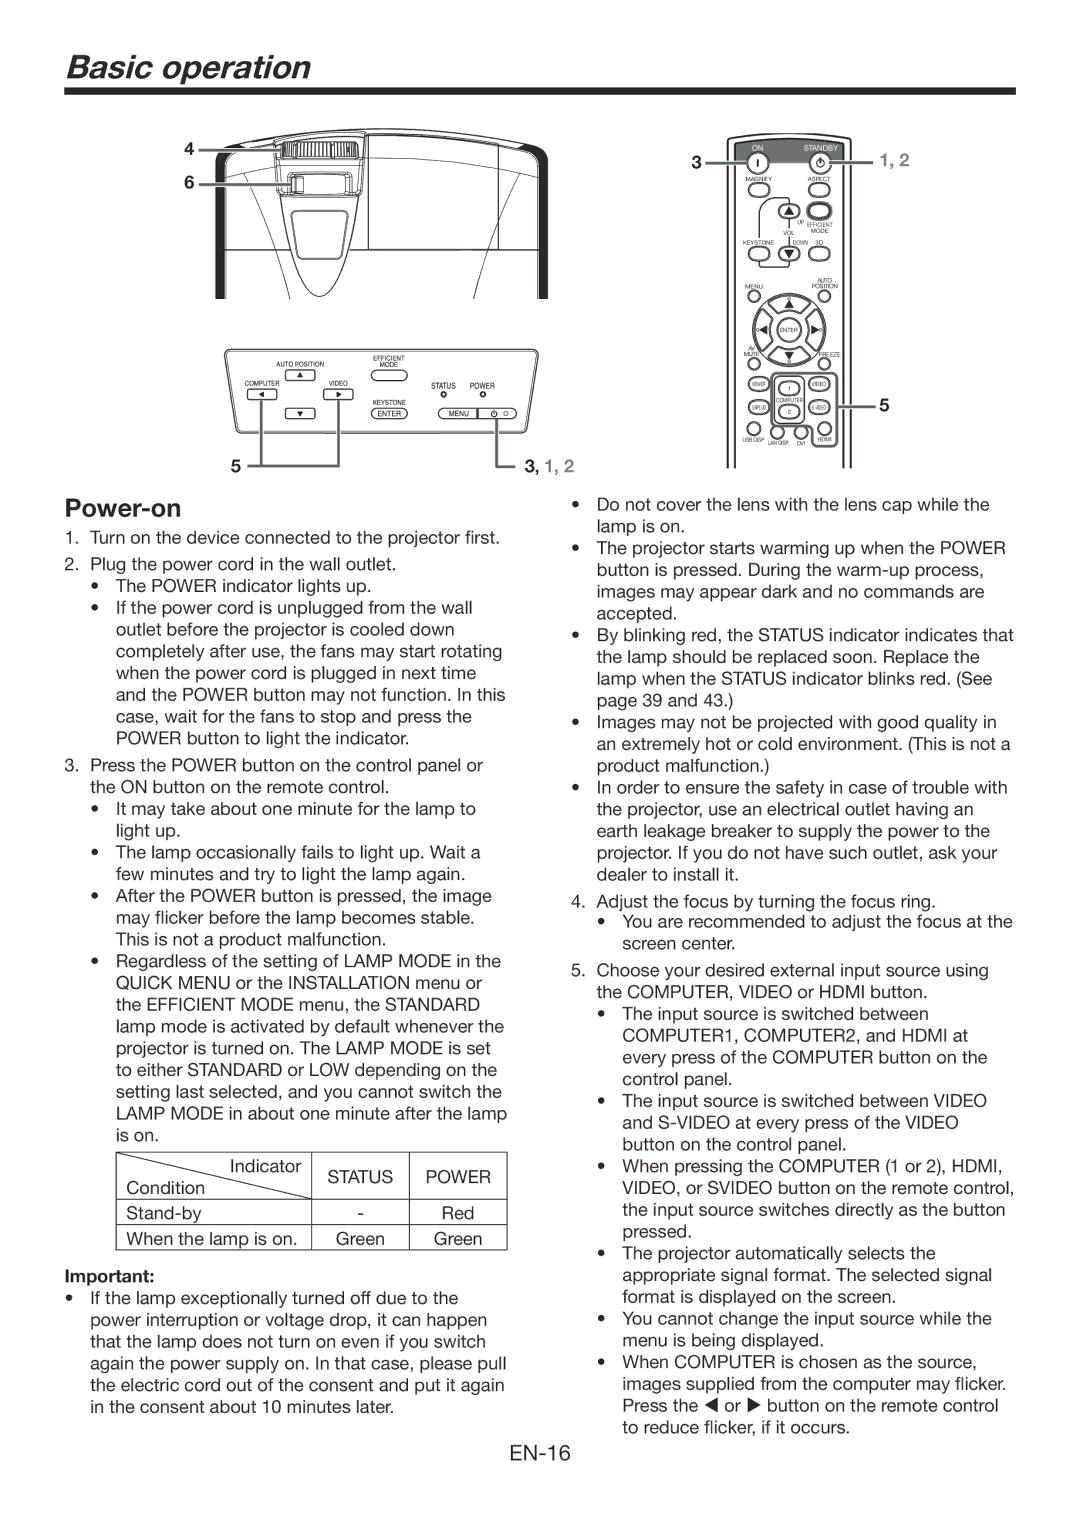
4
6
5
Power-on
1.Turn on the device connected to the projector first.
2.Plug the power cord in the wall outlet.
•The POWER indicator lights up.
•If the power cord is unplugged from the wall outlet before the projector is cooled down completely after use, the fans may start rotating when the power cord is plugged in next time and the POWER button may not function. In this case, wait for the fans to stop and press the POWER button to light the indicator.
3.Press the POWER button on the control panel or the ON button on the remote control.
•It may take about one minute for the lamp to light up.
•The lamp occasionally fails to light up. Wait a few minutes and try to light the lamp again.
•After the POWER button is pressed, the image may flicker before the lamp becomes stable. This is not a product malfunction.
•Regardless of the setting of LAMP MODE in the
QUICK MENU or the INSTALLATION menu or the EFFICIENT MODE menu, the STANDARD lamp mode is activated by default whenever the projector is turned on. The LAMP MODE is set to either STANDARD or LOW depending on the setting last selected, and you cannot switch the LAMP MODE in about one minute after the lamp is on.
Indicator | STATUS | POWER | |
Condition | |||
|
| ||
- | Red | ||
When the lamp is on. | Green | Green |
Important:
•If the lamp exceptionally turned off due to the power interruption or voltage drop, it can happen that the lamp does not turn on even if you switch again the power supply on. In that case, please pull the electric cord out of the consent and put it again in the consent about 10 minutes later.
ON |
| STANDBY | 1, 2 | |
3 |
|
|
| |
MAGNIFY |
|
| ASPECT |
|
|
| UP EFFICIENT |
| |
| VOL | MODE |
| |
KEYSTONE |
| DOWN | 3D |
|
|
|
| AUTO |
|
MENU |
|
| POSITION |
|
| ENTER |
|
| |
AV |
|
|
|
|
MUTE |
|
| FREEZE |
|
VIEWER | 1 |
| VIDEO |
|
|
|
| 5 | |
| 2 |
|
| |
| COMPUTER |
|
| |
UNPLUG |
|
|
| |
USB DISP. LAN DISP. | DVI | HDMI |
| |
3, 1, 2
•Do not cover the lens with the lens cap while the lamp is on.
•The projector starts warming up when the POWER button is pressed. During the
•By blinking red, the STATUS indicator indicates that the lamp should be replaced soon. Replace the lamp when the STATUS indicator blinks red. (See page 39 and 43.)
•Images may not be projected with good quality in an extremely hot or cold environment. (This is not a product malfunction.)
•In order to ensure the safety in case of trouble with the projector, use an electrical outlet having an earth leakage breaker to supply the power to the projector. If you do not have such outlet, ask your dealer to install it.
4.Adjust the focus by turning the focus ring.
•You are recommended to adjust the focus at the screen center.
5.Choose your desired external input source using the COMPUTER, VIDEO or HDMI button.
•The input source is switched between
COMPUTER1, COMPUTER2, and HDMI at every press of the COMPUTER button on the control panel.
•The input source is switched between VIDEO and
•When pressing the COMPUTER (1 or 2), HDMI,
VIDEO, or SVIDEO button on the remote control, the input source switches directly as the button pressed.
•The projector automatically selects the appropriate signal format. The selected signal format is displayed on the screen.
•You cannot change the input source while the menu is being displayed.
•When COMPUTER is chosen as the source, images supplied from the computer may flicker. Press the or button on the remote control to reduce flicker, if it occurs.