Network settings
You can set the network of the projector using the menu.
opt. |
| |
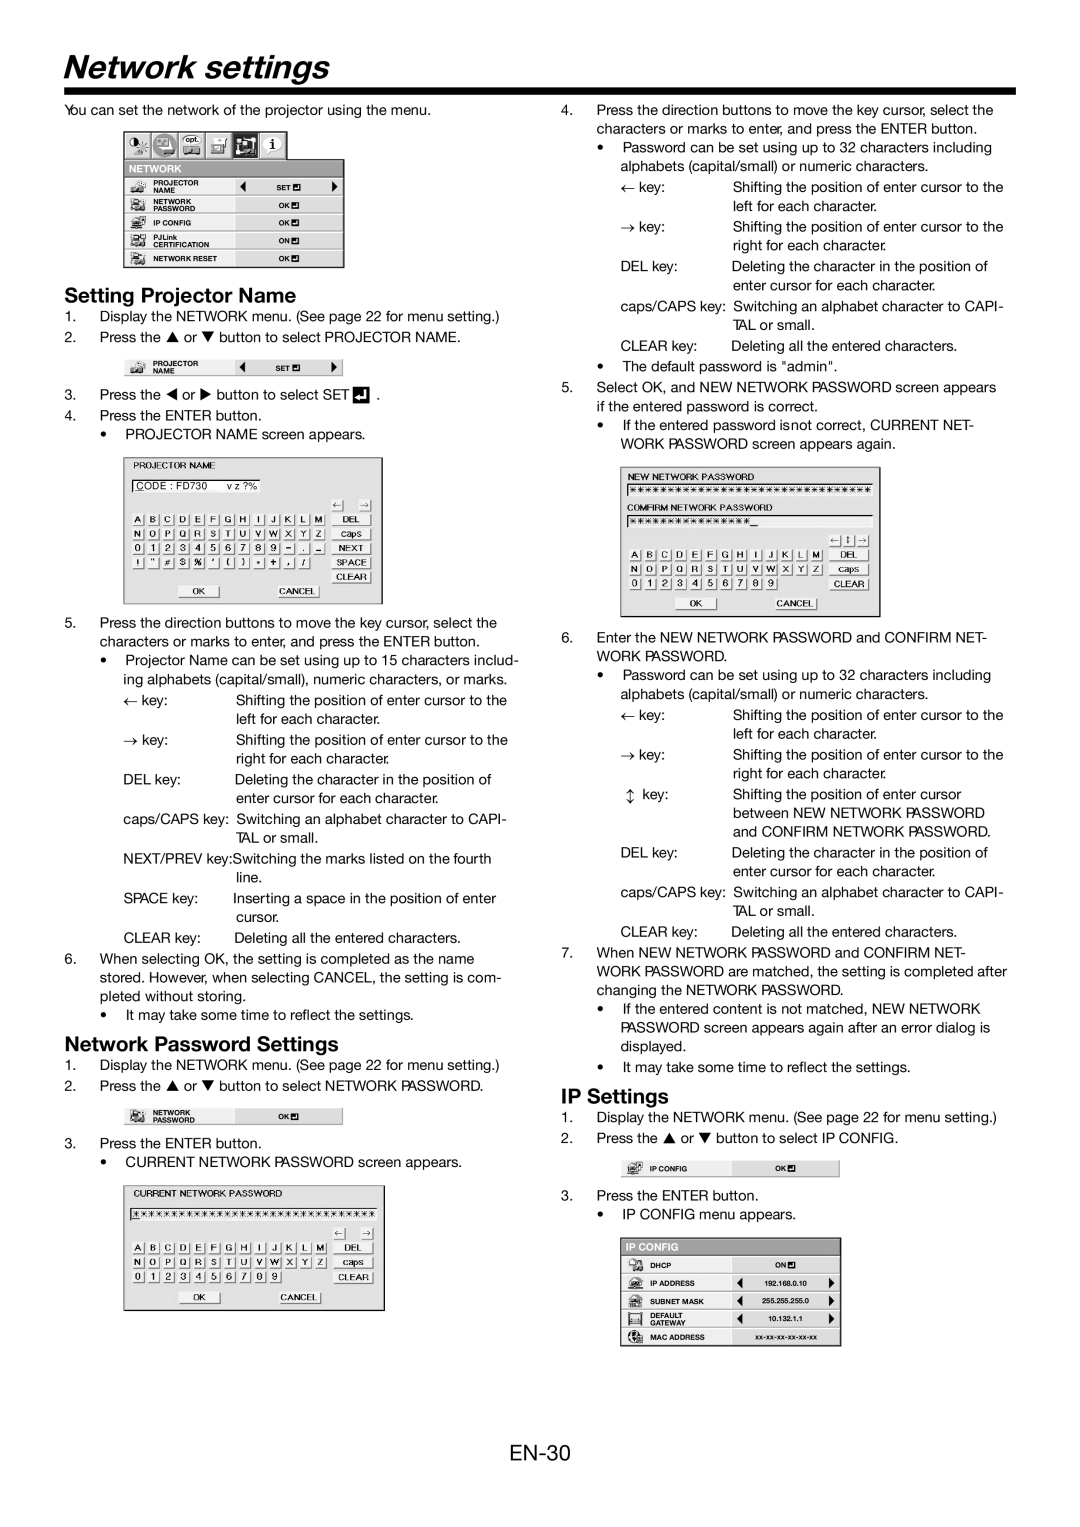
NETWORK |
| |
PROJECTOR | SET | |
NAME | ||
| ||
NETWORK | OK | |
PASSWORD | ||
| ||
IP CONFIG | OK | |
PJLink | ON | |
CERTIFICATION | ||
| ||
NETWORK RESET | OK |
Setting Projector Name
1.Display the NETWORK menu. (See page 22 for menu setting.)
2.Press the![]() or
or![]() button to select PROJECTOR NAME.
button to select PROJECTOR NAME.
PROJECTOR | SET |
|
|
NAME |
|
|
|
|
|
|
|
3.Press the![]() or
or![]() button to select SET
button to select SET ![]() .
.
4.Press the ENTER button.
• PROJECTOR NAME screen appears.
CODE : FD730 v z ?%
5.Press the direction buttons to move the key cursor, select the characters or marks to enter, and press the ENTER button.
•Projector Name can be set using up to 15 characters includ- ing alphabets (capital/small), numeric characters, or marks.
← key: | Shifting the position of enter cursor to the |
| left for each character. |
→ key: | Shifting the position of enter cursor to the |
| right for each character. |
DEL key: | Deleting the character in the position of |
| enter cursor for each character. |
caps/CAPS key: Switching an alphabet character to CAPI- TAL or small.
NEXT/PREV key:Switching the marks listed on the fourth line.
SPACE key: | Inserting a space in the position of enter |
| cursor. |
CLEAR key: | Deleting all the entered characters. |
6.When selecting OK, the setting is completed as the name stored. However, when selecting CANCEL, the setting is com- pleted without storing.
• It may take some time to reflect the settings.
Network Password Settings
1.Display the NETWORK menu. (See page 22 for menu setting.)
2.Press the![]() or
or![]() button to select NETWORK PASSWORD.
button to select NETWORK PASSWORD.
NETWORK | OK |
|
|
PASSWORD |
|
|
3.Press the ENTER button.
• CURRENT NETWORK PASSWORD screen appears.
4.Press the direction buttons to move the key cursor, select the characters or marks to enter, and press the ENTER button.
•Password can be set using up to 32 characters including alphabets (capital/small) or numeric characters.
← key: | Shifting the position of enter cursor to the |
| left for each character. |
→ key: | Shifting the position of enter cursor to the |
| right for each character. |
DEL key: | Deleting the character in the position of |
| enter cursor for each character. |
caps/CAPS key: Switching an alphabet character to CAPI- TAL or small.
CLEAR key: | Deleting all the entered characters. |
•The default password is "admin".
5.Select OK, and NEW NETWORK PASSWORD screen appears if the entered password is correct.
•If the entered password isnot correct, CURRENT NET- WORK PASSWORD screen appears again.
6.Enter the NEW NETWORK PASSWORD and CONFIRM NET-
WORK PASSWORD.
•Password can be set using up to 32 characters including alphabets (capital/small) or numeric characters.
← key: | Shifting the position of enter cursor to the |
| left for each character. |
→ key: | Shifting the position of enter cursor to the |
| right for each character. |
↔ key: | Shifting the position of enter cursor |
| between NEW NETWORK PASSWORD |
| and CONFIRM NETWORK PASSWORD. |
DEL key: | Deleting the character in the position of |
| enter cursor for each character. |
caps/CAPS key: Switching an alphabet character to CAPI-
| TAL or small. |
CLEAR key: | Deleting all the entered characters. |
7.When NEW NETWORK PASSWORD and CONFIRM NET- WORK PASSWORD are matched, the setting is completed after changing the NETWORK PASSWORD.
•If the entered content is not matched, NEW NETWORK PASSWORD screen appears again after an error dialog is displayed.
•It may take some time to reflect the settings.
IP Settings
1.Display the NETWORK menu. (See page 22 for menu setting.)
2. Press the![]() or
or![]() button to select IP CONFIG.
button to select IP CONFIG.
IP CONFIG | OK |
|
|
3.Press the ENTER button.
• IP CONFIG menu appears.
IP CONFIG
DHCP |
| ON |
|
|
|
|
|
| |
IP ADDRESS |
| 192.168.0.10 | ||
|
|
|
| |
SUBNET MASK |
| 255.255.255.0 | ||
|
|
|
|
|
DEFAULT | 10.132.1.1 | |||
GATEWAY |
| |||
|
|
|
| |
MAC ADDRESS |
| |||
|
|
|
|
|