EP450 specifications
The Motorola EP450 is a robust and reliable two-way radio that has made a significant impact in the world of professional communications. Known for its solid construction and exceptional performance, the EP450 is a popular choice among various industries, including security, transportation, and event management.One of the standout features of the Motorola EP450 is its impressive audio quality. Equipped with advanced audio processing technologies, the radio offers clear and crisp sound, ensuring effective communication even in noisy environments. This feature is particularly beneficial for users who work in fields where situational awareness and timely communication are crucial.
The EP450 operates on both VHF and UHF frequency bands, making it versatile for various communication needs. With 16 channels and a wide frequency range, users can easily switch between channels to avoid interference and ensure secure communications. Additionally, the radio offers a programmable feature, allowing users to customize button functions and settings, which enhances the overall user experience.
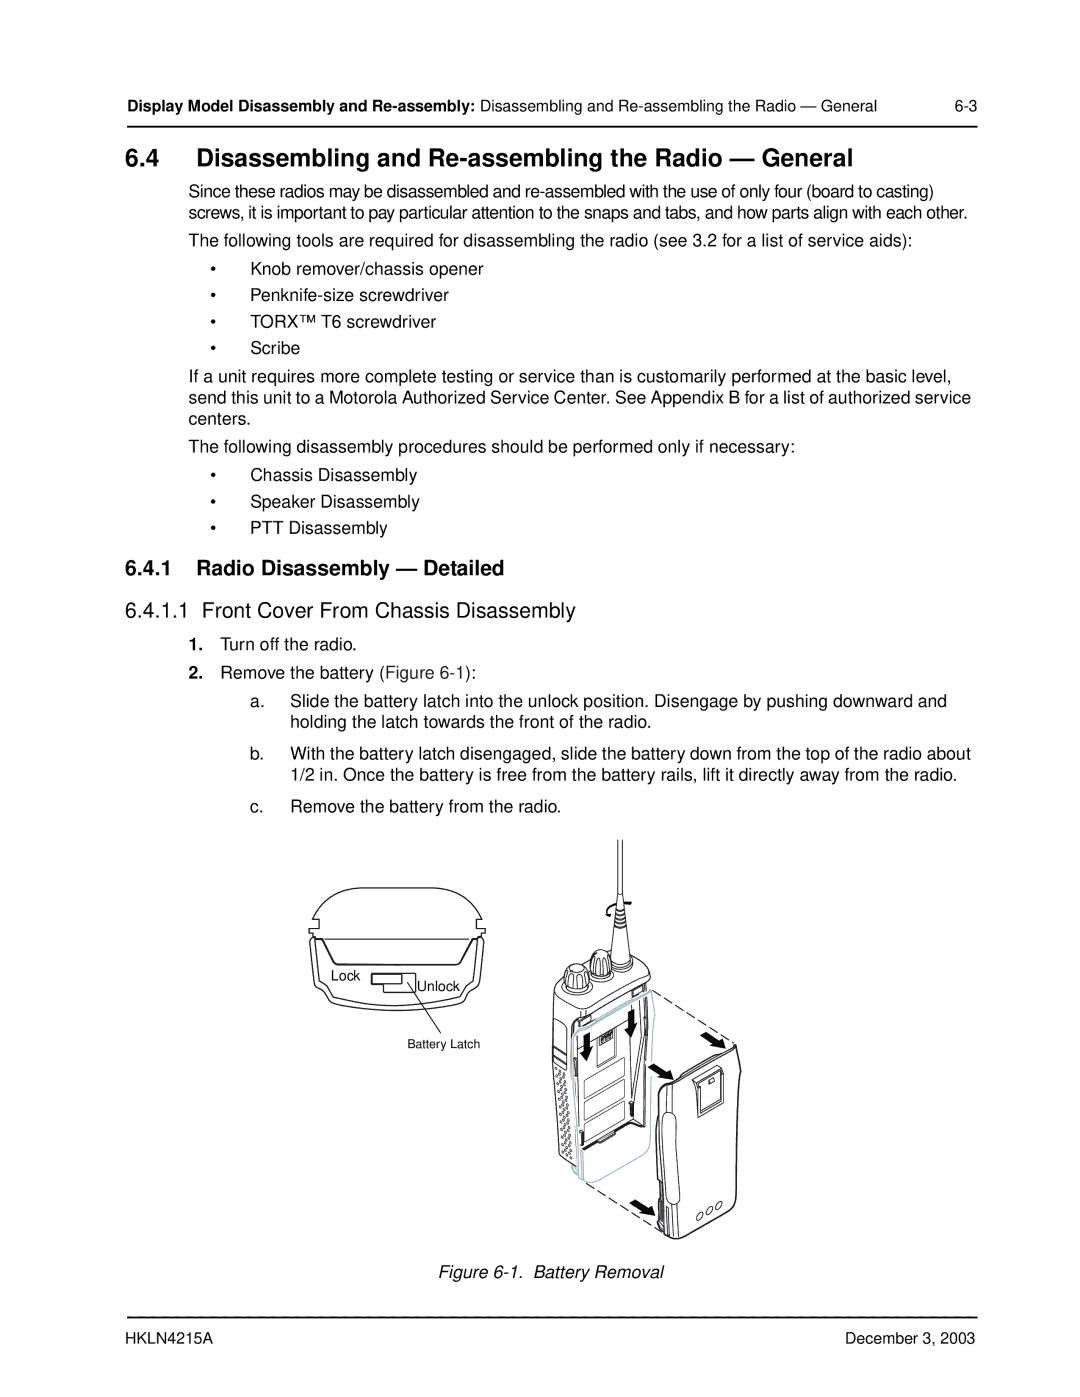
The battery life of the EP450 is another notable characteristic. It comes powered with a long-lasting rechargeable battery that provides extended usage on a single charge. This ensures that users can rely on the device throughout their shifts without concerns about running out of power. Furthermore, the EP450 features a battery save mode that helps conserve energy when the radio is not in use.
In terms of design, the Motorola EP450 is built to withstand tough environments. Its rugged housing is dustproof and can withstand exposure to water, making it suitable for outdoor use. Additionally, the radio's user-friendly interface includes a large display and oversized buttons, allowing users to operate it easily even with gloves or in challenging conditions.
Furthermore, the EP450 supports various accessories, such as headsets and external microphones, enhancing usability and flexibility in various operational scenarios. This adaptability allows users to customize their communication solutions based on specific needs.
In conclusion, the Motorola EP450 stands out for its superior audio quality, versatile frequency operation, long-lasting battery life, and rugged design. These features make it an indispensable tool for professionals who require reliable communication in demanding environments, proving its value across a multitude of industries.

