Lamp | Projector Options |
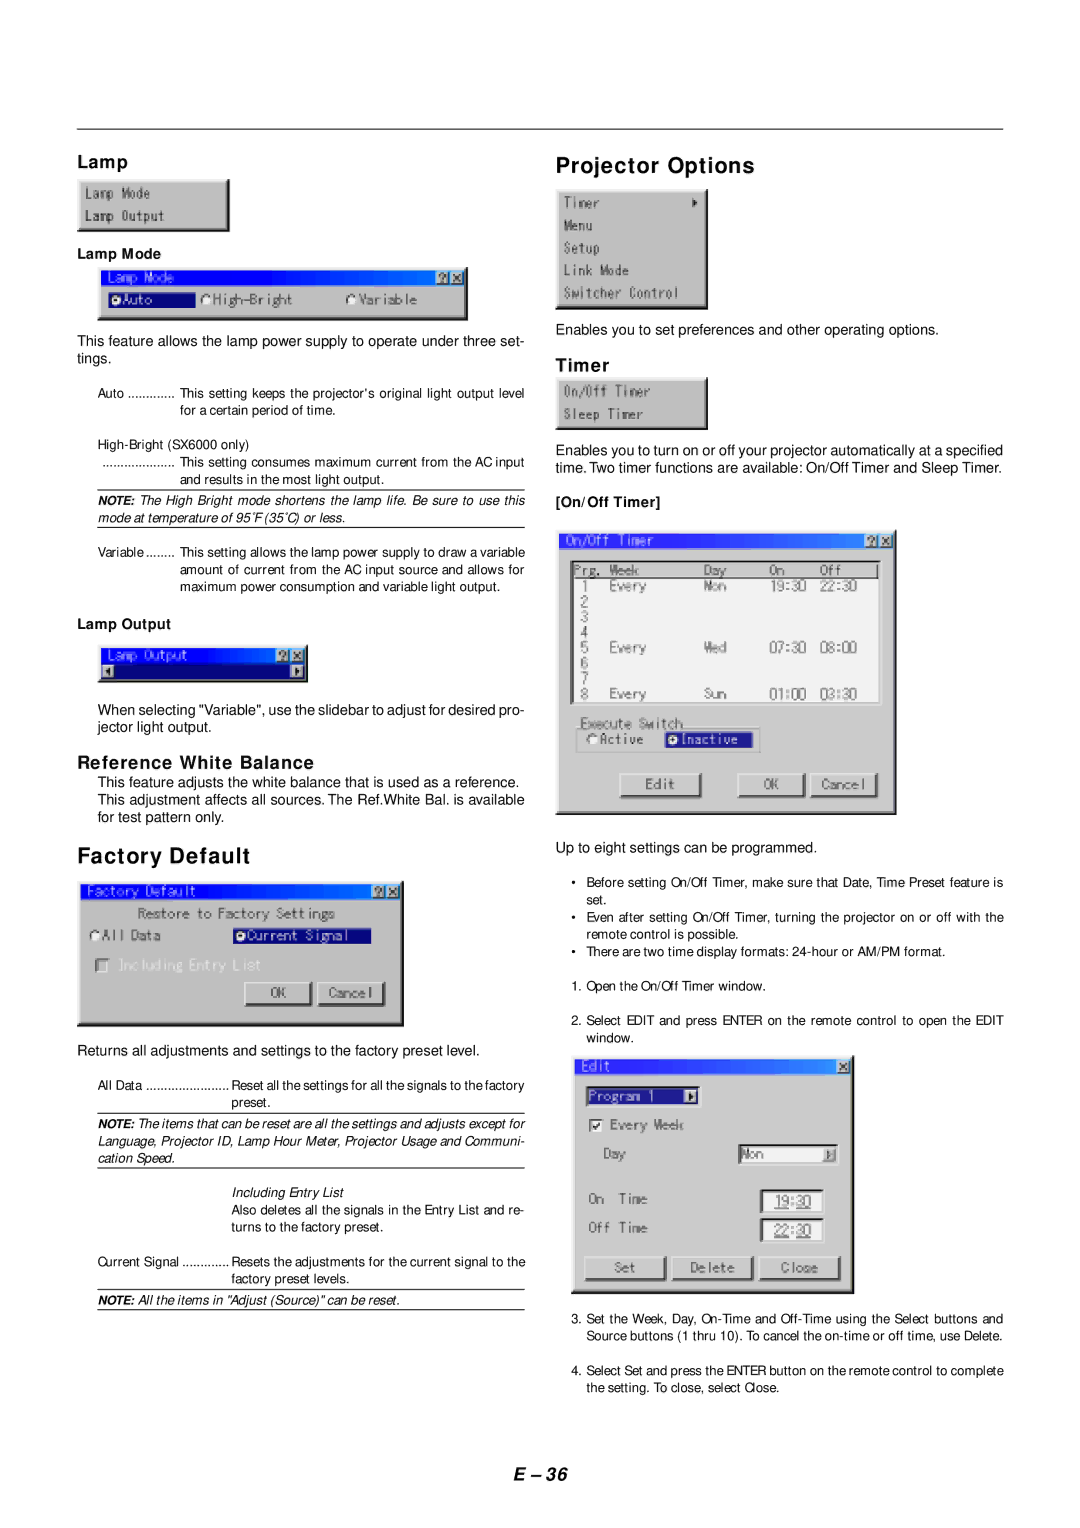
Lamp Mode
This feature allows the lamp power supply to operate under three set- tings.
Auto ............. This setting keeps the projector's original light output level
for a certain period of time.
.................... This setting consumes maximum current from the AC input
and results in the most light output.
NOTE: The High Bright mode shortens the lamp life. Be sure to use this mode at temperature of 95˚F (35˚C) or less.
Variable ........ This setting allows the lamp power supply to draw a variable
amount of current from the AC input source and allows for maximum power consumption and variable light output.
Lamp Output
When selecting "Variable", use the slidebar to adjust for desired pro- jector light output.
Reference White Balance
This feature adjusts the white balance that is used as a reference. This adjustment affects all sources. The Ref.White Bal. is available for test pattern only.
Factory Default
Returns all adjustments and settings to the factory preset level.
All Data | Reset all the settings for all the signals to the factory |
| preset. |
NOTE: The items that can be reset are all the settings and adjusts except for Language, Projector ID, Lamp Hour Meter, Projector Usage and Communi- cation Speed.
| Including Entry List |
| Also deletes all the signals in the Entry List and re- |
| turns to the factory preset. |
Current Signal | Resets the adjustments for the current signal to the |
| factory preset levels. |
NOTE: All the items in "Adjust (Source)" can be reset.
Enables you to set preferences and other operating options.
Timer
Enables you to turn on or off your projector automatically at a specified time. Two timer functions are available: On/Off Timer and Sleep Timer.
[On/Off Timer]
Up to eight settings can be programmed.
•Before setting On/Off Timer, make sure that Date, Time Preset feature is set.
•Even after setting On/Off Timer, turning the projector on or off with the remote control is possible.
•There are two time display formats:
1.Open the On/Off Timer window.
2.Select EDIT and press ENTER on the remote control to open the EDIT window.
3.Set the Week, Day,
4.Select Set and press the ENTER button on the remote control to complete the setting. To close, select Close.
E – 36
