Source Information
Displays the status of the current signal.This dialog box has three pages.
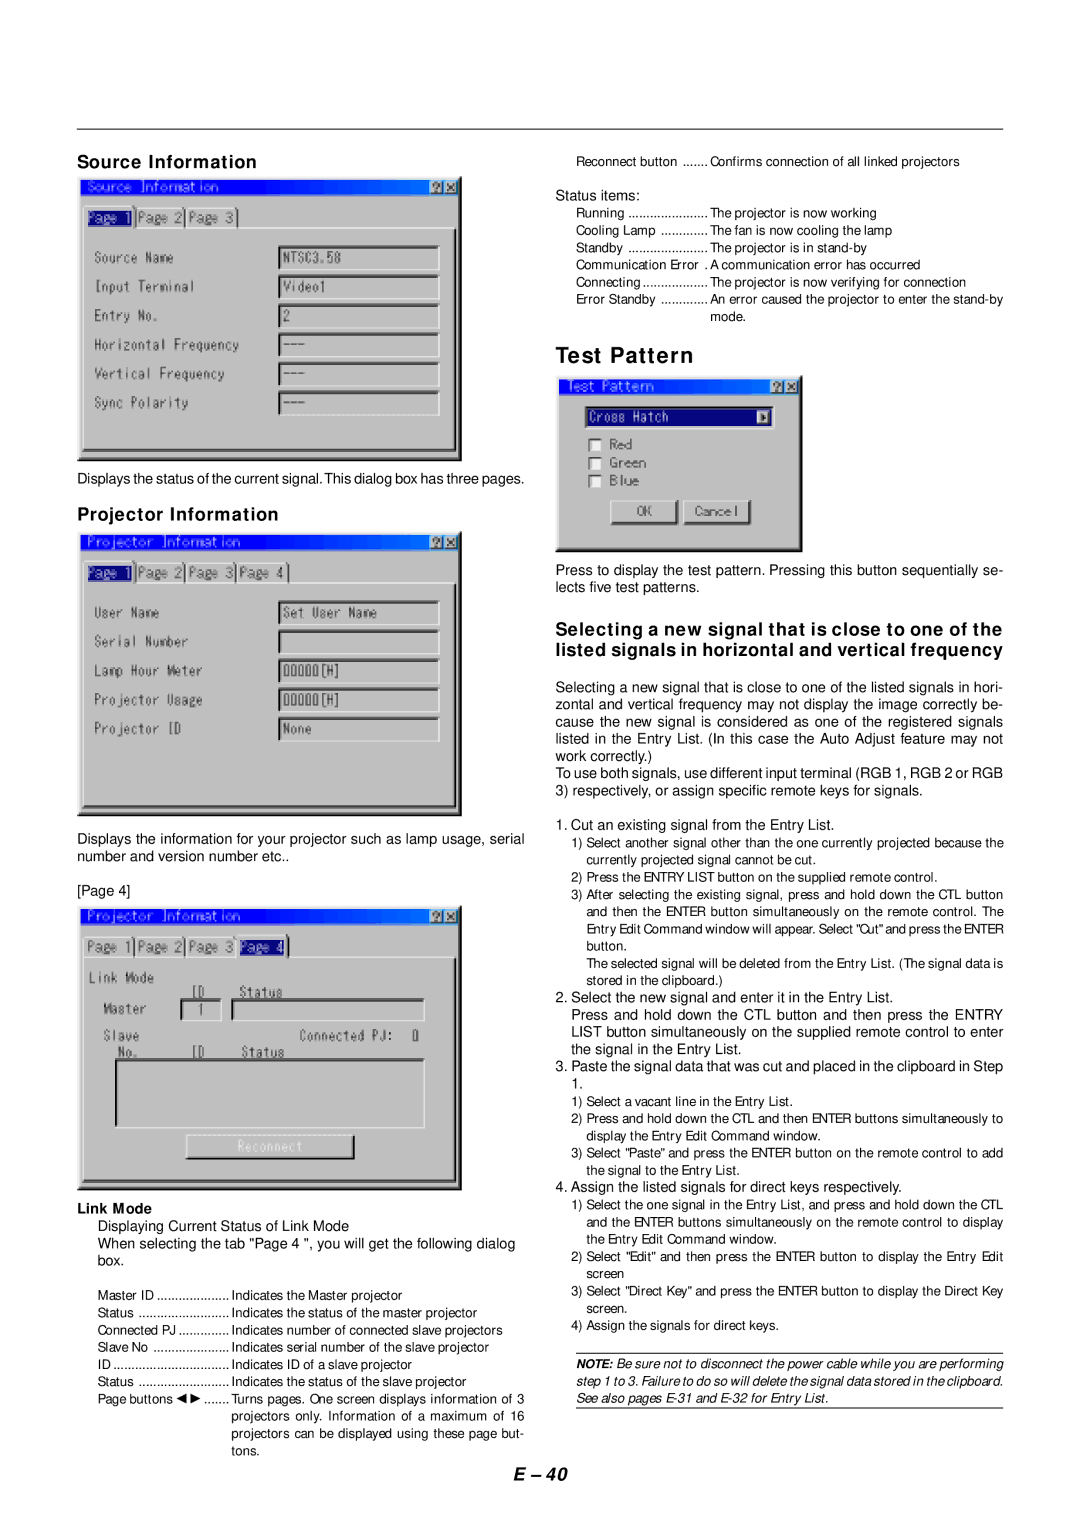
Projector Information
Displays the information for your projector such as lamp usage, serial number and version number etc..
[Page 4]
Link Mode
Displaying Current Status of Link Mode
When selecting the tab "Page 4 ", you will get the following dialog box.
Master ID | Indicates the Master projector |
Status | Indicates the status of the master projector |
Connected PJ | Indicates number of connected slave projectors |
Slave No | Indicates serial number of the slave projector |
ID | Indicates ID of a slave projector |
Status | Indicates the status of the slave projector |
Page buttons ◀ ▶ | Turns pages. One screen displays information of 3 |
| projectors only. Information of a maximum of 16 |
| projectors can be displayed using these page but- |
| tons. |
Reconnect button | Confirms connection of all linked projectors |
Status items: |
|
Running | The projector is now working |
Cooling Lamp | The fan is now cooling the lamp |
Standby | The projector is in |
Communication Error . A communication error has occurred | |
Connecting | The projector is now verifying for connection |
Error Standby | An error caused the projector to enter the |
| mode. |
Test Pattern
Press to display the test pattern. Pressing this button sequentially se- lects five test patterns.
Selecting a new signal that is close to one of the listed signals in horizontal and vertical frequency
Selecting a new signal that is close to one of the listed signals in hori- zontal and vertical frequency may not display the image correctly be- cause the new signal is considered as one of the registered signals listed in the Entry List. (In this case the Auto Adjust feature may not work correctly.)
To use both signals, use different input terminal (RGB 1, RGB 2 or RGB 3) respectively, or assign specific remote keys for signals.
1.Cut an existing signal from the Entry List.
1)Select another signal other than the one currently projected because the currently projected signal cannot be cut.
2)Press the ENTRY LIST button on the supplied remote control.
3)After selecting the existing signal, press and hold down the CTL button and then the ENTER button simultaneously on the remote control. The Entry Edit Command window will appear. Select "Cut" and press the ENTER button.
The selected signal will be deleted from the Entry List. (The signal data is stored in the clipboard.)
2.Select the new signal and enter it in the Entry List.
Press and hold down the CTL button and then press the ENTRY LIST button simultaneously on the supplied remote control to enter the signal in the Entry List.
3.Paste the signal data that was cut and placed in the clipboard in Step 1.
1)Select a vacant line in the Entry List.
2)Press and hold down the CTL and then ENTER buttons simultaneously to display the Entry Edit Command window.
3)Select "Paste" and press the ENTER button on the remote control to add the signal to the Entry List.
4.Assign the listed signals for direct keys respectively.
1)Select the one signal in the Entry List, and press and hold down the CTL and the ENTER buttons simultaneously on the remote control to display the Entry Edit Command window.
2)Select "Edit" and then press the ENTER button to display the Entry Edit screen
3)Select "Direct Key" and press the ENTER button to display the Direct Key screen.
4)Assign the signals for direct keys.
NOTE: Be sure not to disconnect the power cable while you are performing step 1 to 3. Failure to do so will delete the signal data stored in the clipboard. See also pages
E – 40