Manuals
/
NETGEAR
/
Computer Equipment
/
Network Router
NETGEAR
WNDR4720, WNDR4700
user manual
Centria, Models
Models:
WNDR4700
WNDR4720
1
1
140
140
Download
140 pages
23.64 Kb
1
2
3
4
5
6
7
8
Troubleshooting
Specs
Install
Wireless Signal Strength
Password
Default DMZ Server
Login
Administration
Join Your Wireless Network
To configure QoS
Page 1
Image 1
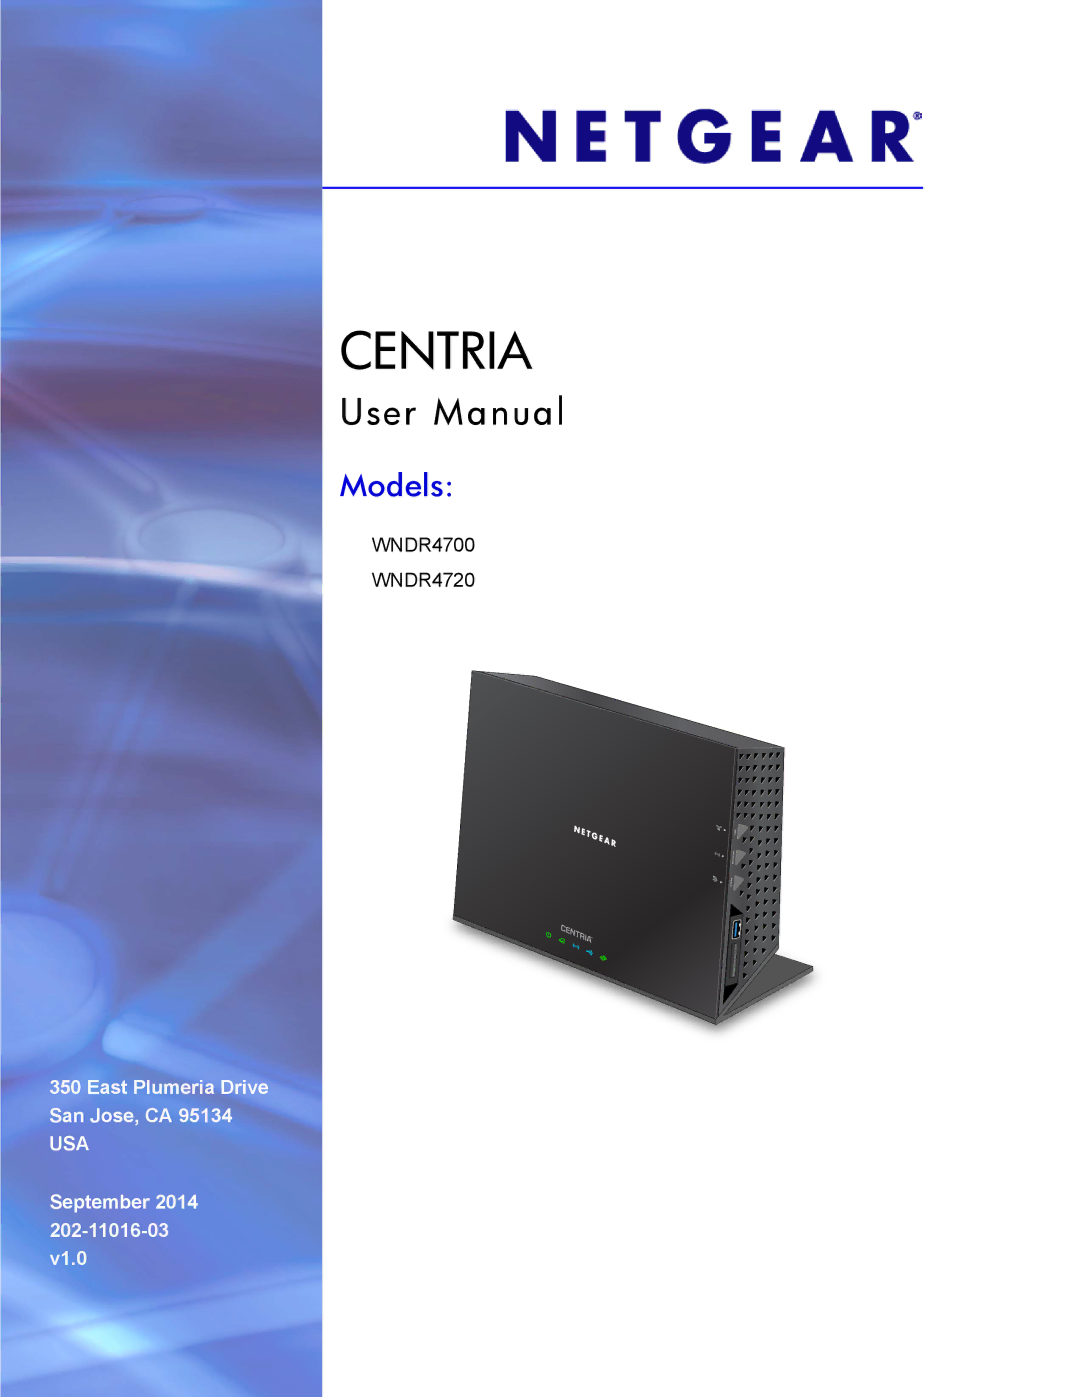
CENTRIA
User Manual
Models:
WNDR4700
WNDR4720
350 East Plumeria Drive
San Jose, CA 95134
USA
September 2014
202-11016-03
v1.0
Page 1
Page 2
Page 1
Image 1
Page 1
Page 2
Contents
Models
Centria
Trademarks
Support
Compliance
Contents
Netgear genie Advanced Home
Administration
Appendix a Supplemental Information
Hardware Setup
Position Centria
Unpack Centria
Front and Side Panel
Hardware Features
LED description
Label
Back Panel
To install Centria
Install Centria
Power on the router
If the browser cannot display the web
To install a hard disk drive
Install an Optional Internal Hard Disk Drive HDD
Metal connector on the HDD is up
HDD Format
Remove a Hard Disk Drive
To remove the hard disk drive HDD
Centria WNDR4700/WNDR4720
Requirements for Optional USB Devices
Getting Started with Netgear genie
Types of Logins and Access
Router Setup Preparation
Wireless Devices and Security Settings
Use Standard TCP/IP Properties for Dhcp
Upgrade the Firmware
Use Netgear genie after Installation
Basic Home screen with dashboard, language, and online help
Dashboard Basic Home Screen
Wi-Fi Protected Setup WPS Method
Join Your Wireless Network
To use WPS to join the wireless network
Manual Method
Netgear genie App and Mobile genie App
Netgear genie Basic Settings
To view or change the basic Internet setup
Internet Setup
Basic Home Screen
Does Your ISP Require a Login? Answer either yes or no
Internet Setup Screen Fields
Internet IP Address
To go to the Attached Devices screen
Attached Devices
Parental Controls
To set up Live Parental Controls
Centria WNDR4700/WNDR4720
Click the Take me to the status screen button
ReadySHARE Storage
To view or change basic wireless settings
Basic Wireless Settings
Wireless Network 2.4 GHz b/g/n and 5 GHz
Wireless Settings Screen Fields
Region Selection
Security Options Settings
Change WPA Security Option and Password
To change the WPA settings
Guest Networks
To set up a guest network
WPA Encryption
Guest Network Wireless Security Options
Netgear genie Advanced Home
To use the Setup Wizard
Setup Wizard
Netgear genie Advanced Home Screen
To use the WPS Wizard Select Advanced WPS Wizard
WPS Wizard
Select either Push Button or PIN Number
Setup Menu
WAN Setup
To set up a default DMZ server
Default DMZ Server
Common MTU sizes
Change the MTU Size
To change the MTU size Select Advanced Setup WAN Setup
LAN Setup
To change the LAN settings
LAN TCP/IP Setup
LAN Setup Screen Settings
Use Router as a Dhcp Server
Use the Router as a Dhcp Server
Address Reservation
To configure QoS
Quality of Service QoS Setup
Address Reservation
To reserve an IP address
Set Up QoS for Internet Access
Enable WMM QoS for Wireless Multimedia Applications
QoS for Applications and Online Gaming
To create a QoS policy for applications and online games
QoS for a Router LAN Port
Select the Turn Internet Access QoS On check box
Click the Add Priority Rule button
Edit or Delete an Existing QoS Policy
QoS for a MAC Address
Click Add Priority Rule
To edit or delete a QoS policy
Storage drive
Storage
User Setup
ReadySHARE Access
To access the internal HDD or USB device from Windows
To add a user Select Advanced Storage User Setup
Share Photos
File-Sharing Scenarios
To share files with your friends and family
Share Large Files over the Internet
Store Files in a Central Location for Printing
To go to Storage Basic Settings Select Basic ReadySHARE
Storage Basic Settings
To access your HDD or USB device
Add or Edit a Network Folder
To go to storage advances settings
Storage Advanced Settings
Available Network Folders
Safely Remove a USB or Internal Hard Drive
Specify Approved USB Devices
Media Server
To connect to the router’s USB drive using a web browser
Access the Router’s USB Drive Remotely Using FTP
Connect to the USB Drive from a Remote Computer
Select the Allow only approved devices check box
Back Up Your Computers
ReadySHARE Vault Windows Backup
To back up a Windows PC on to an HDD in the router
Click Save and Start Backup
To back up a Mac onto an HDD in the router
Time Machine HDD Backup
To set up a USB drive for Time Machine
Time Machine USB Drive Backup
Centria WNDR4700/WNDR4720
Before You Back up a Large Amount of Data
Centria WNDR4700/WNDR4720
Back Up an SD Card onto the Internal HDD
Select Guid Partition Table or Master Boot Record MBR
Change the Partition Scheme
To replace an HDD
Replace the Internal Hard Disk Drive
Centria WNDR4700/WNDR4720
Format the HDD
Centria WNDR4700/WNDR4720
ReadySHARE Printer
ReadySHARE Printer
To set up ReadySHARE Printer
Centria WNDR4700/WNDR4720
Centria WNDR4700/WNDR4720
Centria WNDR4700/WNDR4720
USB Control Center Utility
USB Printer
Control Center Configuration
Scan with a Multifunction Printer
Security
To delete a keyword or domain
Keyword Blocking of Http Traffic
To specify a trusted computer
To block services
Block Services Port Filtering
Centria WNDR4700/WNDR4720
To schedule blocking
Schedule Blocking
Security Event Email Notifications
To set up email notifications
Administration
To check for new firmware and update your router
Router Information
View Router Status
Statistics Button
Internet Port WAN Setup
View connection status information
Connection Status Button
Wireless Settings 2.4 GHz and 5 GHz
View Logs of Web Access or Attempted Web Access
Back Up Settings
Manage the Configuration File
Restore Configuration Settings
To restore configuration settings that you backed up
Password Recovery
Set Password
Erase
Centria WNDR4700/WNDR4720
Advanced Settings
Advanced Wireless Settings
To restrict access based on MAC addresses
Restrict Wireless Access by MAC Address
Select the Turn Access Control On check box
To set up a router as a wireless access point
Wireless AP
Wireless repeating scenario
Wireless Repeating Function WDS
To view or change the Wireless Repeating Function settings
To set up the base station
Set Up the Base Station
To configure the router as a repeater unit
Set Up a Repeater Unit
Port Forwarding and Triggering
Remote Computer Access Basics
Destination port number
Port Triggering to Open Incoming Ports
Port Forwarding to Permit External Host Communications
How Port Forwarding Differs from Port Triggering
To set up port forwarding
Set Up Port Forwarding to Local Servers
Edit or Delete a Port Forwarding Entry
Add a Custom Service
To edit or delete a port forwarding entry
Click Edit Service or Delete Service
Set Up Port Triggering
Application Example Making a Local Web Server Public
To make a local web server public
113
Select the Use a Dynamic DNS Service check box
To set up Dynamic DNS
Dynamic DNS
Static Routes
To set up a static route
Remote Management
Universal Plug and Play
USB Settings
To turn on Universal Plug and Play
IPv6
To set up an IPv6 Internet connection type
Auto Detect Fields
IPv6 LAN Setup
IPv6 Filtering
Auto Config
Pass Through
6to4 Tunnel
IPb6 Fixed LAN Setup
IPv6 Fixed WAN Setup
Fixed
Dhcp
PPPoE
Traffic Meter
126
Troubleshooting
Quick Tips
Wireless Settings
Sequence to Restart Your Network
Check Ethernet Cable Connections
Network Settings
Troubleshooting with the LEDs
Power LED Stays Amber
HDD LED Is Red or Red and Green
Wireless LED Is Off
LEDs Never Turn Off
Internet LED Is Off
Cannot Log In to Centria
Cannot Access the Internet
132
Troubleshoot PPPoE
Troubleshooting Internet Browsing
To troubleshoot a PPPoE connection
Wireless Signal Strength
Wireless Connectivity
Changes Not Saved
Troubleshoot Your Network Using the Ping Utility
Restore the Factory Settings and Password
Test the LAN Path to Centria
To ping the router from a running Windows computer
Test the Path from Your Computer to a Remote Device
Supplemental Information
Factory default settings
Factory Settings
WPA2-PSK AES
Technical Specifications
140
Top
Page
Image
Contents