NTI VEEMUX AUDIO/VIDEO MATRIX SWITCH VIA CAT5
USING THE VEEMUX SWITCH
The VEEMUX can be controlled by either of four methods:
•Using the keypad of the front panel interface
•Directly via an RS232 interface
•Remotely via web interface
•Remotely via telnet interface
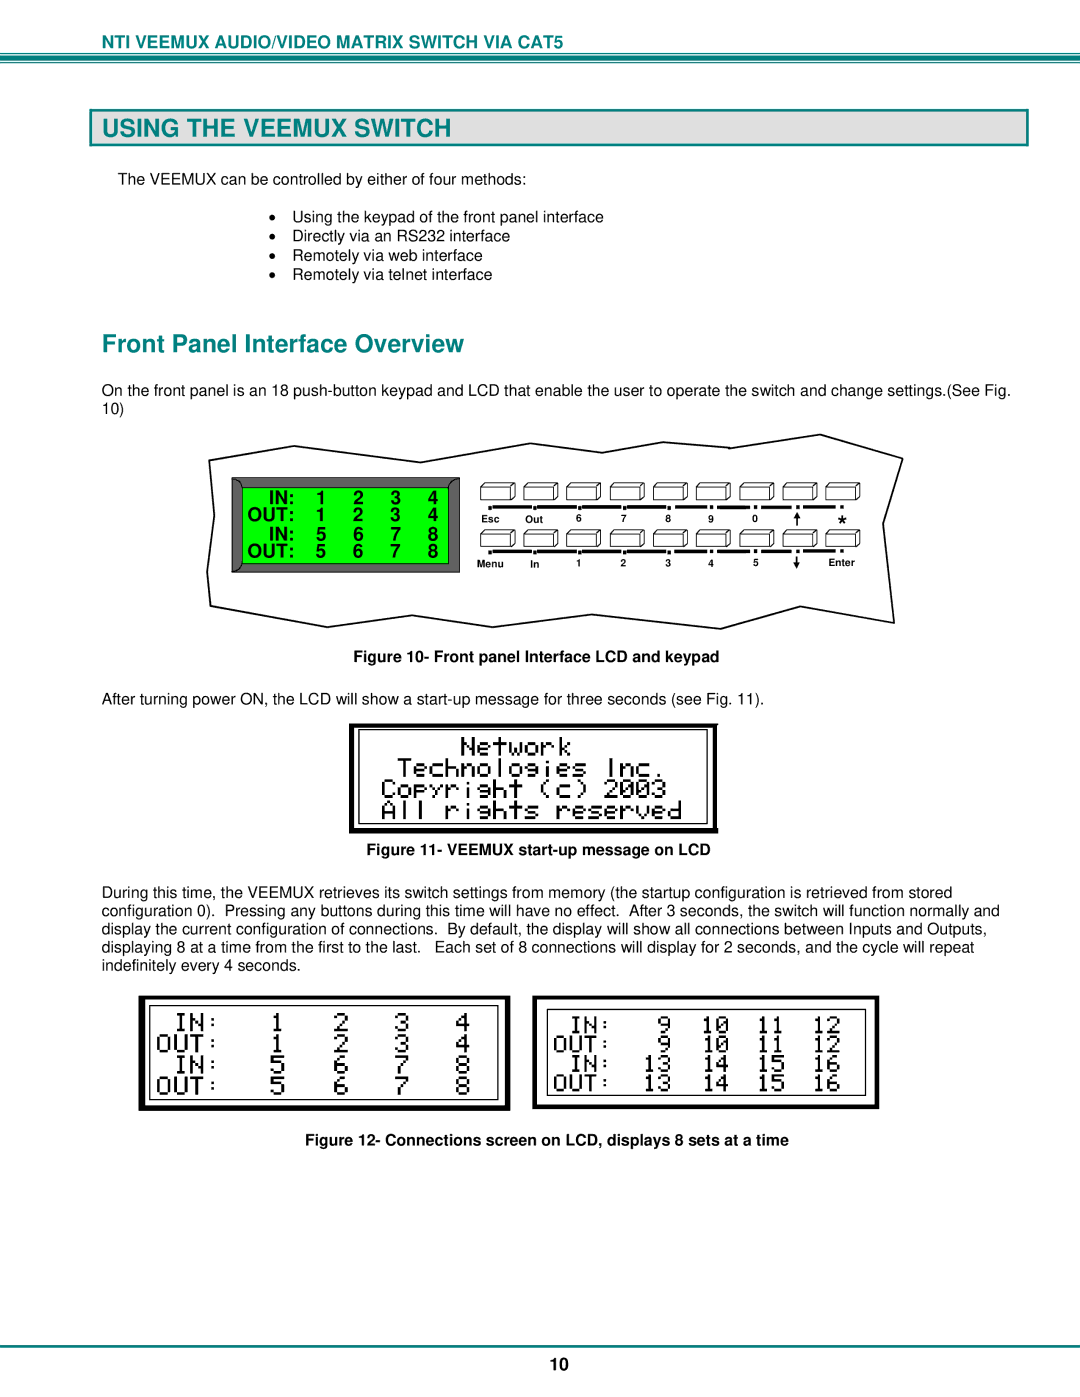
Front Panel Interface Overview
On the front panel is an 18
IN: 1 2 3 4 OUT: 1 2 3 4 IN: 5 6 7 8 OUT: 5 6 7 8
Esc | Out | 6 | 7 | 8 | 9 |
| 0 |
|
|
|
|
| ||||||||
|
|
|
|
|
| |||||||||||||||
|
|
|
|
|
|
|
|
|
|
|
|
|
|
|
|
|
|
|
|
|
|
|
|
|
|
|
|
|
|
|
|
|
|
|
|
|
|
|
|
|
|
|
|
|
|
|
|
|
|
|
|
|
|
|
|
|
|
|
|
|
|
|
Menu |
| In | 1 | 2 | 3 | 4 |
| 5 |
|
|
|
|
| |||||||
|
|
|
|
|
|
| ||||||||||||||
|
|
|
|
|
|
| ||||||||||||||
*
Enter
Figure 10- Front panel Interface LCD and keypad
After turning power ON, the LCD will show a
Figure 11- VEEMUX start-up message on LCD
During this time, the VEEMUX retrieves its switch settings from memory (the startup configuration is retrieved from stored configuration 0). Pressing any buttons during this time will have no effect. After 3 seconds, the switch will function normally and display the current configuration of connections. By default, the display will show all connections between Inputs and Outputs, displaying 8 at a time from the first to the last. Each set of 8 connections will display for 2 seconds, and the cycle will repeat indefinitely every 4 seconds.
Figure 12- Connections screen on LCD, displays 8 sets at a time
10