USING ON-SCREEN MENU
Adjusting White Balance [Brightness R/G/B, Contrast R/G/B]
This allows you to adjust the white balance. Brightness for each color (RGB) is used to adjust the black level of the screen; Contrast for each color (RGB) to adjust the white level of the screen.
Selecting White Peaking [White Peaking]
Adjust the brightness of the white areas. As the picture becomes dim, it looks more natural.
NOTE: The White Peaking option is not available when “Presentation” is selected in “Base Setting”.
[Brightness]
Adjusts the brightness level or the back raster intensity.
[Contrast]
Adjusts the intensity of the image according to the incoming signal.
[Sharpness]
Controls the detail of the image for Video.
[Color]
Increases or decreases the color saturation level (not valid for RGB).
[Hue]
Varies the color level from +/- green to
NOTE: Some Picture items cannot be available depending on the input signal.
Input signal | Brightness | Contrast | Sharpness | Color | Hue | |
RGB | Yes | Yes | Yes | No | No | |
(Computer) | ||||||
|
|
|
|
| ||
Component | Yes | Yes | Yes | Yes*1 | No | |
(Computer) | ||||||
|
|
|
|
| ||
|
|
|
|
|
| |
Video and | Yes | Yes | Yes | Yes | Yes*2 |
Yes: Available No: Not available
*1 Available on DVD (15 kHz), but not available on HDTV, 525p (480p) and 750p (720p).
*2 Available on NTSC only.
Correcting Vertical Keystone Distortion [Keystone] Corrects vertical keystone distortion.
Auto | Corrects vertical keystone distortion automatically. See |
| page |
Manual | Allows you to manually correct vertical keystone dis- |
| tortion. |
Manual (Save) This option enables you to save your current keystone correction settings. The settings are saved when you turn off the projector.
When you select “Manual” or “Manual (Save)“, you can correct keystone distortion using the Keystone slide bar.
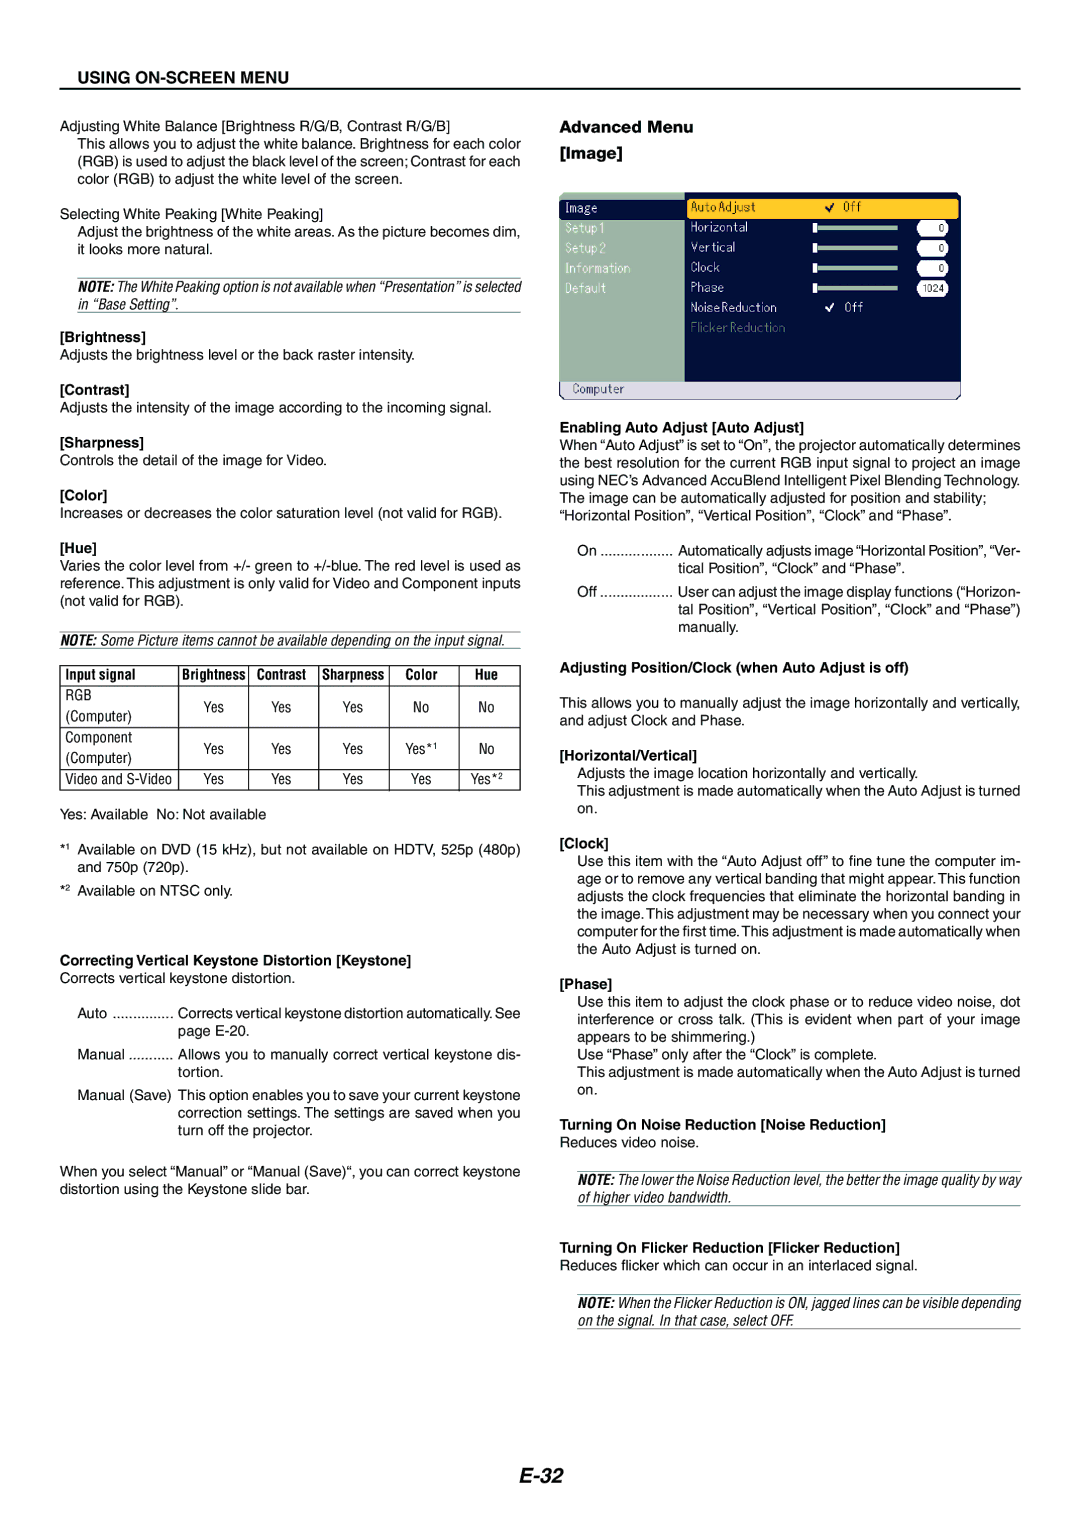
Advanced Menu
[Image]
Enabling Auto Adjust [Auto Adjust]
When “Auto Adjust” is set to “On”, the projector automatically determines the best resolution for the current RGB input signal to project an image using NEC’s Advanced AccuBlend Intelligent Pixel Blending Technology. The image can be automatically adjusted for position and stability; “Horizontal Position”, “Vertical Position”, “Clock” and “Phase”.
On | Automatically adjusts image “Horizontal Position”, “Ver- |
| tical Position”, “Clock” and “Phase”. |
Off | User can adjust the image display functions (“Horizon- |
| tal Position”, “Vertical Position”, “Clock” and “Phase”) |
| manually. |
Adjusting Position/Clock (when Auto Adjust is off)
This allows you to manually adjust the image horizontally and vertically, and adjust Clock and Phase.
[Horizontal/Vertical]
Adjusts the image location horizontally and vertically.
This adjustment is made automatically when the Auto Adjust is turned on.
[Clock]
Use this item with the “Auto Adjust off” to fine tune the computer im- age or to remove any vertical banding that might appear. This function adjusts the clock frequencies that eliminate the horizontal banding in the image. This adjustment may be necessary when you connect your computer for the first time. This adjustment is made automatically when the Auto Adjust is turned on.
[Phase]
Use this item to adjust the clock phase or to reduce video noise, dot interference or cross talk. (This is evident when part of your image appears to be shimmering.)
Use “Phase” only after the “Clock” is complete.
This adjustment is made automatically when the Auto Adjust is turned on.
Turning On Noise Reduction [Noise Reduction]
Reduces video noise.
NOTE: The lower the Noise Reduction level, the better the image quality by way of higher video bandwidth.
Turning On Flicker Reduction [Flicker Reduction] Reduces flicker which can occur in an interlaced signal.
NOTE: When the Flicker Reduction is ON, jagged lines can be visible depending on the signal. In that case, select OFF.