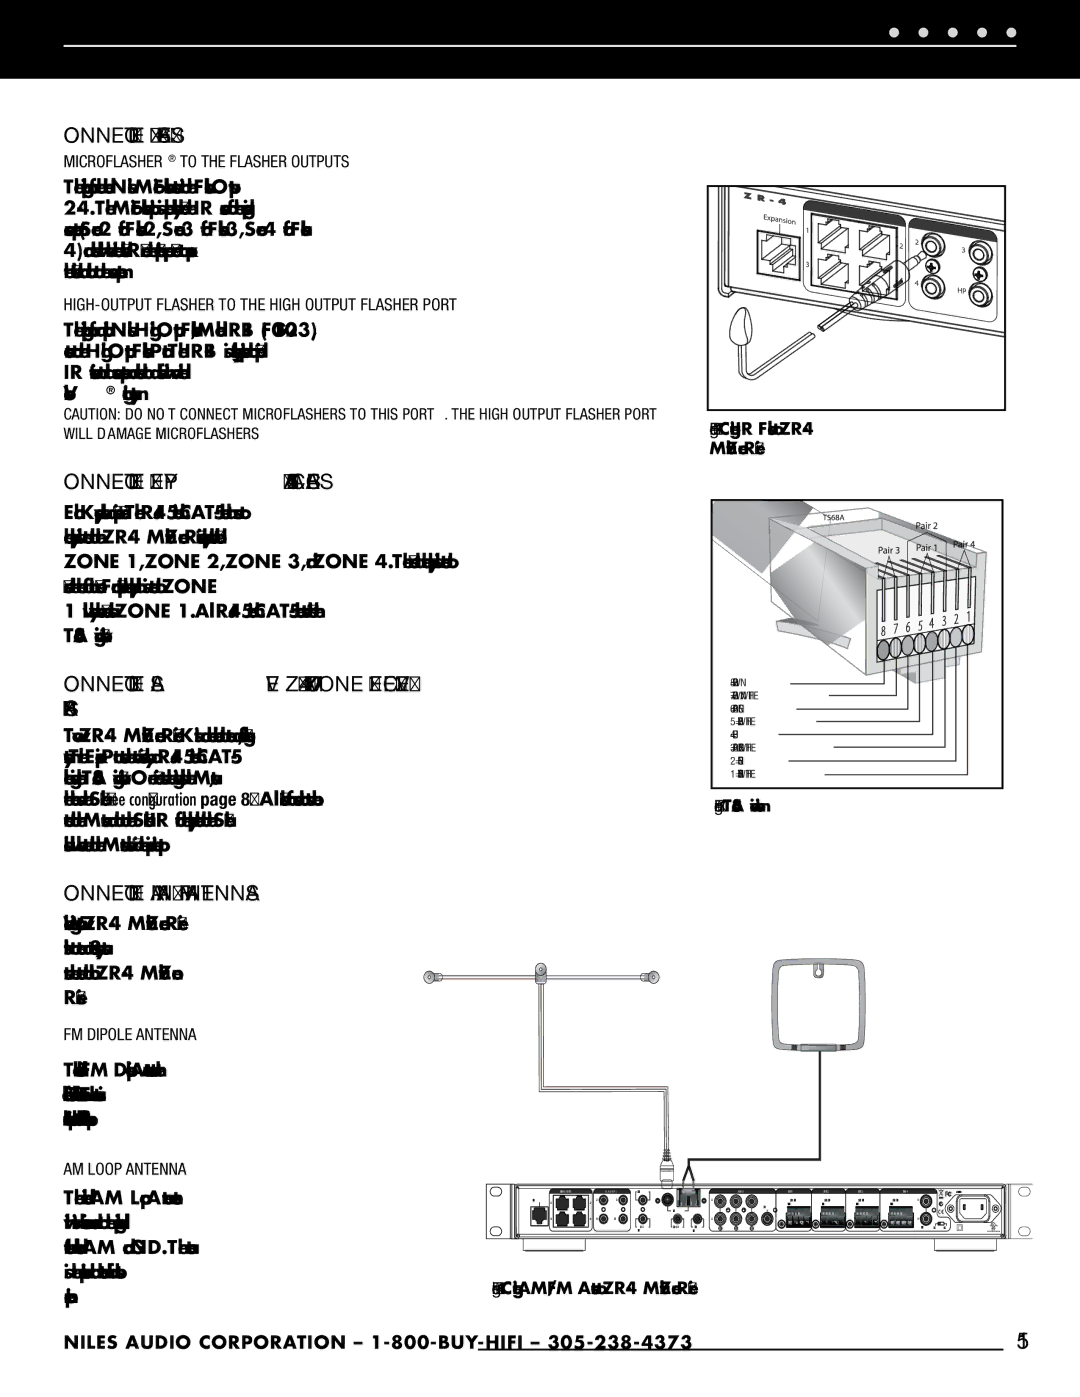
ZR-4 specifications
The Niles Audio ZR-4 represents a significant advancement in multi-room audio technology, designed to deliver an exceptional listening experience throughout your home. As a zone amplifier, it is engineered to serve multiple rooms or zones simultaneously, making it a perfect choice for music enthusiasts who want to enjoy high-quality audio in various settings without the need for multiple audio systems.One of the standout features of the ZR-4 is its ability to support up to four different audio sources, allowing users to simultaneously play different music in multiple zones. This feature is particularly appealing for families or households with diverse musical tastes, as it provides the flexibility to cater to everyone’s preferences. Each of the four zones can be individually controlled, enabling different volumes and selections, thus ensuring a personalized listening experience.
The ZR-4 is built with advanced technologies aimed at enhancing audio quality and performance. It utilizes a Class D amplification design, which not only increases efficiency but also helps deliver a clean and powerful audio signal. This design allows the unit to maintain high sound quality without generating excessive heat, ensuring continuous operation without the need for elaborate cooling systems.
Another impressive characteristic of the ZR-4 is its user-friendly operation. The system is compatible with the Niles Audio IC series of in-wall and in-ceiling speakers, making installation straightforward for both professionals and DIY enthusiasts. Additionally, the ZR-4 offers 12-volt trigger outputs, which can be utilized to control external devices, streamlining the integration of the ZR-4 into existing home automation systems.
Connectivity is also a significant aspect of the ZR-4, as it includes a variety of input options, including line-level inputs and speaker-level inputs, making it adaptable to various audio setups. Its compact design allows for easy placement within cabinets or racks, conserving valuable space while maintaining an unobtrusive presence.
Overall, the Niles Audio ZR-4 embodies sophistication and versatility in multi-room audio distribution. With its powerful amplification, source flexibility, and advanced features, it is an ideal solution for those looking to enhance their home audio experience while enjoying the convenience of seamless control over multiple zones. This unit is not just an investment in audio; it is an investment in lifestyle, elevating the way music can be enjoyed in everyday life.

