MemoryFrame User’s Manual
Tile Box out: The old image is tiled over as the next image appears from center and expands towards edges to replace the previous.
Diagonal Fill: The next image overwrites with diagonal stripes to replace the previous.
Timings: The Image Properties in the Edit menu also allows you to set the time that each slide will display.
Once you have selected the desired settings you can then Apply to the individual slide selected, or you can Apply to All to make the settings apply to all the images in the slideshow.
6.5.9Preview Slideshow
Now that your slideshow is configured with your selected transitions and
![]() ) in the toolbar.
) in the toolbar.
6.6Transferring Slideshows to/from MemoryFrame
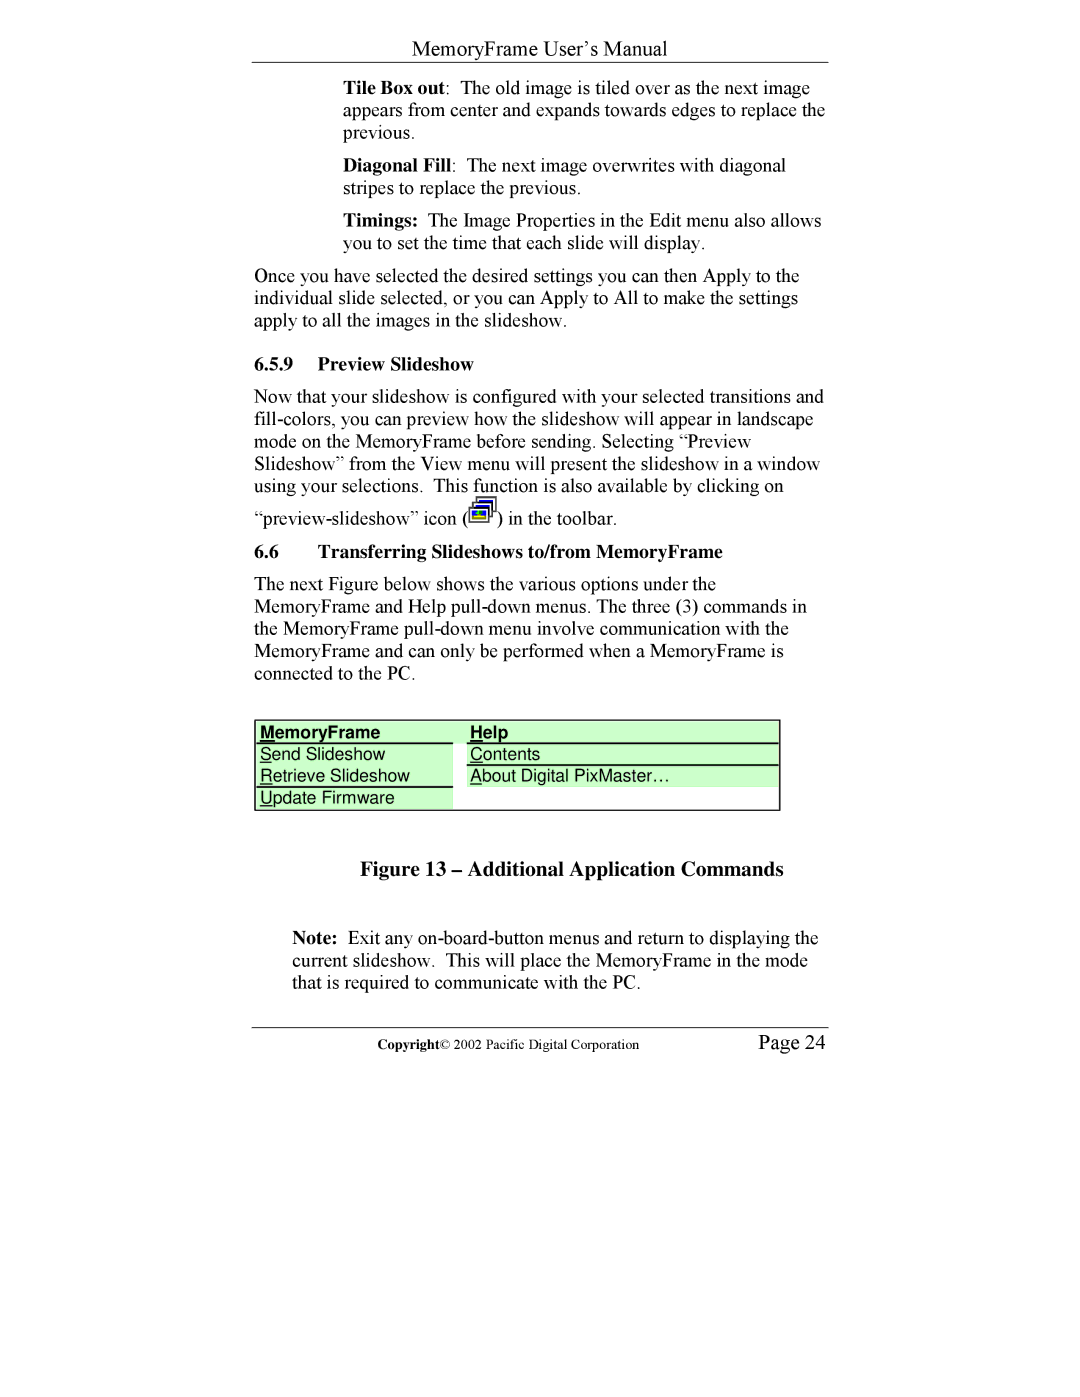
The next Figure below shows the various options under the MemoryFrame and Help
MemoryFrame | Help | |
Send Slideshow |
| Contents |
Retrieve Slideshow |
| About Digital PixMaster… |
Update Firmware |
|
|
Figure 13 – Additional Application Commands
Note: Exit any
Copyright© 2002 Pacific Digital Corporation | Page 24 |
